Pick a technique
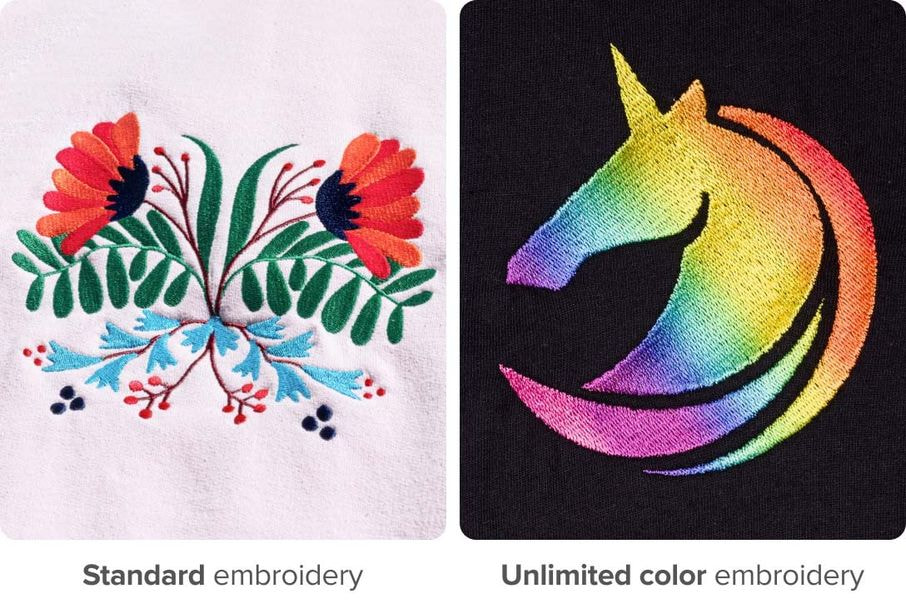
Standard vs. unlimited color embroidery
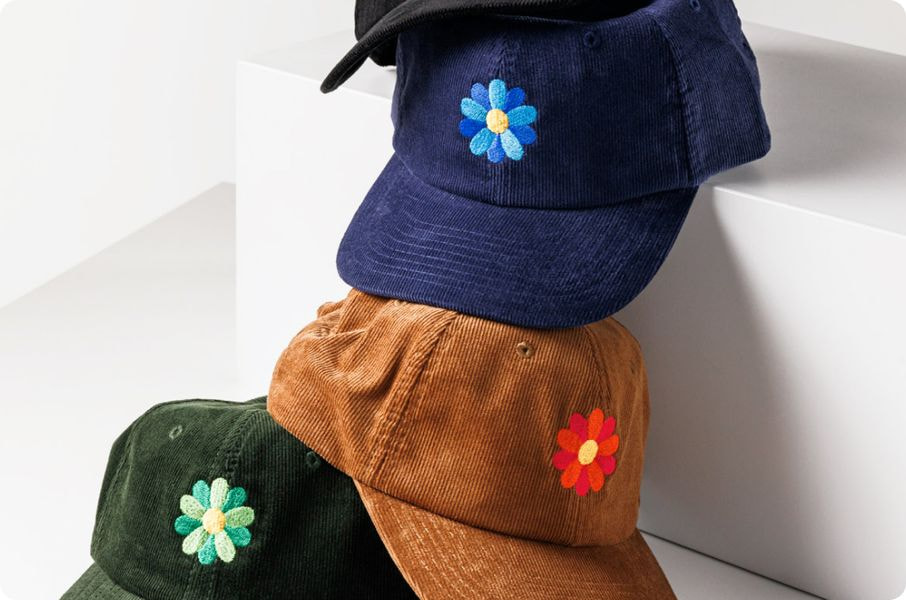
Standard embroidery: Choose from 15 thread colors and combine up to 6 of them in a single design.
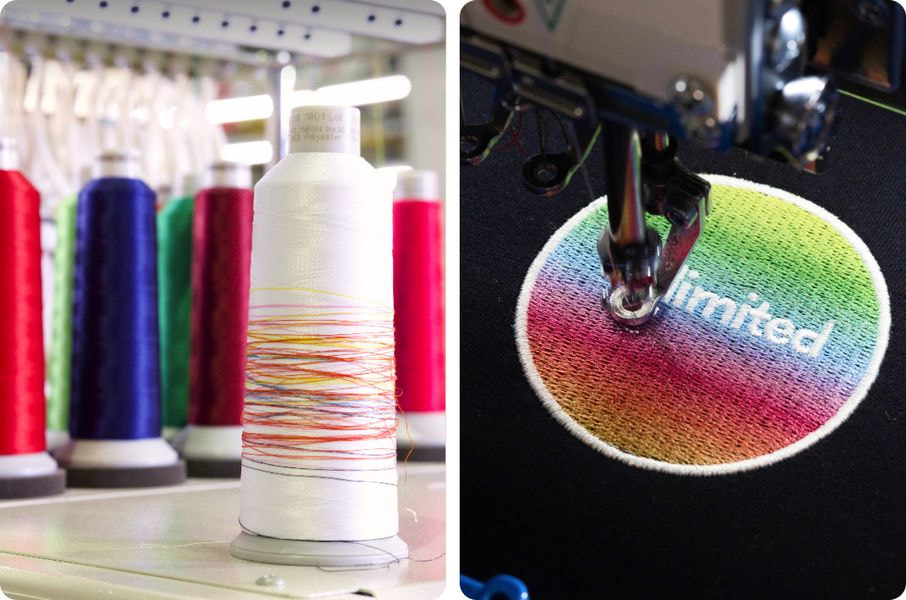
Unlimited color embroidery: Choose any color except metallic and neon. You can also create multi-color, gradient, or solid-color designs with no color limitations. For this technique, we use a white, recycled polyester thread that’s dyed during the embroidery process.
Embroidery types
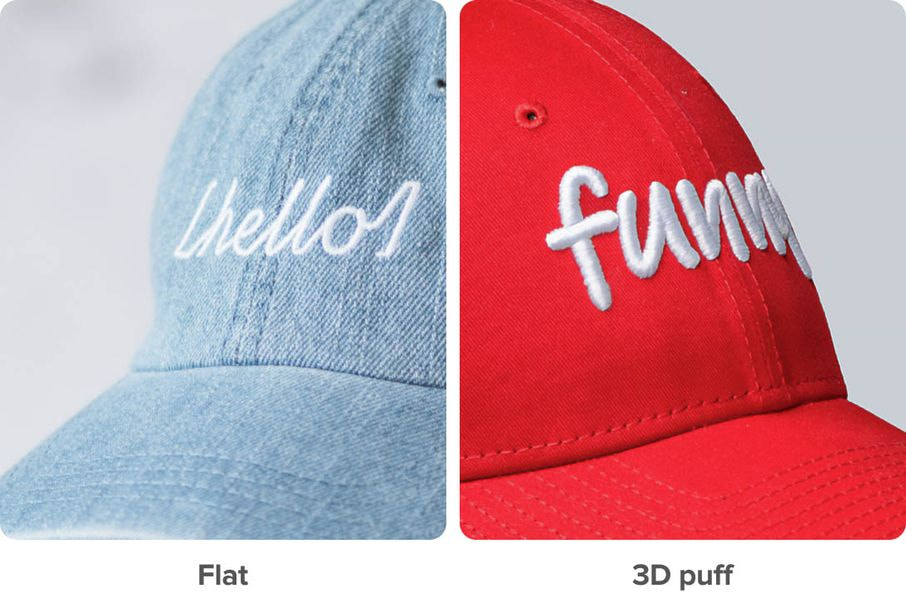
We offer two types of embroidery—flat and 3D puff.
Flat embroidery is a technique where stitches lay flat on the surface. In contrast, 3D puff embroidery is raised with a foam insert under the stitching, making it look 3D.
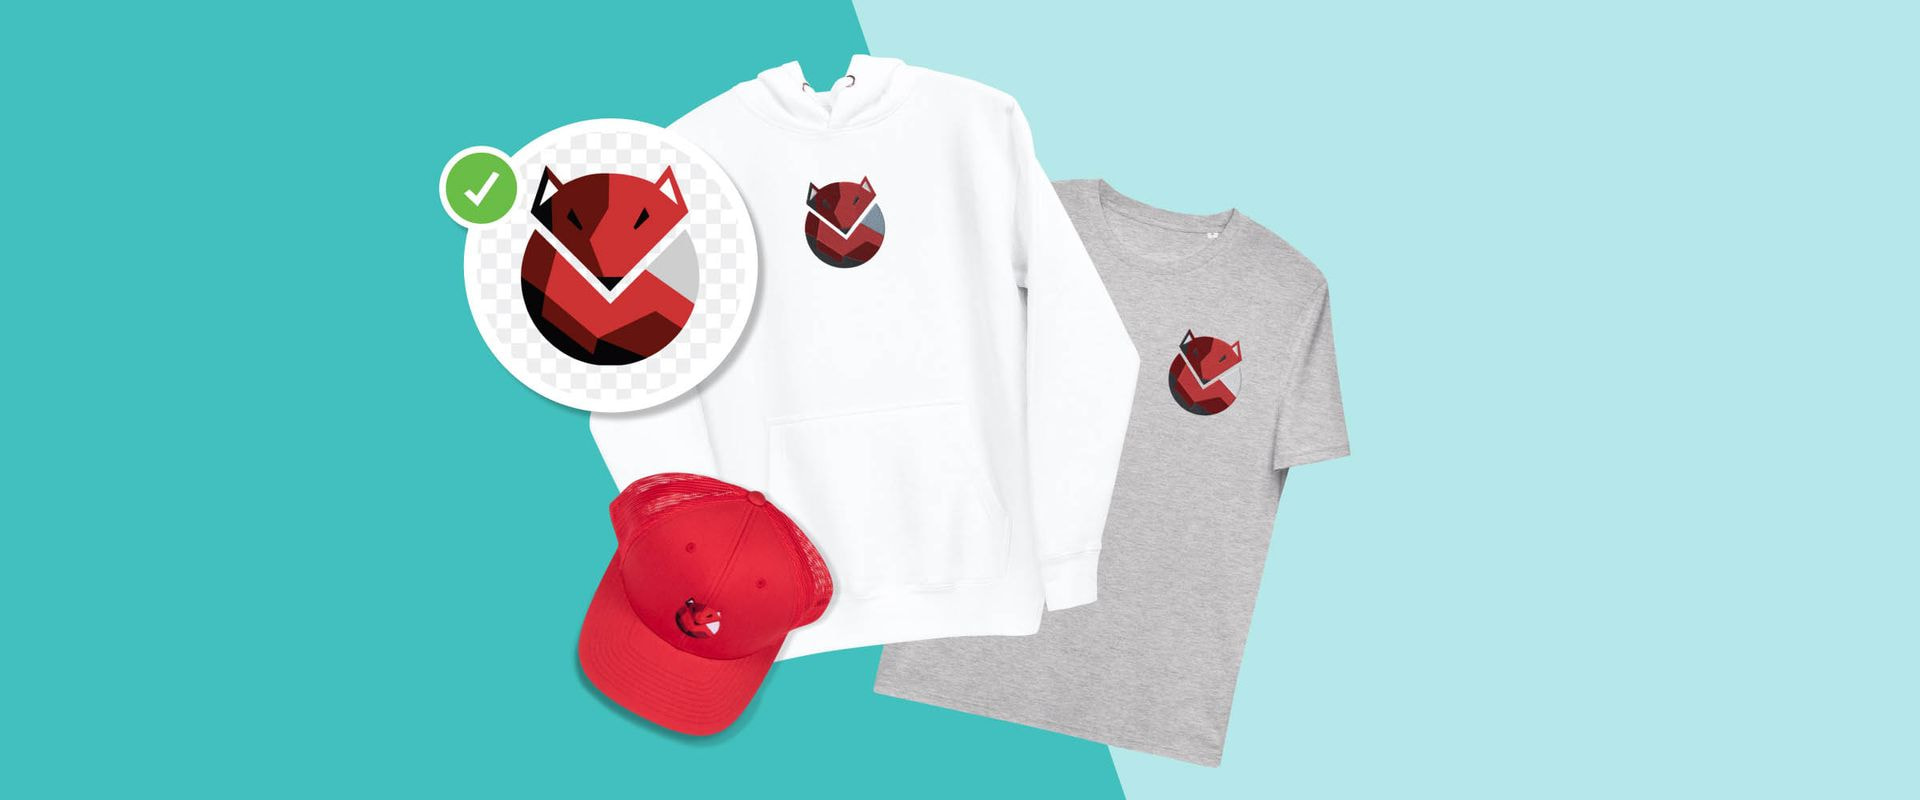
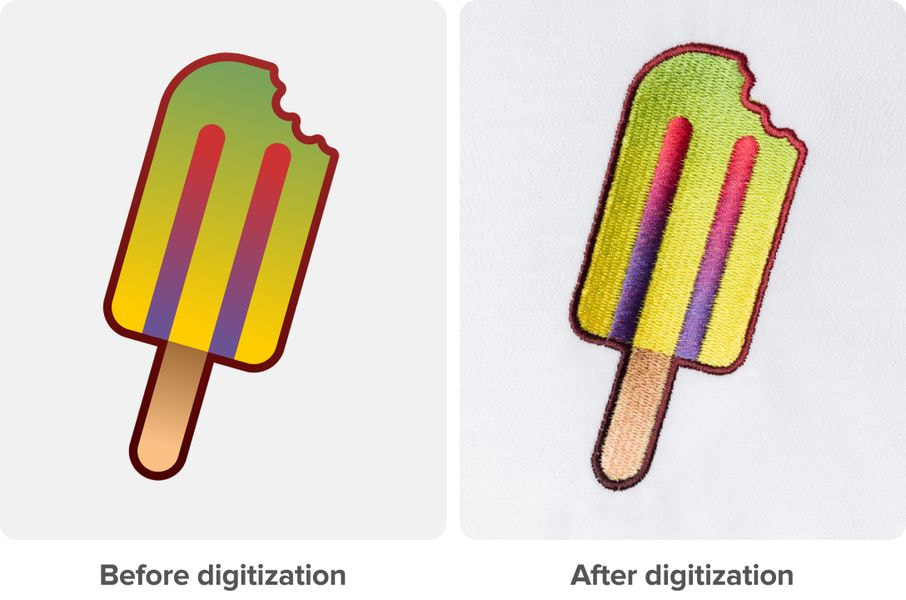
If your embroidery design file isn’t up to the needed quality standards, we’ll adjust it and send you an updated version that you can approve with one click.
Must-follow guidelines
Embroidery disclaimers
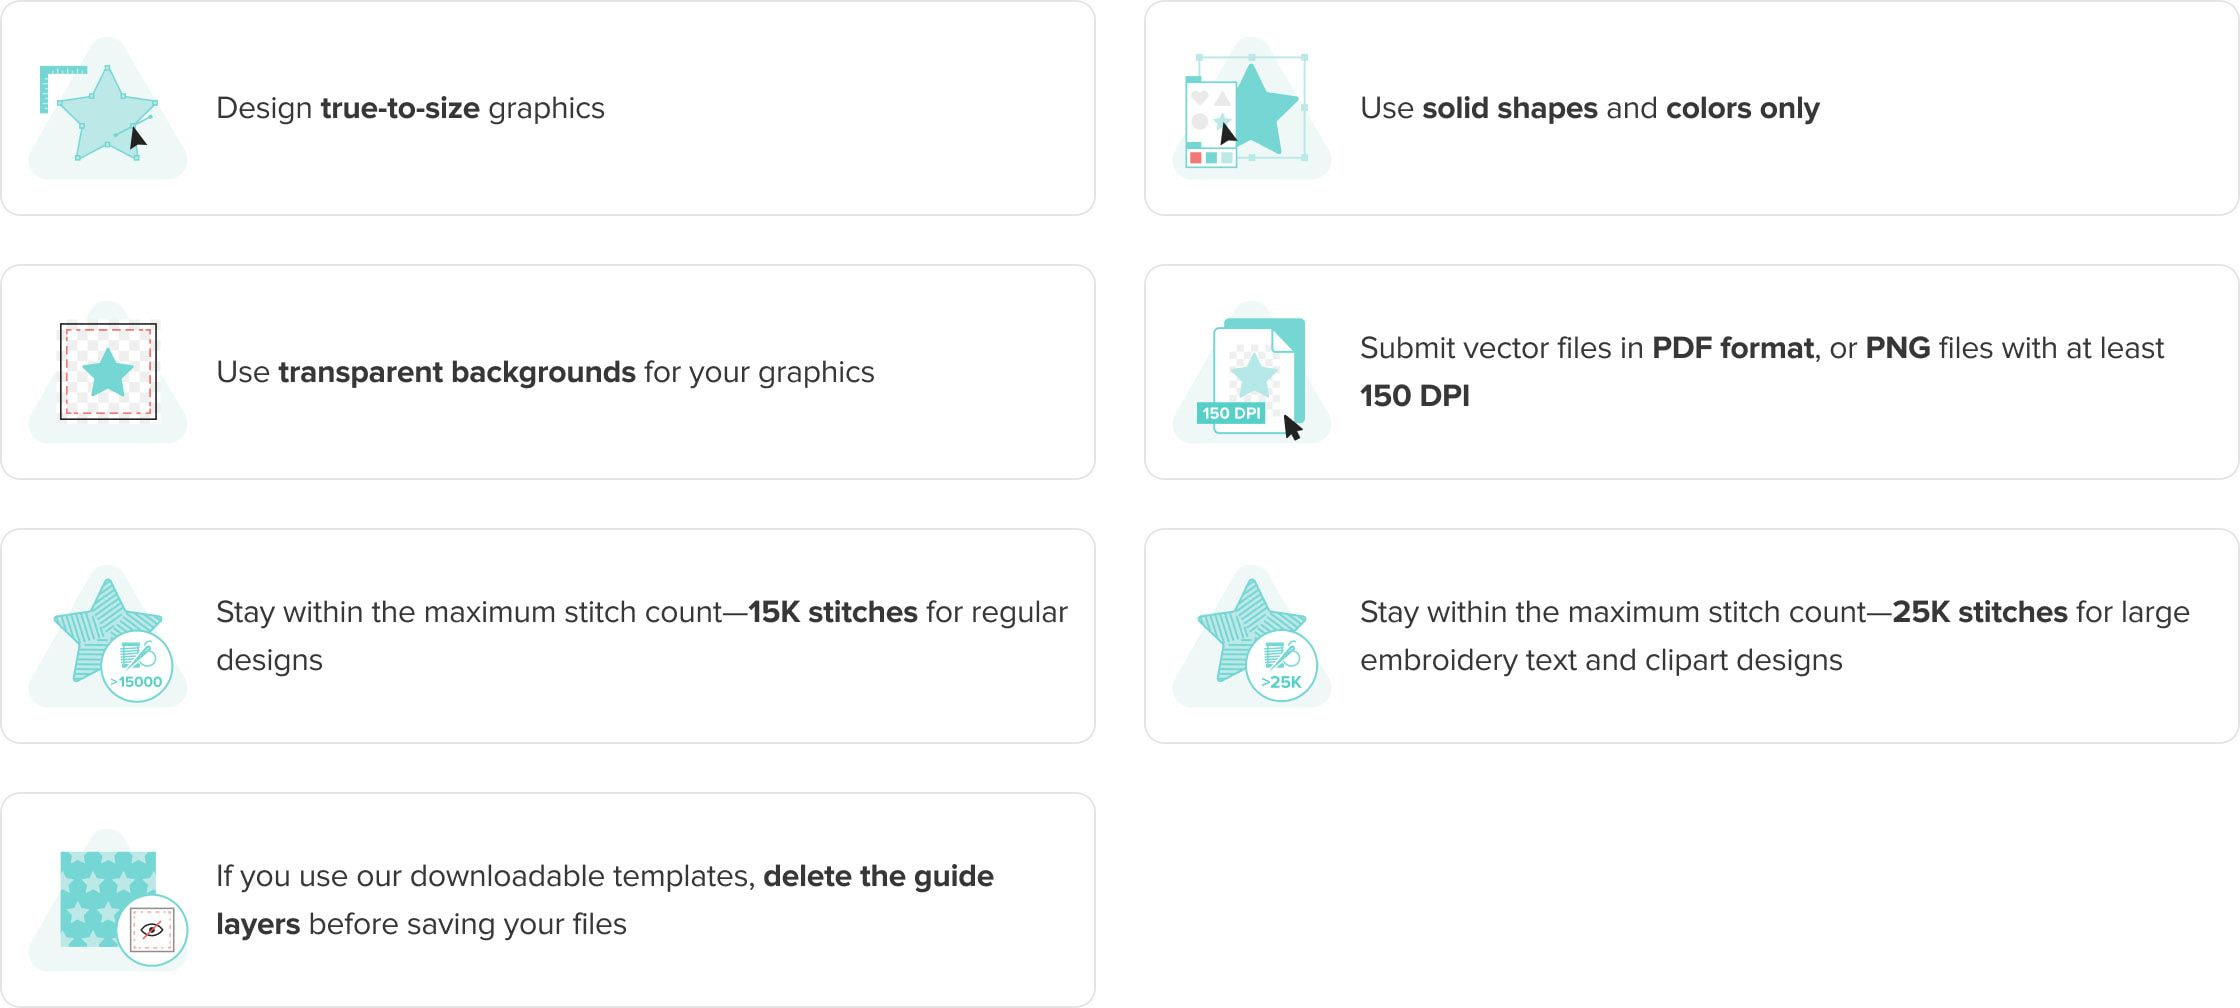
- Each embroidery type and new design needs to be digitized, and the standard digitization fee is $6.50 (€5.75). Digitization converts your design file to a format that our embroidery machines can read. You can reuse your digitized files for future orders of the same embroidery design without additional digitization fees.
- We use a run stitch (single-line stitch) for fine details in flat embroidery.
- The generated preview on the mockup is for visual reference only and might not match the final result.
- Human involvement in the embroidery process can lead to minor variations in the exact placement on garments and products.
Tips for best results
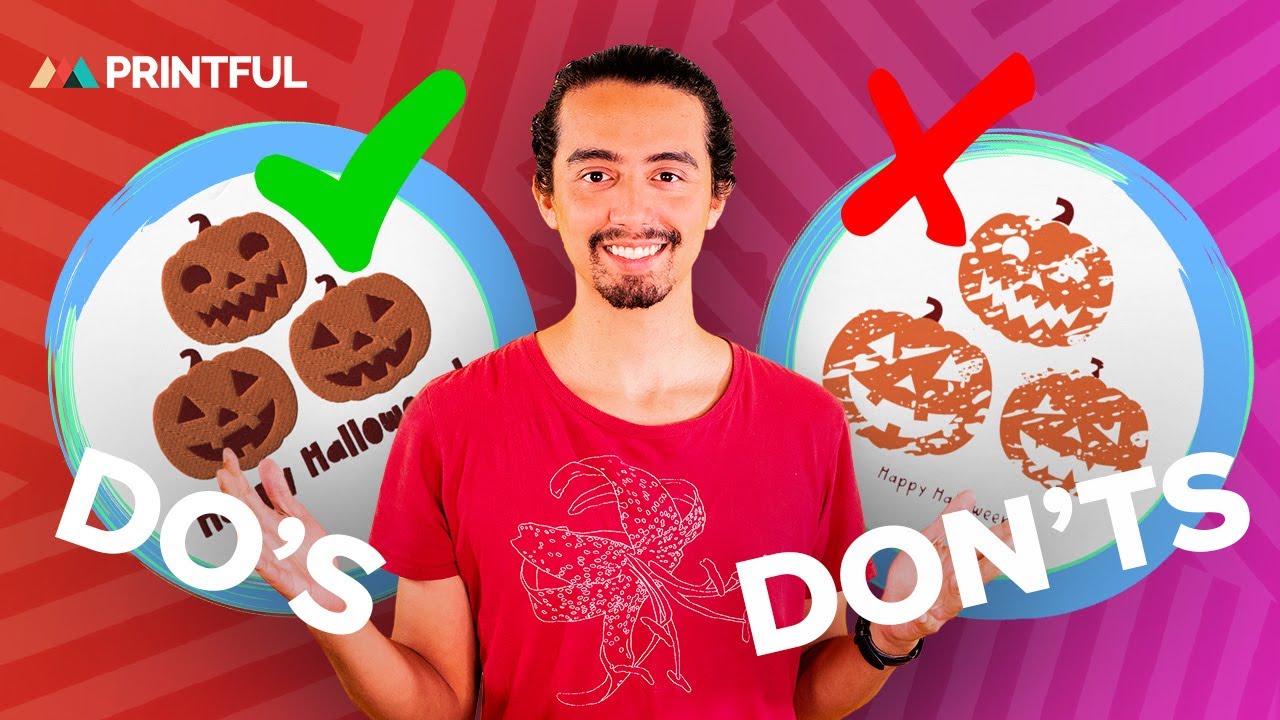
Create embroidery-specific designs. Embroidery is not printing, so many graphics that work on other products won’t be suitable for embroidery products. The best embroidery designs are text-based graphics or simple designs with clean, bold lines. Note that your order will be put on hold if your design has intricate details. Once you’ve updated your order, we’ll review it to ensure everything’s in check.
Head to our embroidery guidelines page for troubleshooting and extra tips for creating embroidery designs.
Available thread colors for standard embroidery
Each embroidery file should only contain 6 of these colors

Available thread colors for unlimited color embroidery
Your embroidery design can contain any color except metallic or neon. Unlimited color embroidery can also be used to create gradients and designs with specific colors outside of our standard embroidery range.
Must-follow guidelines
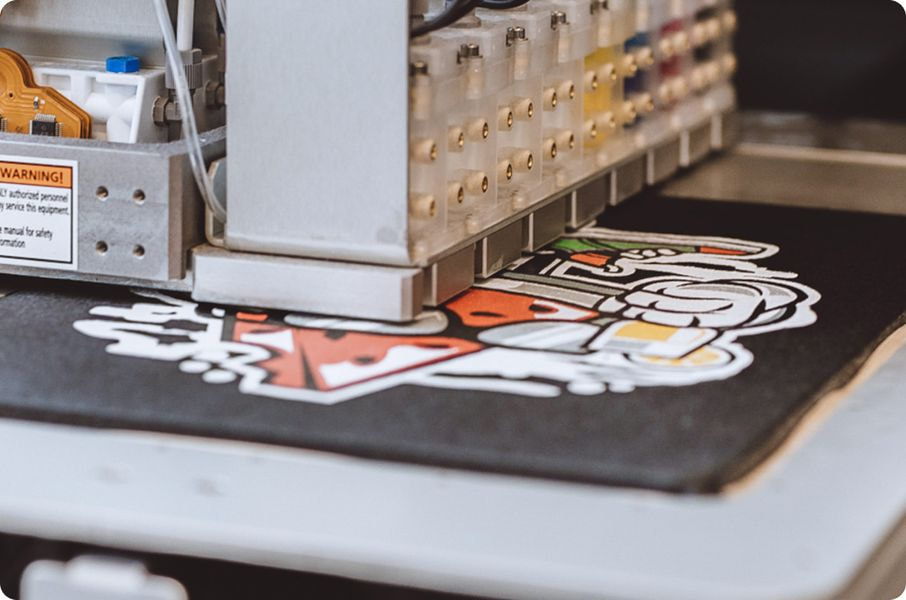
DTG printing
Tips for best results
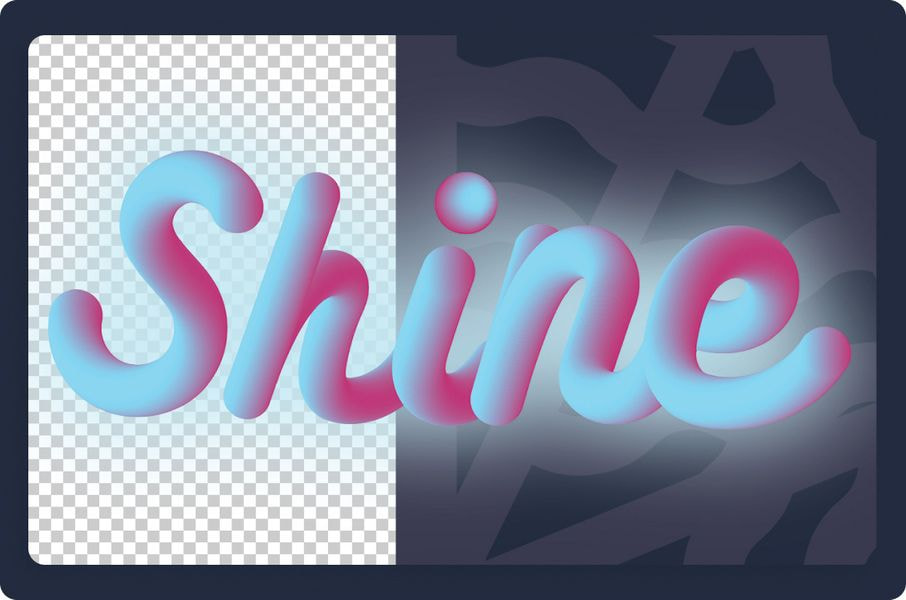
- Avoid semi-transparent designs. Semi-transparent graphics (or elements with lowered opacity) don’t translate well in DTG printing. Use solid colors or simulate semi-transparency by halftoning (for more information, see our video tutorial).
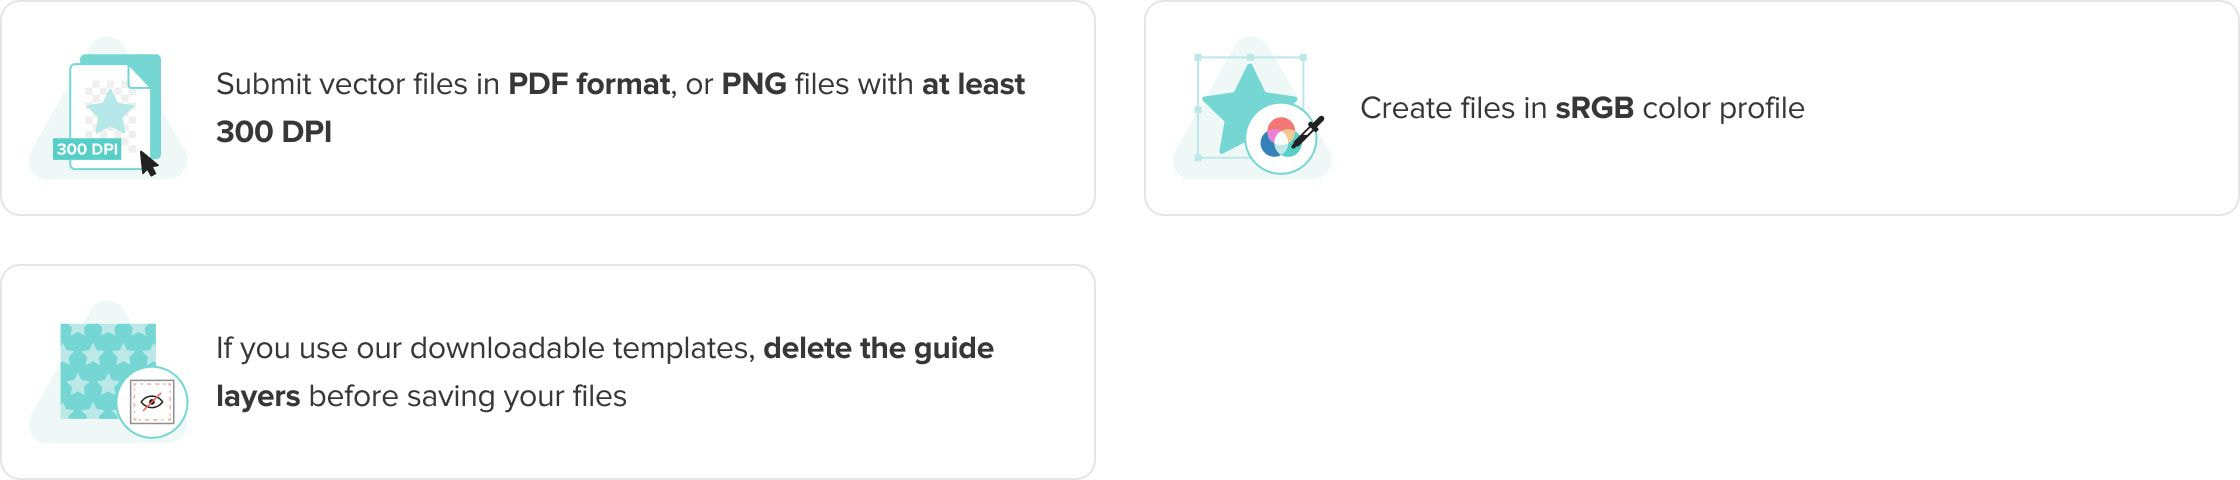
- Create designs with the necessary DPI. Simply typing in a new resolution value into the file won’t create a better print. If your graphic’s resolution is too low, the best solution is to recreate it.
- Use transparency to your advantage. Black ink will appear gray on black garments because of the white underbase used during printing. Leave these areas fully transparent when designing for black garments.
- Avoid borders. We advise against using graphics with perfect borders since the print can warp slightly when the garment is being pulled off the pallet.
DTG disclaimers
- We don’t print white ink on white garments. Designs containing white elements will have areas without a print.
- Light ink on bright fabric might look tinted. This is most evident on Red, Maroon, and other similar colors.
- Human involvement in the printing process can lead to minor variations in the exact placement on garments and products.
- Read more about DTG printing here.
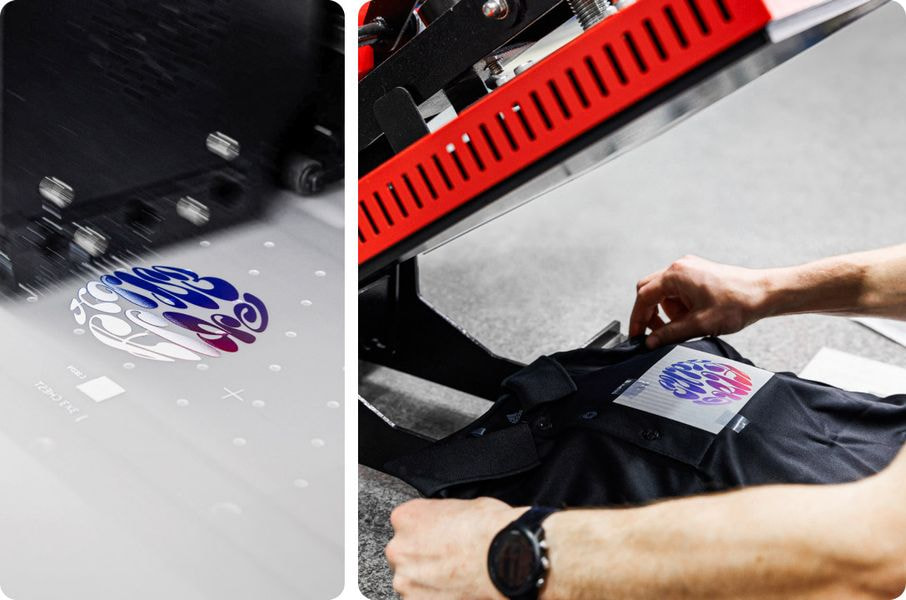
DTF printing
Tips for best results
- Avoid semi-transparent designs. Semi-transparent graphics (or elements with lowered opacity) don’t translate well in DTF printing. Use solid colors or simulate semi-transparency by halftoning (for more information, see our video tutorial).
- Have some negative space in your design elements. Incorporate see-through elements throughout the design to give your print a lighter feel. This way, less ink and adhesive will be applied to the garment, creating a softer final result compared to large, solid-color designs.
- Create the designs with the necessary DPI. Simply entering a new resolution value won’t create a better print. If your graphic’s resolution is too low, the best solution is to recreate it.
- Avoid soft edges. Designs with soft edges don’t work for direct-to-film prints because the small ink dots that create the effect don’t have a big enough surface area to adhere to the garment. As a result, you’ll most likely create a rough, blotchy edge.
- Customize products with high-resolution images. Direct-to-film printing is a great choice for photography designs as it allows to print full-color, high-quality images. Note that the higher the image resolution, the clearer and sharper the print result.
DTF disclaimers
- Due to printing specifications, the white color layer may be visible under the color ink layer.
- The print might feel slightly stiff at first but will wear in after a few washes. The feel of the print can vary based on the type of fabric used. The breathability for garments with these prints is relatively low.
- A direct-to-film print might develop small cracks if the fabric is washed in hot water.
- We recommend ironing products inside out as ironing the print directly may change its color. For example, white design elements could turn yellow.
- Ensure all lines are a minimum of 1 pt thick in Adobe Illustrator or 4 px at 300 DPI in Photoshop.
- Keep all text lines at least 1 pt thick. Font sizes may vary depending on the typeface, but they should generally be between 10 and 12 pts.
- Add a background color to small text elements to help prevent them from peeling off.