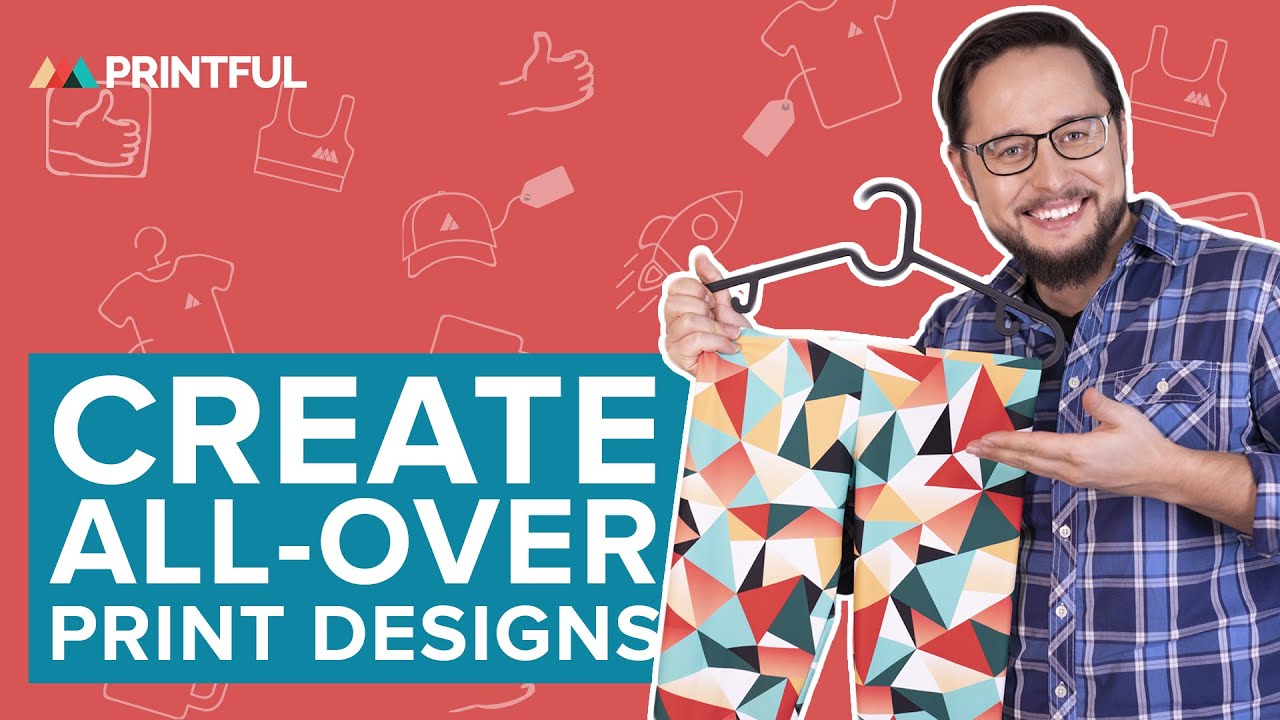
Find out how to design all-over print products using our free Design Maker
Learn how to create perfectly aligned designs from seam to seam
Order apparel for yourself or start selling it online with no minimums
How all-over printing works

Sublimation printing
Your design is printed on sublimation paper which is then combined with a roll of fabric using a heat press.
Fabric cutting
We cut the fabric into multiple sections—front, back, sleeves, and other relevant parts using specialized fabric-cutting tools.
Sewing it together
Our in-house expert team then sews your product together using industry-leading sewing machines.
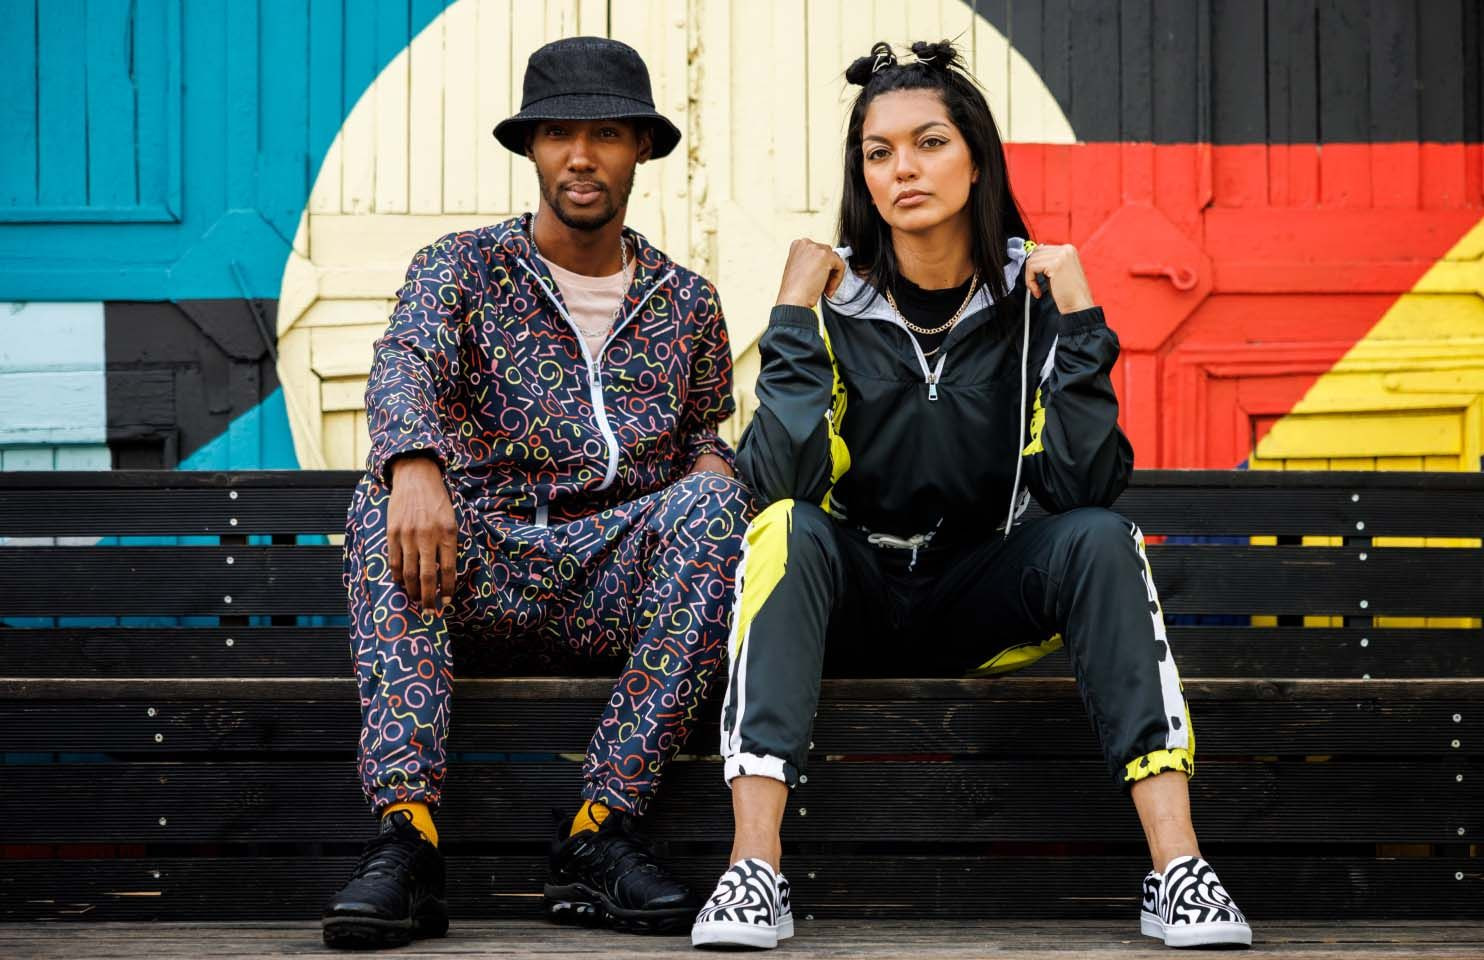
What all-over printing brings to your product range

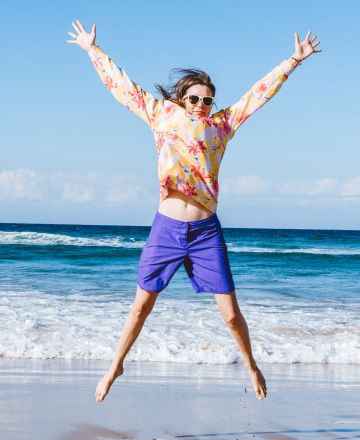
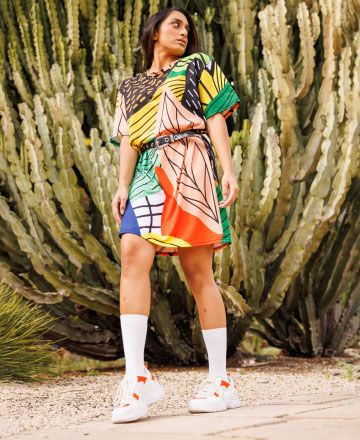
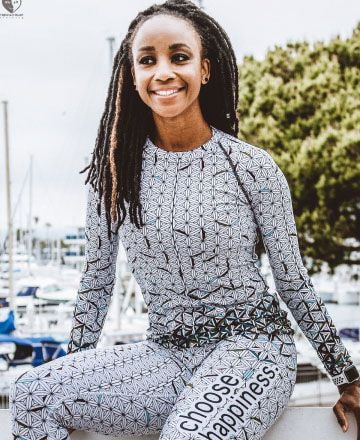
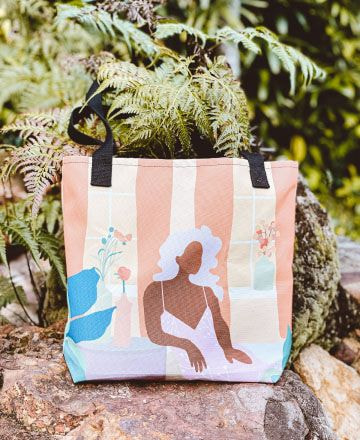
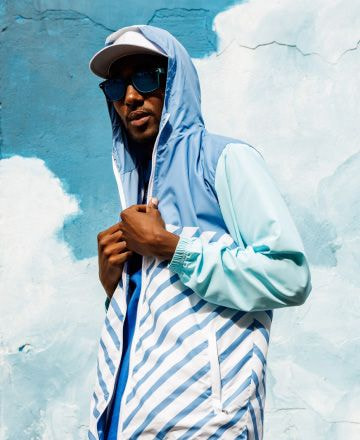
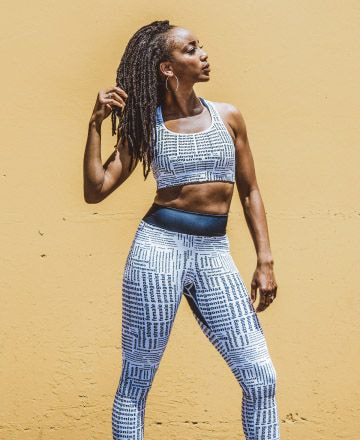
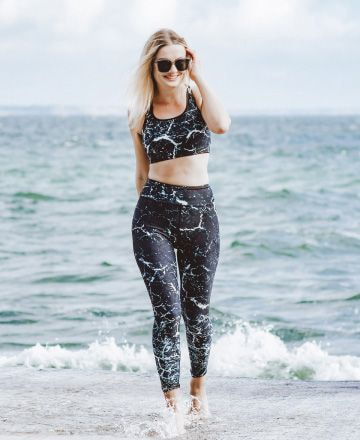
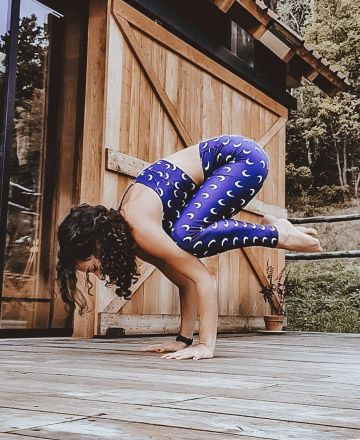
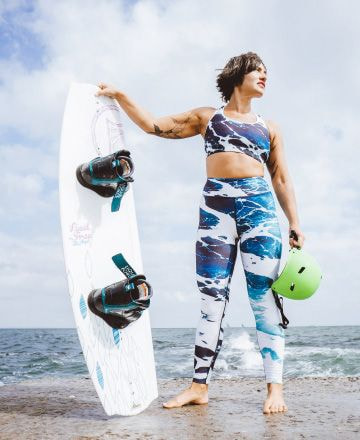
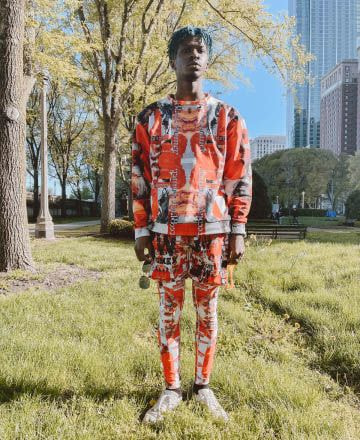
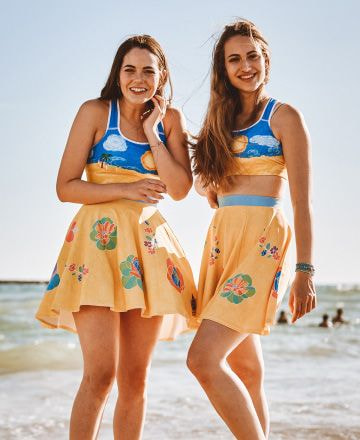
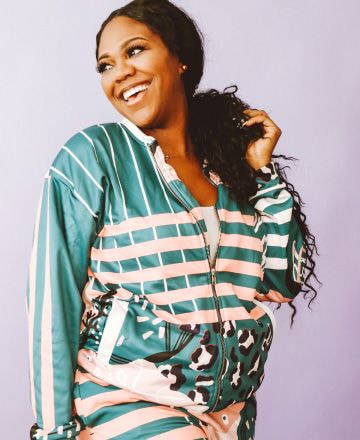
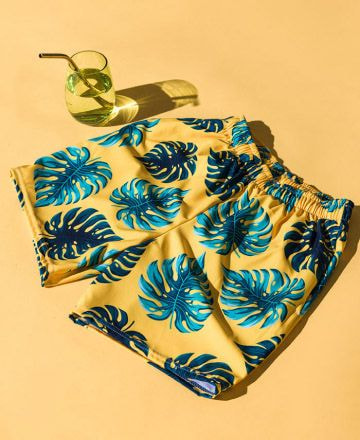
All-over printing (AOP) is suited for light-colored fabrics that are either 100% polyester, polymer-coated, or polyester blends. We’re using white fabric to ensure the best possible design outcome. You’ll find a wide range of products in our catalog that you customize with AOP, like:
- Shirts
- Sweaters
- Leggings
- Bags
- Home decor items
- . . . and so much more!
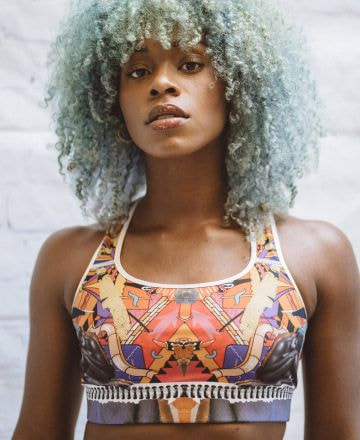
With AOP, you can create large prints and stunning patterns covering the entire product with your design.
How to prepare AOP files that look good when printed

Use full-bleed images
Use graphics that can fill the design template to cover the entire product. If your design covers only a part of the print area, create a transparent background and save it as a PNG file so that the print area without the design doesn’t get printed white.

Save design files in PNG or JPEG
Submit files in PNG or JPEG formats. If you want your design to have a transparent background, then PNG is your best choice. This way, you can select any print area background color in the Design Maker. If you want your design to cover the whole product material, use JPEG.

Stay in the safe zone
Keep all the important graphics or texts within the safe print area to avoid missing design elements on the finished product. That will also prevent the design elements from being sewn into the seams.

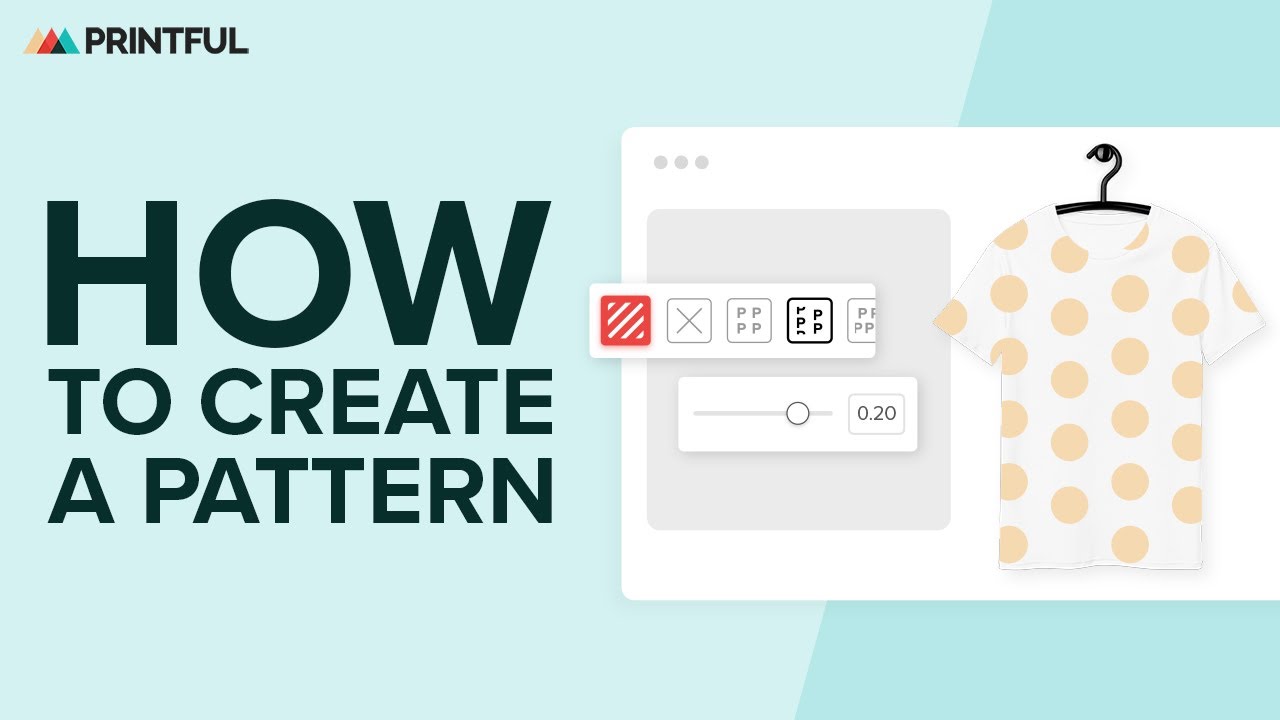
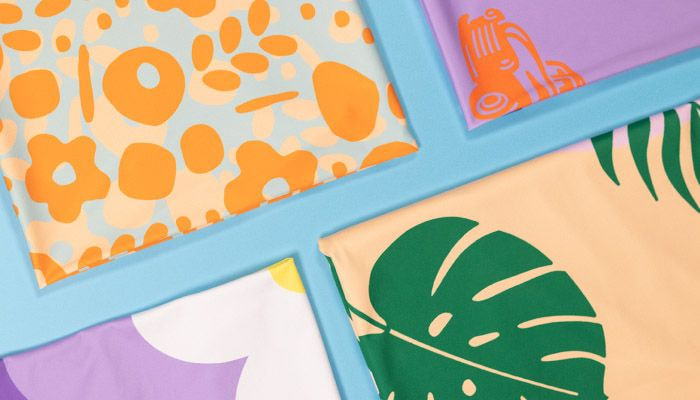
Create patterns
Use our Design Maker’s Pattern Tool to create stunning all-over print designs for products in just a few clicks. You can easily fill in the background with one of our graphics.
Master the art of all-over print designs
Here’s everything you need to know to get started with AOP designs
Common design file issues and how to solve them

Test your design by ordering a sample with 20% off
Explore popular AOP products
Spring and summer fashion trends
Inspiration for your next masterpiece


Additional guides & resources
Become an expert of all-over print products
Frequently asked questions
We offer 4 different types of printing:
1) Sublimation printing: this technique embeds designs directly into the material of the products. It’s used for products we cut and sew in-house (a.k.a AOP products) and ready-made ones like mugs, socks, and phone cases.
2) DTG (direct-to-garment) printing: it has a photographic quality, and it’s perfect for detailed designs.
3) DTF (direct-to-film) printing: it’s incredibly versatile and can be used for prints on various fabric blends, including heavy-duty sportswear and outerwear.
Check out our fulfillment techniques to learn more about our printing and customization services.
You can find AOP file guidelines on each product page under the File guidelines tab.
There’s no difference between these terms. All-over print products are also referred to as cut & sew products.


