


Table of contents
Whether you're looking for a personalized tumbler to gift a friend, want to launch a tumbler business, or simply looking to upgrade your drinkware, knowing how to make custom tumblers opens up a world of creative possibilities.
This guide covers:
-
The main printing methods used to make custom tumblers.
-
How to create and sell custom tumbler cups with Print on Demand.
-
How to make DIY custom tumblers at home.
-
Custom tumbler design ideas to get you inspired.
-
The costs of making custom tumblers.
Printing methods for custom tumblers
Before you start making tumblers, let’s take a look at how they're actually printed. The two most common professional methods are UV printing and sublimation. Each has its strengths, and the right choice depends on your budget, materials, and goals.
UV printing
UV printing is a digital printing technology that uses ultraviolet light to cure ink directly onto a surface. Because the UV light bonds the ink to the tumbler almost instantly, the result is a precise, vibrant print that resists scratching and fading over time.
The non-porous stainless steel surface of most tumblers makes them an excellent candidate for UV printing. You can print detailed graphics, fine text, and photographic images with impressive clarity.
Pros:
-
Produces high-quality prints with vivid colors and fine detail.
-
Durable results – UV-cured ink is scratch-resistant and long-lasting.
-
Works on a wide range of materials, not just coated surfaces.
-
Fast production allows multiple tumblers to be printed simultaneously.
-
Supports full customization, like names, logos, photos, quotes, and more.
Cons:
-
UV printers require a significant upfront investment.
-
High operating costs due to specialized inks and regular maintenance.
-
Not practical for small-scale hobbyist use without a large budget.
-
Requires a specific UV print file.
Sublimation
Sublimation printing transfers dye into a material using heat and pressure, rather than simply applying ink on top. The result is a print that becomes part of the tumbler's surface, making it exceptionally vibrant and durable.
However, not every tumbler is compatible with this printing method. Sublimation tumblers are engineered with a polyester coating that allows the dye to bond correctly during the sublimation process. Attempting sublimation on a regular tumbler without this coating can result in failed prints or damage to the product.
Pros:
-
Delivers vibrant, detailed prints with sharp lines and rich colors.
-
Since the dye bonds with the coating, prints won't peel or crack.
-
Fast turnaround, no physical screens or plates needed.
-
Eco-friendly process with minimal waste.
Cons:
-
Only works on sublimation-compatible tumblers with a polyester coating.
-
Colors may appear slightly different before and after heat transfer.
-
Requires a tumbler press, sublimation printer, and specialty inks, which can get expensive.
Valuable read: What is sublimation printing?

UV and sublimation printing compared
|
Feature |
UV printing |
Sublimation |
|
Cost |
Higher upfront equipment cost (UV printers are a significant investment). |
Lower entry cost, but requires specific ink, paper, and coatings. |
|
Durability |
Excellent, scratch and fade-resistant. The ink sits on top but is cured hard. |
Excellent, dye bonds into the surface. Impossible to feel or peel. |
|
Color vibrancy |
High, with precise detail and the ability to print "white" ink. |
Very high, especially on polyester-coated surfaces. Colors are incredibly rich. |
|
Suitable materials |
Wide range, including stainless steel, glass, and plastic (non-coated). |
Sublimation-coated tumblers only, will not work on raw materials. |
|
Complexity |
Moderate, requires UV printer maintenance and software setup. |
Moderate, requires a heat press (or oven) and precise timing/temp. |
How to make custom tumblers with Print on Demand
If you want to create and sell custom tumbler cups without buying equipment or managing inventory, Print on Demand (POD) is the easiest route. With trending products like personalized tumblers becoming the hottest accessory, there's never been a better time to jump in.
Printful makes it super simple for first-time tumbler markers to design and sell personalized cups online with no inventory or upfront costs.
Here's how it works.
1. Choose a tumbler type
Click Product templates on the left menu bar, then Create product. The product Catalog will open, where you can choose from several tumbler styles to fit different needs and audiences. Click on the tumbler you want.
-
Stainless Steel Tumbler: A sleek, cylindrical design with a 360° printable area, matte finish, protective varnish, and a plastic lid with a metal straw. Great for everyday use.
-
Insulated Tumbler with a Straw: Keeps drinks cold for up to 24 hours. A colorful, practical option for active lifestyles.
-
Travel Mug (with handle): Made from stainless steel and BPA-free plastic. Keeps hot drinks hot for up to six hours and cold drinks cold for up to eight hours, ideal for commuters.
-
Wine Tumbler: Crafted from high-grade stainless steel with a double-wall vacuum seal, this tumbler keeps drinks at the perfect temperature for up to five hours.
Pro tip: All Printful tumblers are designed for hand washing only to maintain print quality. Make sure to communicate this to your customers.
2. Create or upload a design
Now it’s time to design it. You have two options:
-
Upload your own design: If you've created artwork in Photoshop, Illustrator, or another tool, simply upload your file directly to Printful.
-
Use Printful's Design Maker: This free, browser-based tool lets your creativity run wild. It gives you access to 712 fonts, over 20,000 clipart graphics, 3,100+ ready-made designs, and 550+ background graphics. You can also use Quick Designs – pre-made templates you can personalize by adjusting colors, sizes, and text.
3. Adjust, preview, and order
Use the mockup view in the Design Maker to see exactly how your tumbler will look. Make sure all design elements sit within the safe print area – the grid lines in the tool make this easy to check.
Once you're happy with the result:
-
Click Save to template, and close the Design Maker.
-
Go to your Printful dashboard.
-
Click New Order in the top right corner, then My product templates.
-
Select your tumbler and size (if available), then click Add to cart.
-
Enter shipping details and complete payment.
Pro tip: Reorder the same tumbler design any time by returning to your product templates and repeating the process above.
4. Start selling custom tumblers
Printful integrates with sales platforms like Shopify, Etsy, WooCommerce, Wix, and more. Once a customer places an order on your website or storefront, Printful automatically receives it, produces the tumbler, and ships it directly to them – no extra work needed on your end.
How to make DIY custom tumblers
It’s possible to make custom drinkware by hand, but it’s going to take more time and a significant upfront investment in materials and a potential workspace.
1. Choose your tumbler and customization method
Start by selecting a plain cup and deciding how you want to decorate it.
-
Sublimation: Best for full-color, all-over prints.
-
Vinyl decals: A beginner-friendly method. Great for names, simple graphics, and monograms.
-
Epoxy tumblers: Coat your tumbler with epoxy resin for a glossy, durable finish. Often combined with glitter or other decorative elements.
-
Glitter tumbler: Apply glitter between layers of epoxy resin for a sparkly, fun, eye-catching look.
-
Rhinestone tumbler: Attach rhinestones by hand for a luxe, blinged-out finish.
-
Etched tumblers: Use a laser engraver or an etching cream to create permanent, frosted designs on stainless steel.
2. Prepare your workspace and tools
Set up a clean, organized workspace with all your tools.
Here are a few materials a tumbler maker may need, depending on what kind of personalized tumbler you’re making:
-
Stainless steel tumbler (sublimation-coated if sublimating)
-
Sublimation printer with sublimation ink, or a Cricut cutting machine for vinyl
-
Tumbler press (for sublimation)
-
Epoxy resin and mixing supplies (for epoxy or glitter tumblers)
-
Glitter, rhinestones, or other decorative materials
-
Laser engraving machine
-
Protective gloves, a face mask, a well-ventilated area, and a heat-safe surface
Good preparation makes the process faster and reduces the chance of errors, especially with methods like epoxy resin, which can be time-consuming if you're not organized.
3. Create and print your design
This step varies by method:
-
Sublimation: Create your artwork digitally (using software like Canva, Photoshop, or Illustrator), print it on sublimation paper with sublimation ink, wrap it around the tumbler, and use your tumbler press to transfer the design with heat.
-
Vinyl decals: Design your graphic and use your Cricut cutting machine to cut it from vinyl. Remove the excess vinyl, apply transfer tape, and carefully press the decal onto your personalized tumbler. Smooth out any bubbles with a scraper.
-
Epoxy/glitter: Paint or add glitter to your tumbler, then seal with multiple coats of epoxy resin, letting each coat cure fully before adding the next.
-
Rhinestones: Plan your pattern, then decorate your rhinestone tumbler using glue or a heat tool to secure each stone.
Many crafters find it helpful to watch a YouTube video tutorial before attempting a new method, especially for sublimation tumblers or epoxy tumblers, where technique matters a lot.
4. Inspect the finished product
Once your personalized tumbler is complete, inspect it carefully before gifting or selling it:
-
Check for bubbles, peeling, or uneven coverage in the design.
-
Make sure all vinyl decals are firmly adhered with no lifting edges.
-
For epoxy tumblers, confirm the resin has fully cured and is smooth.
-
Test the lid and straw (if applicable) to ensure everything functions correctly.
A well-made, quality tumbler is something your customers or recipients will use daily, so it's worth taking the time to get it right.
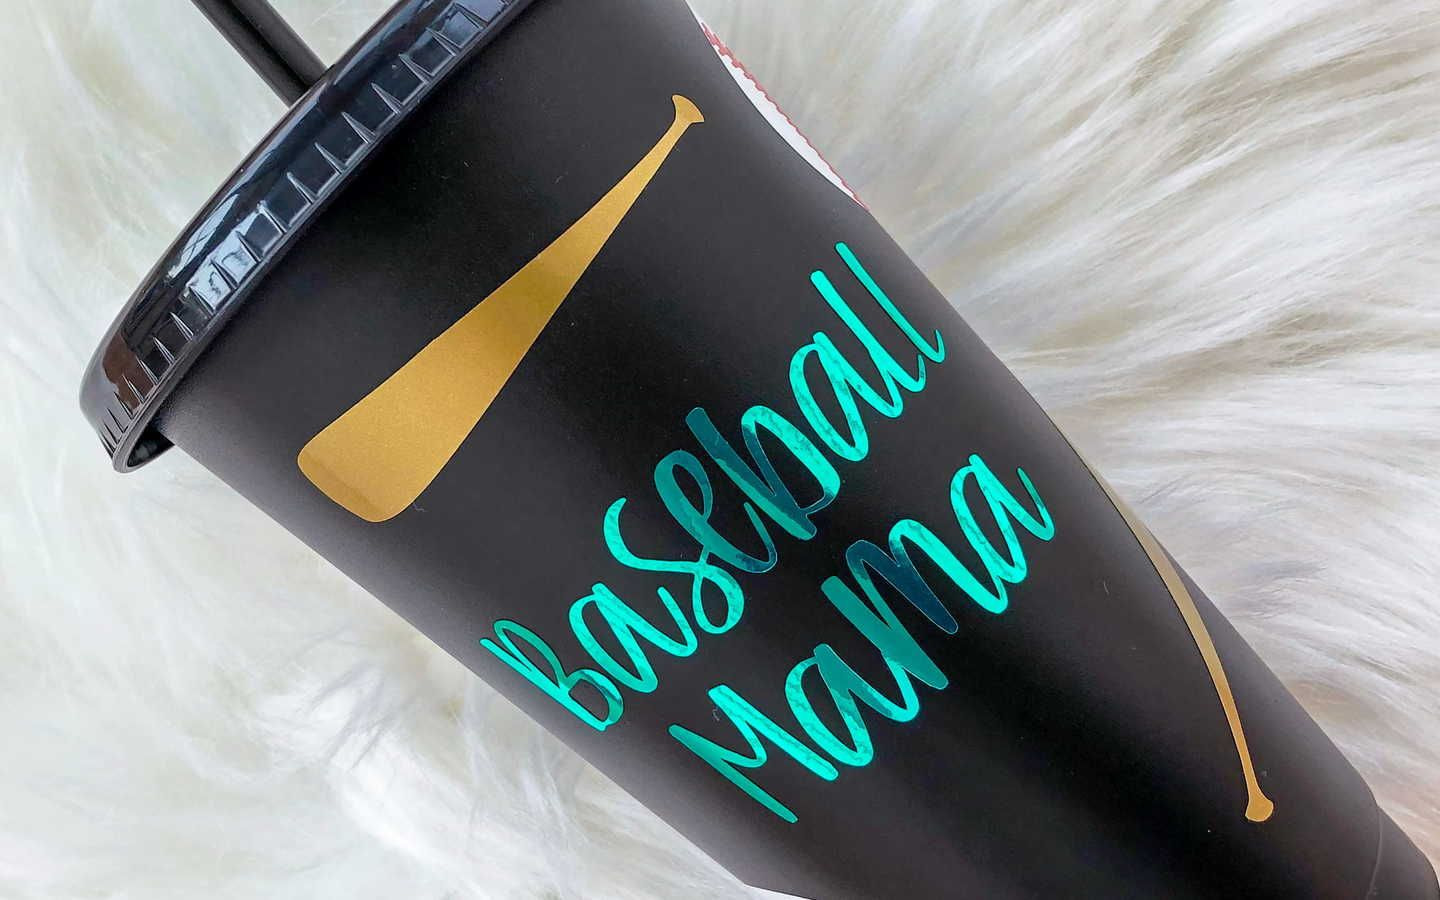
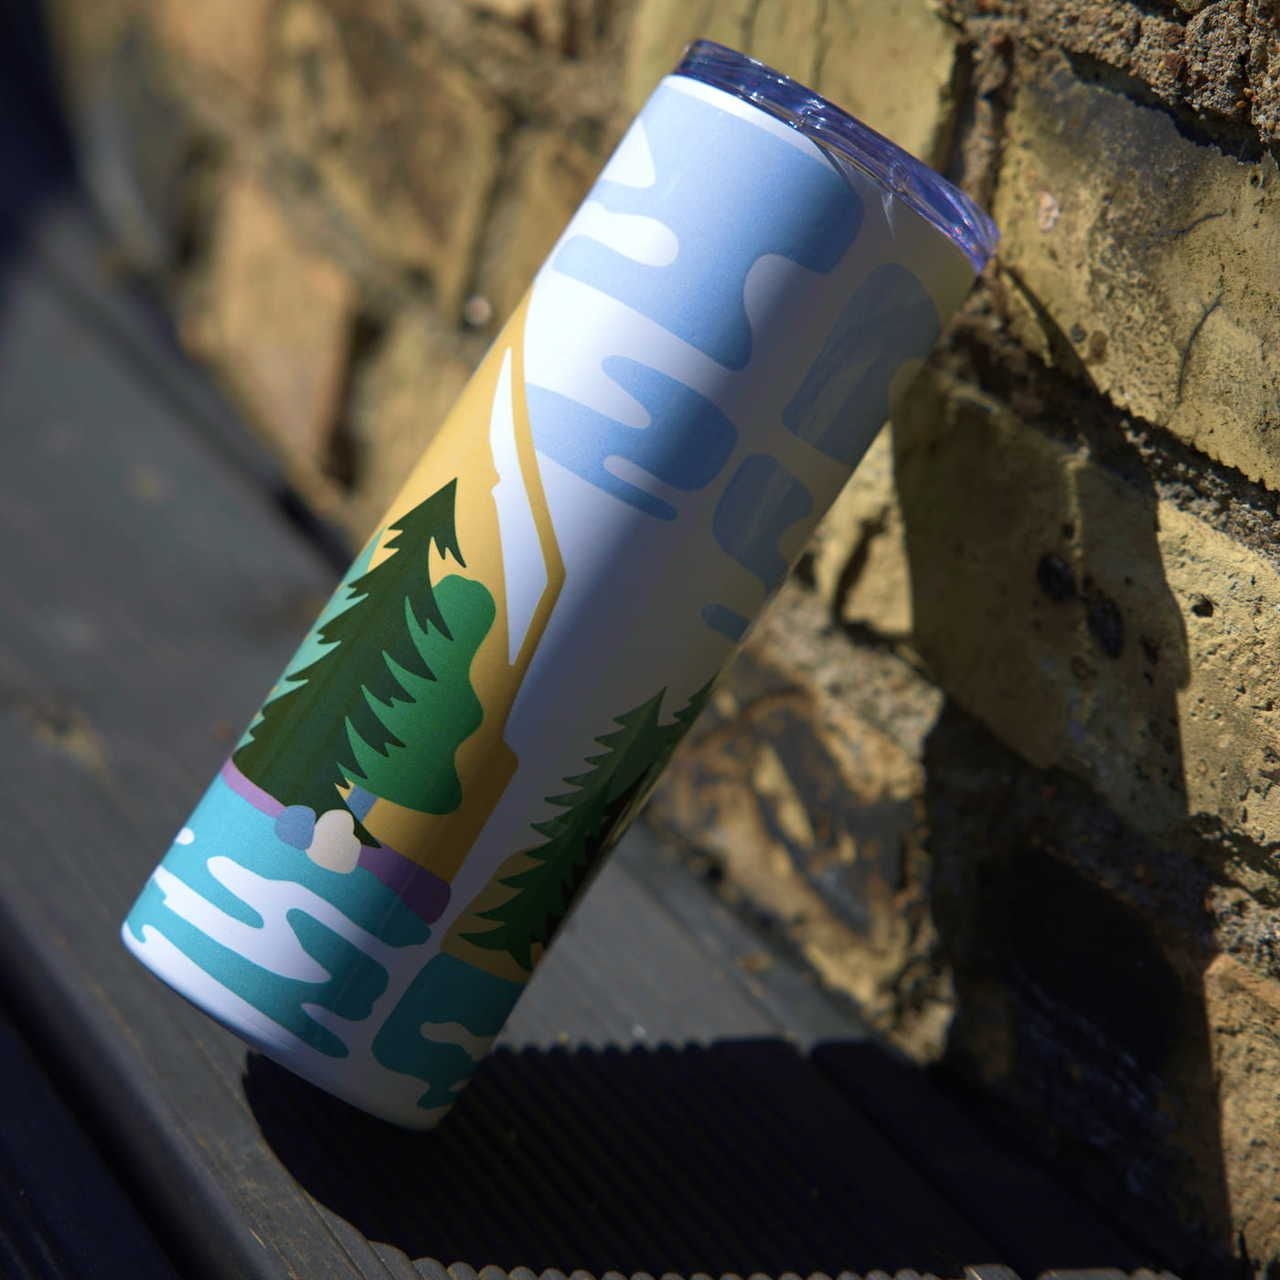
Custom tumbler design ideas
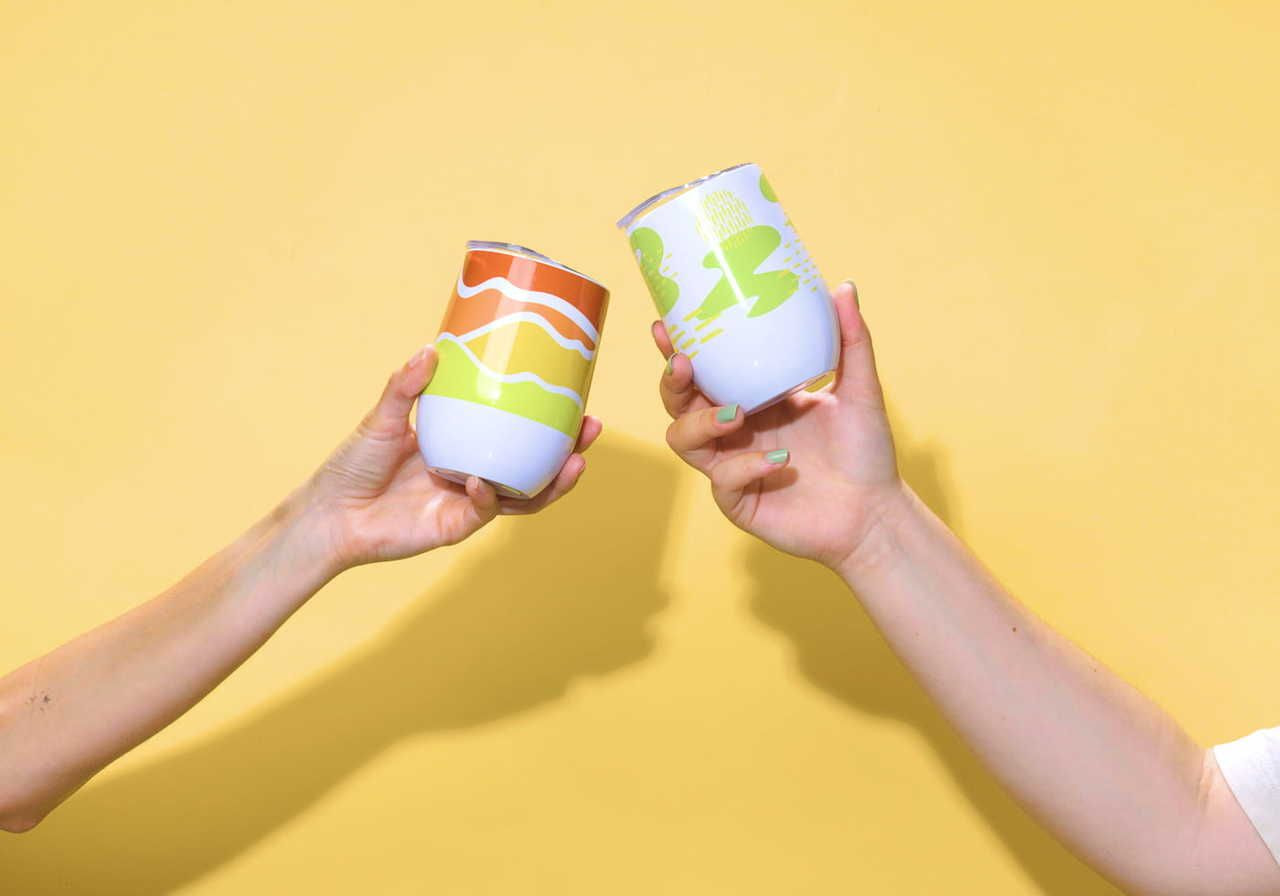
Looking for inspiration? Here are some popular custom tumbler design ideas to spark your creativity.
-
Monograms and names: Clean, personalized initials or names in bold fonts. Always popular as gifts for friends and family.
-
Inspirational quotes: Motivational phrases or mantras that resonate with your audience.
-
Company logos: Branded tumblers make excellent corporate gifts and are a great way to get a brand in front of new customers.
-
Illustrations and artwork: Custom drawings, pet portraits, or bold graphic art for a unique, "artist-series" look.
-
Seasonal and holiday: Halloween, Christmas, or summer-themed designs that tap into specific seasonal demand.
-
Weddings and events: Custom dates, names, or messages, perfect for wedding favors or anniversary gifts.
-
Nature and botanicals: Floral patterns, leaves, or landscape illustrations for a calming, aesthetic feel.
-
Retro and vintage: Bold typography and throwback color palettes that appeal to nostalgia.
Check out our roundup of 25 tumbler design ideas to get inspired.
How much does it cost to make custom tumblers?
The cost of making custom tumblers depends heavily on whether you go the DIY route or use a print-on-demand service. Here's a side-by-side breakdown.
|
Metric |
DIY (In-House) |
POD (Printful) |
|
Base product cost |
$5–$15 per tumbler (bulk/wholesale). |
Included in the base product price. |
|
Production cost |
High upfront ($200–$2,000+ for equipment). |
$0 – Printful handles equipment and labor. |
|
Shipping cost |
Varies. You handle packing and postage. |
Carrier-calculated, handled by Printful. |
|
Platform fees |
None (unless using Etsy, Shopify, etc.). |
None beyond standard platform fees. |
|
Total cost per unit |
$8–$25+ (varies by method and volume). |
Around $15–$25 (depending on tumbler style). |
|
Typical margin |
40–60% (if priced at $25–$40). |
30–50% (if priced at $30–$45). |
Conclusion
Learning how to make customized tumblers is now easier than ever, whether you want to craft them by hand or launch a full-scale tumbler business using Print on Demand.
If you're just getting started, POD with Printful is the easiest way to go – no equipment, no inventory, no fulfillment headaches. Simply choose a cup, customize it with your personalized tumbler design, and start selling.
Frequently asked questions
The easiest way is to use a print-on-demand service like Printful. You create a tumbler using the free Design Maker, and Printful handles the production and shipping. There's no equipment to buy, no inventory to manage, and no minimum order requirements.
It depends on your decoration method. For POD, all you need is a Printful account and a design.
For DIY sublimation, you'll need a sublimation printer, sublimation ink, sublimation paper, a tumbler press, and compatible tumblers.
For vinyl tumblers, you'll need a Cricut cutting machine, vinyl sheets, and transfer tape.
For UV printing, you need a UV printer, a significant investment typically suited to professional setups.
For sublimation, you need a sublimation printer, ink, paper, and a tumbler press.
For a no-equipment option, a print-on-demand service handles everything for you.
High-quality stainless steel tumblers printed with UV or sublimation can last for years with proper care. The print itself is durable and resistant to fading, especially when the tumbler is hand-washed rather than put in a dishwasher.
Most custom tumblers, especially stainless steel tumblers with printed designs, are not dishwasher-safe. The heat and harsh detergents can damage the print and affect the tumbler's insulation. Always hand-wash only to maintain quality and longevity.
Yes! Custom tumblers are super popular with many niches and customer demographics. With a typical retail price of $25–$45 and production costs in the $15–$25 range (via POD), margins of 30–50% are easily achievable.
When saving on equipment, storage, and fulfillment by using POD, even a small online shop or website can turn a big profit.

Chan is a copywriter, creative writer, and technical writer with 15 years of experience creating everything from training courses to compelling marketing copy. A self-confessed research nerd, she loves digging deep into a subject and bringing it to life on the page. When she’s not writing, she’s exploring forest trails or walking the beach with her dog, or in the kitchen experimenting with homemade pickles and jams.