


Table of contents
Clothing photography for eCommerce falls into two main approaches: flat-lay and ghost-mannequin shots that isolate the garment as a product, and lifestyle or on-model photography that shows the piece being worn and in motion.
This guide covers the equipment, techniques, and editing workflow behind apparel and clothing product photography, with a focus on online sellers.
What is clothing photography?
Clothing photography is the practice of capturing garments in images built to help shoppers evaluate fit, fabric, and style without touching the product. Sellers, marketers, and photographers use several near-synonymous terms for this work, and each carries a slightly different emphasis:
-
Apparel photography leans toward the broader fashion and retail industry.
-
Garment photography emphasizes the construction and craftsmanship of the piece itself, common in manufacturing and wholesale catalogs.
-
Clothing product photography and product photography both specifically serve the eCommerce use case: images designed to sit on a product page and drive a purchase decision.
Merchants care about the outcome regardless of which term they use. Whether you call it clothing photography or garment photography, the images need to show scale, color, texture, and drape accurately enough that shoppers trust what arrives will match what they saw on screen.
This holds for apparel sellers of any size, including print-on-demand brands, where the photo is often the only touchpoint shoppers have with the product before checkout.
Equipment you need for a clothing photography shoot
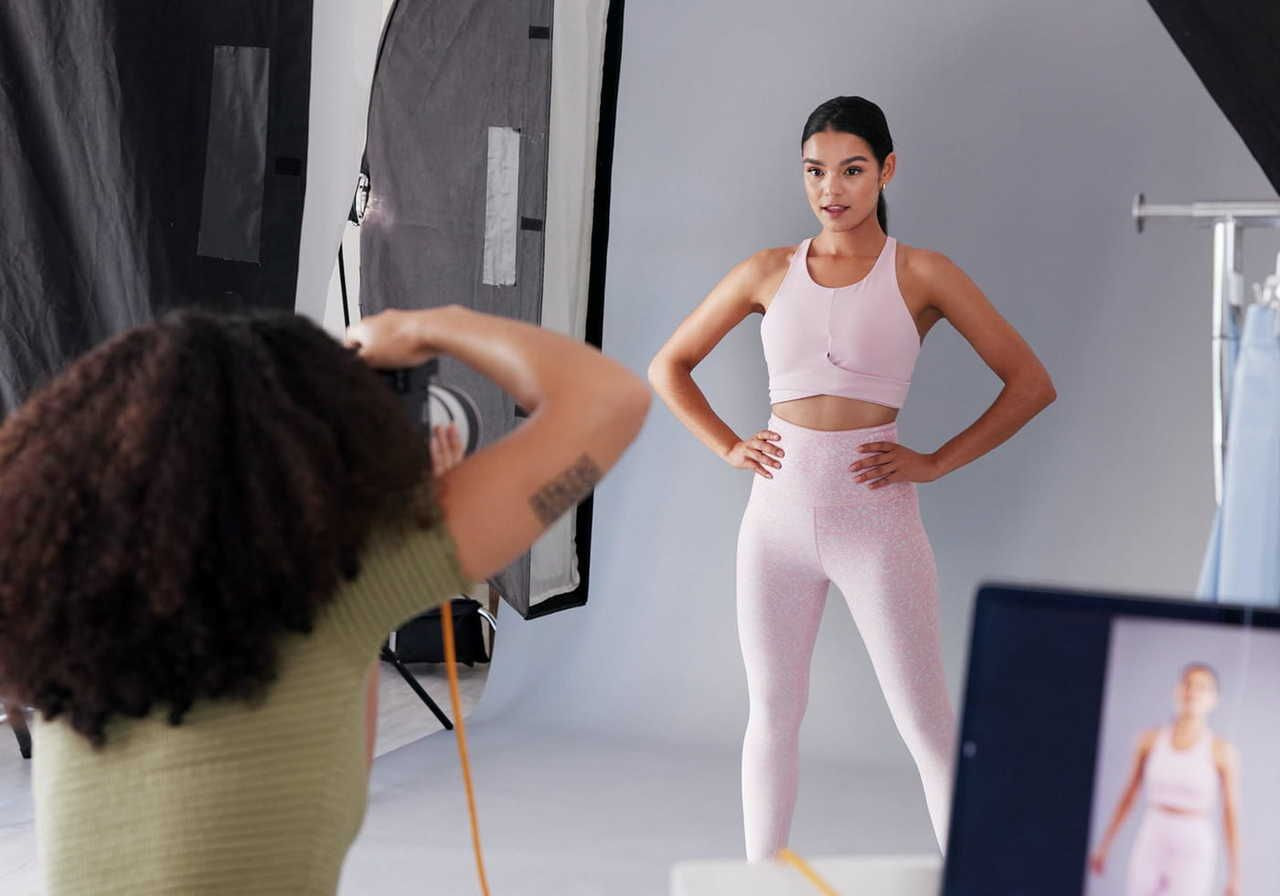
A camera, light source, and background and prep supplies that keep every garment shoot-ready are the three most important factors when taking clothing photos. Let’s look at each one.
Camera and lens basics
A mid-range camera with a standard lens can outperform an expensive body paired with poor lighting. The camera captures light; it doesn’t create it, so investing in lighting delivers a stronger return in image quality than upgrading camera bodies.
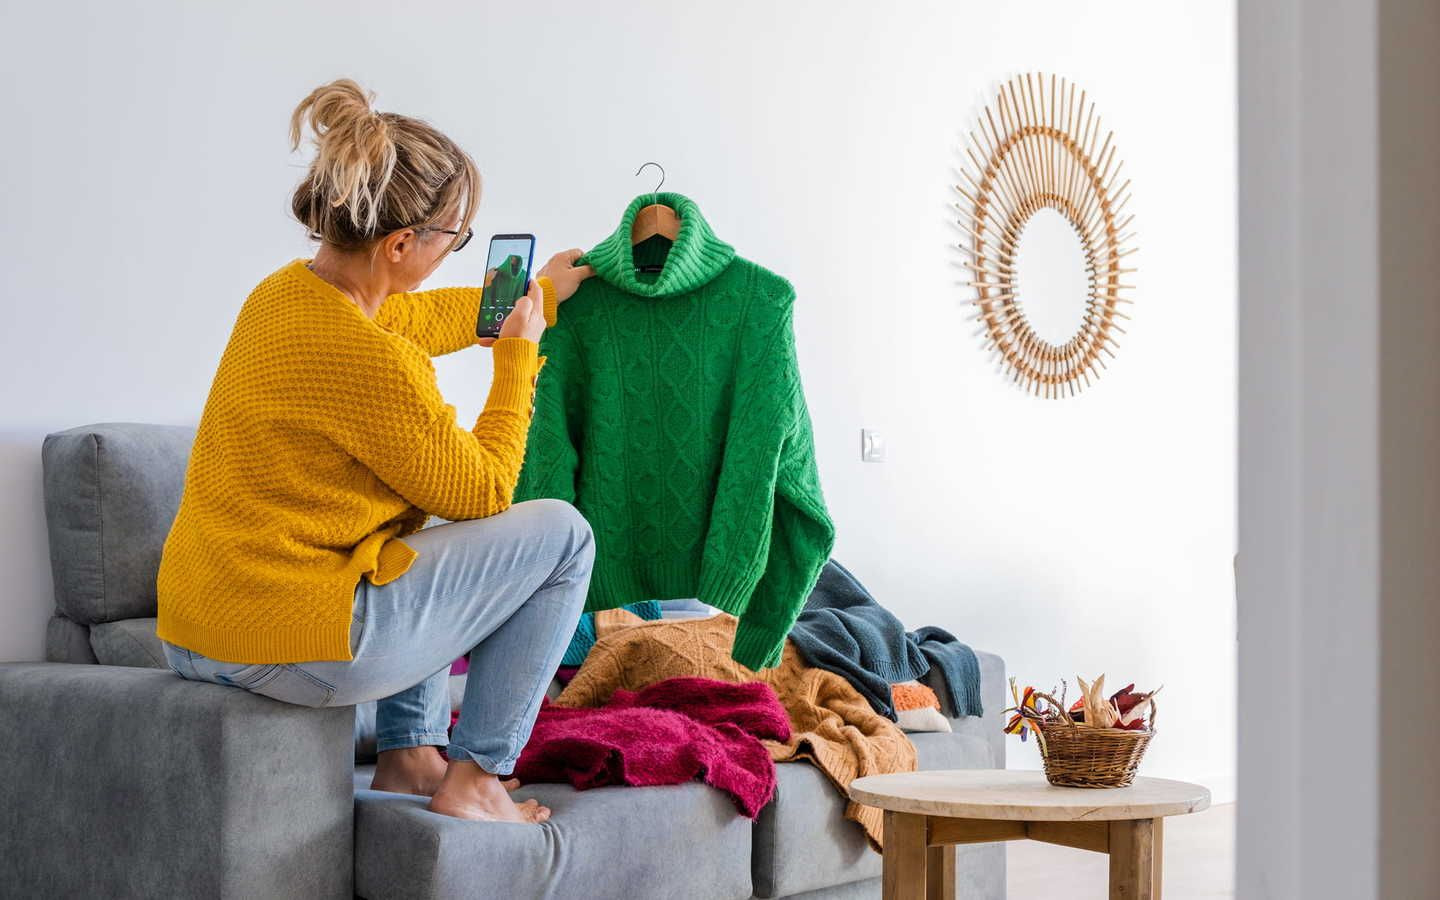
Taking pictures with a phone handles flat-lays and social content well if the scene is evenly lit. Modern phone cameras render well-lit, static setups with enough detail for most product pages.
The gap between a phone and a dedicated camera shows up in low light, in shots that need a shallow depth of field to isolate a garment from a busy background, and in file resolution for large prints or heavy zoom.
For a dedicated camera, a standard 35mm to 50mm lens on a full-frame body suits most clothing photography. It renders proportions naturally, without the distortion a wide-angle lens introduces on a garment shot up close.
A tripod matters as much as the camera body. Locking the frame in place keeps every angle and crop identical across a shot list, so a batch preset applies cleanly across the whole shoot. Tripods also free photographers to adjust garments, fix stray folds, or reposition lights between shots without having to reframe the whole scene each time.
Lighting: Natural light vs artificial light
-
Natural light produces a soft, editorial look well suited to lifestyle photos and on-model images with a relaxed aesthetic.
-
Artificial light, including strobe lights and continuous LED panels, gives a controlled, repeatable studio look that stays consistent from one photo session to the next, regardless of weather or time of day.
The trade-off catches many sellers off guard: they default to whichever light source is available rather than matching the light to the shot they need.
|
|
Natural light |
Artificial light |
|
Best for |
Lifestyle photos, on-model shots, soft aesthetic |
Flat lay, ghost mannequin, white background product photography |
|
Consistency |
Varies by time of day and weather |
Repeatable across an entire shot list |
|
Cost to start |
Free (a window or outdoor location) |
Requires strobe lights or continuous lights and modifiers |
|
Trade-off |
Limited shooting window, color temperature shifts |
Upfront equipment cost, learning curve on setup |
Photo studios with strobe lights and modifiers, such as softboxes, umbrellas, reflectors, let sellers shoot on a schedule instead of around the sun.
Backgrounds, props, and garment prep
White backgrounds remain a standard for marketplace compliance. Amazon requires the main product image to sit on a pure white (RGB 255, 255, 255) background, with the product filling at least 85% of the frame. This rule can trip up sellers who photograph from too far back and leave excess white space around their garments.
Ghost mannequin forms (specialty forms that collapse or separate so they can slide out of the garment after the shoot) give pieces shape and dimension without a visible body. They also pair naturally with post-production work that removes the small mannequin components.
An iron or steamer belongs on every equipment list, not as an optional extra. Wrinkled wardrobe pieces read as unprofessional, no matter how good the lighting is, and this single prep step gets skipped more than any other.
Clothing photography styles and when to use each
No single style covers every garment or every sales channel. The right choice depends on the piece, the catalog size, and how much of the fit and drape a shopper needs to see.
Flat-lay photography
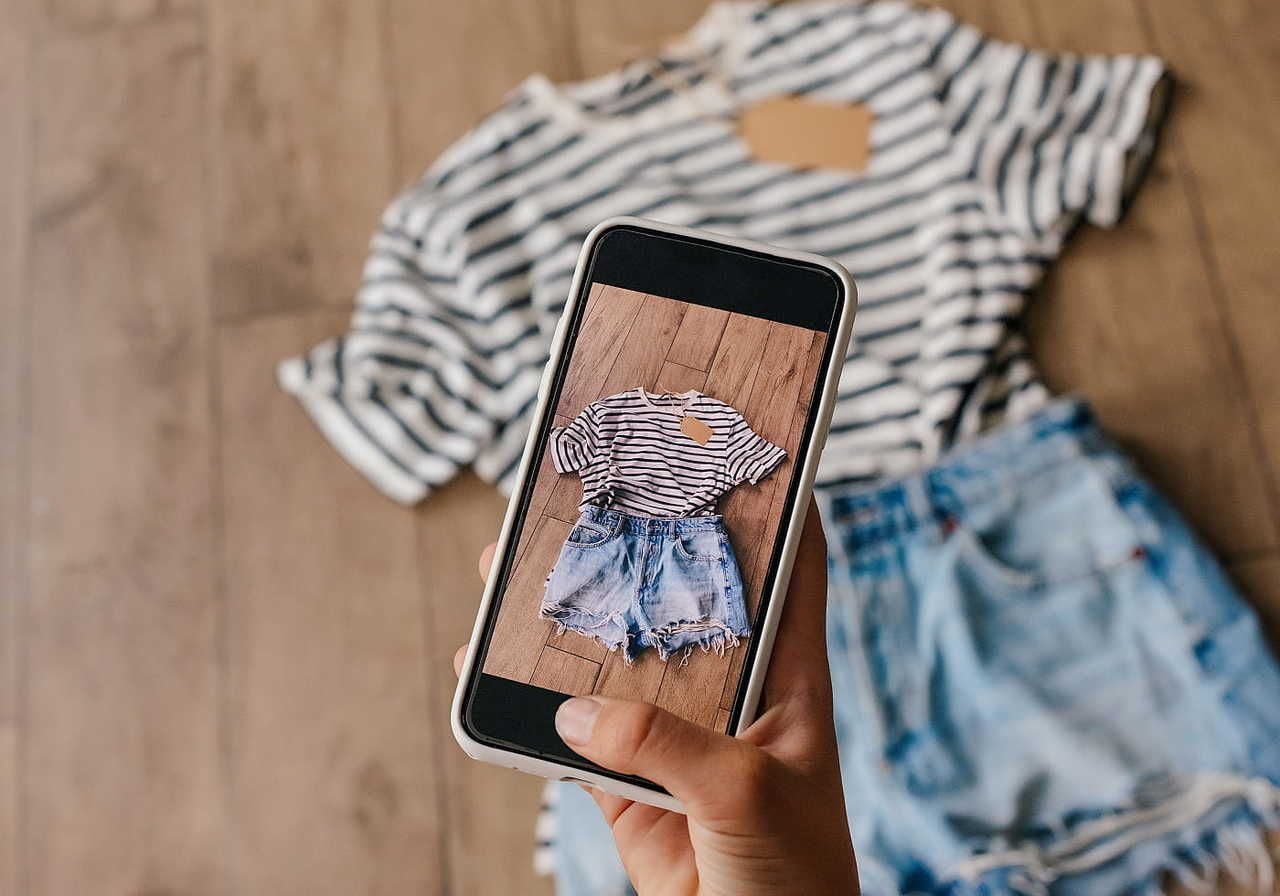
Flat-lay photography places the garment flat on a surface and shoots from directly overhead. It works quickly, produces a consistent look across a full collection, and needs minimal equipment: a flat surface, a light source, and a camera on a tripod pointed straight down. Flat-lay clothing photography suits smaller catalogs and sellers who need to photograph new arrivals quickly.
Ghost mannequin (invisible mannequin)
The ghost mannequin technique gives garments dimension and shape without showing a visible model. Photographers shoot the garment on a mannequin or form, then remove the mannequin in post-production so the piece appears to float, filled out as though it were being worn.
This has become a standard eCommerce approach for apparel that needs to show fit and drape, particularly for structured pieces like jackets and dresses, where a flat-lay can’t communicate how the garment falls on a body.
On-model and lifestyle photography
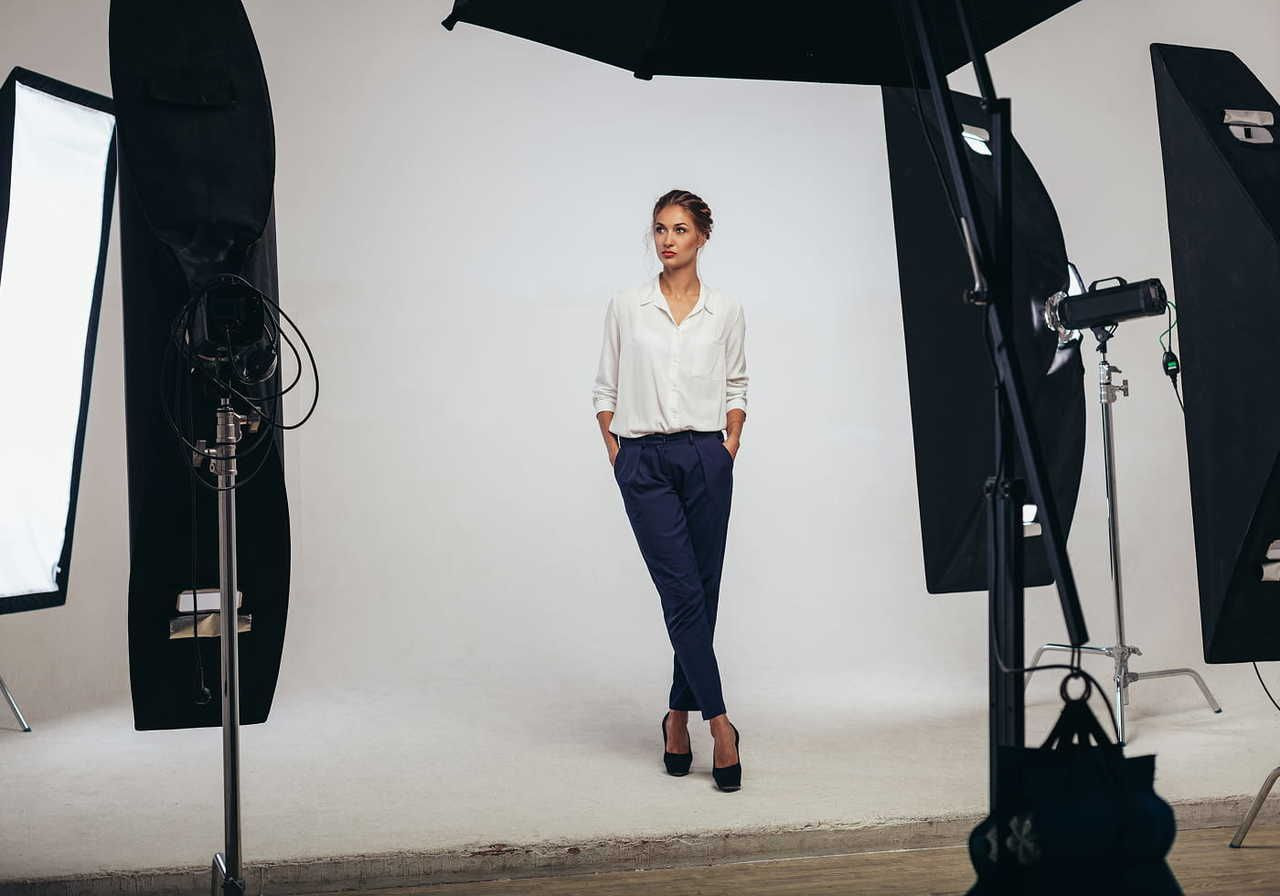
On-model and lifestyle photos typically require more production effort. Stylists, models, and more involved photo shoots show fit on real bodies and build brand identity in ways product-only shots can’t.
The trade-off is time and cost: casting people, coordinating wardrobe, and shooting multiple looks takes longer than a flat lay or ghost mannequin session, but the resulting images can do more to build a fashion brand’s visual identity across a store and social channels.
Stylists earn their place on set for anything beyond a single-garment shot. Pinning shirts at the back to fit a model’s frame, tucking waistbands, or adjusting hems for the camera angle keep garments looking correct even when sample sizes don’t match models exactly.
Sellers photographing shoes and jewelry alongside apparel should plan those accessory shots into the same session, since coordinating models, stylists, and full wardrobes once can cover more ground than scheduling separate shoots later.
Detail and close-up shots
Close-up shots of fabric texture, stitching, and accessories like buttons or zippers give shoppers the detail a full-body shot can’t. These images set accurate expectations about quality and can reduce the chance that customers return items because they looked different than expected in person.
Shoot detail shots after the main angles, once the garment and lighting are already set. Close-ups of collars, seams, or print placements take only a small camera adjustment at that point, and building this step into every photo session (rather than treating it as optional) means a full collection ends up with the same level of detail coverage across every product page.
How to photograph clothing step by step
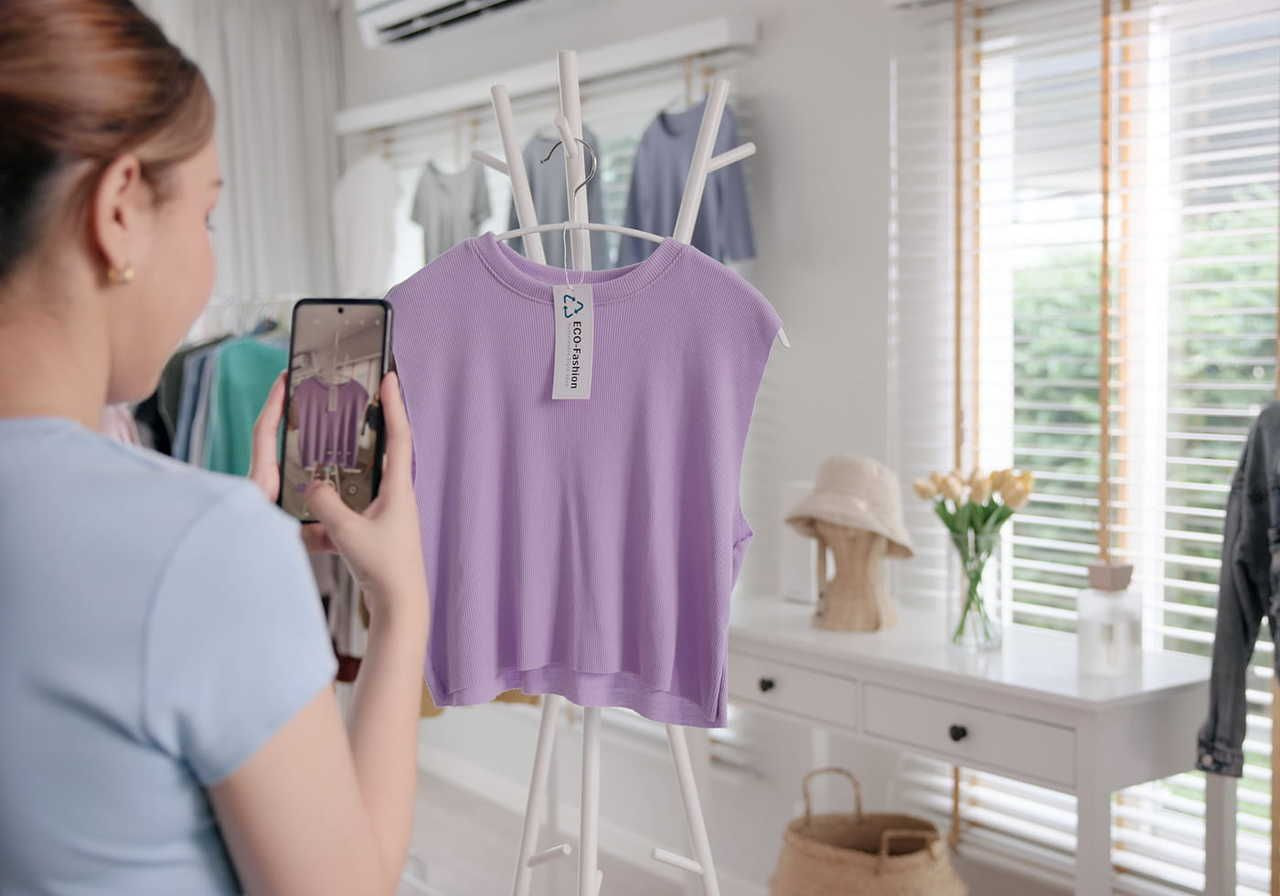
Prepping the garment, setting the camera and angles, and matching the shoot to the platform where the product will sell make up the three stages of the process. Here they are in order.
Prep your garments before the shoot
Steam or iron every item before it goes in front of the camera, and check each piece for lint, loose threads, and stray pins. This step is easy to skip during a rushed photo shoot, and doing so can undermine otherwise well-lit, well-composed photos.
Set your camera and shoot from consistent angles
For camera settings, a narrower aperture (a higher f-stop, such as f/8 to f/16) keeps the full garment in focus from front to back, which matters more for product shots than the shallow depth of field a wide aperture creates for portraits.
Mounting the camera on a tripod and switching off autofocus for a stationary subject can reduce the small amount of camera shake a manual press can introduce, especially when using a shutter release cable or timer.
Shutter speed determines how the camera freezes or blurs motion. On a tripod with a stationary garment, a slower shutter speed works fine and lets in more light at a narrower aperture.
Once a model enters the frame, shutter speed shifts to freezing movement instead, and a faster setting (paired with strobe lights or a brighter continuous source) keeps a walking or turning model sharp.
Shoot every garment from the same primary angle, then add a three-quarter angle and a straight-on angle for consistency across the collection. Working from a shot list (a simple checklist naming every angle, product, and color variant needed) helps ensure a full catalog shoot doesn’t miss coverage for any single item.
Shoot for the platform you’re selling on
Matching shoot style to the sales channel keeps each listing performing the way that platform’s shoppers expect:
-
Online stores on Shopify give sellers full creative control over background, styling, and format.
-
Amazon requires the plain white background and frame-fill requirements covered above for the main image.
-
Lifestyle imagery can work well on Etsy because it shows a garment in a real setting rather than isolated on white.
Post-production and editing tips
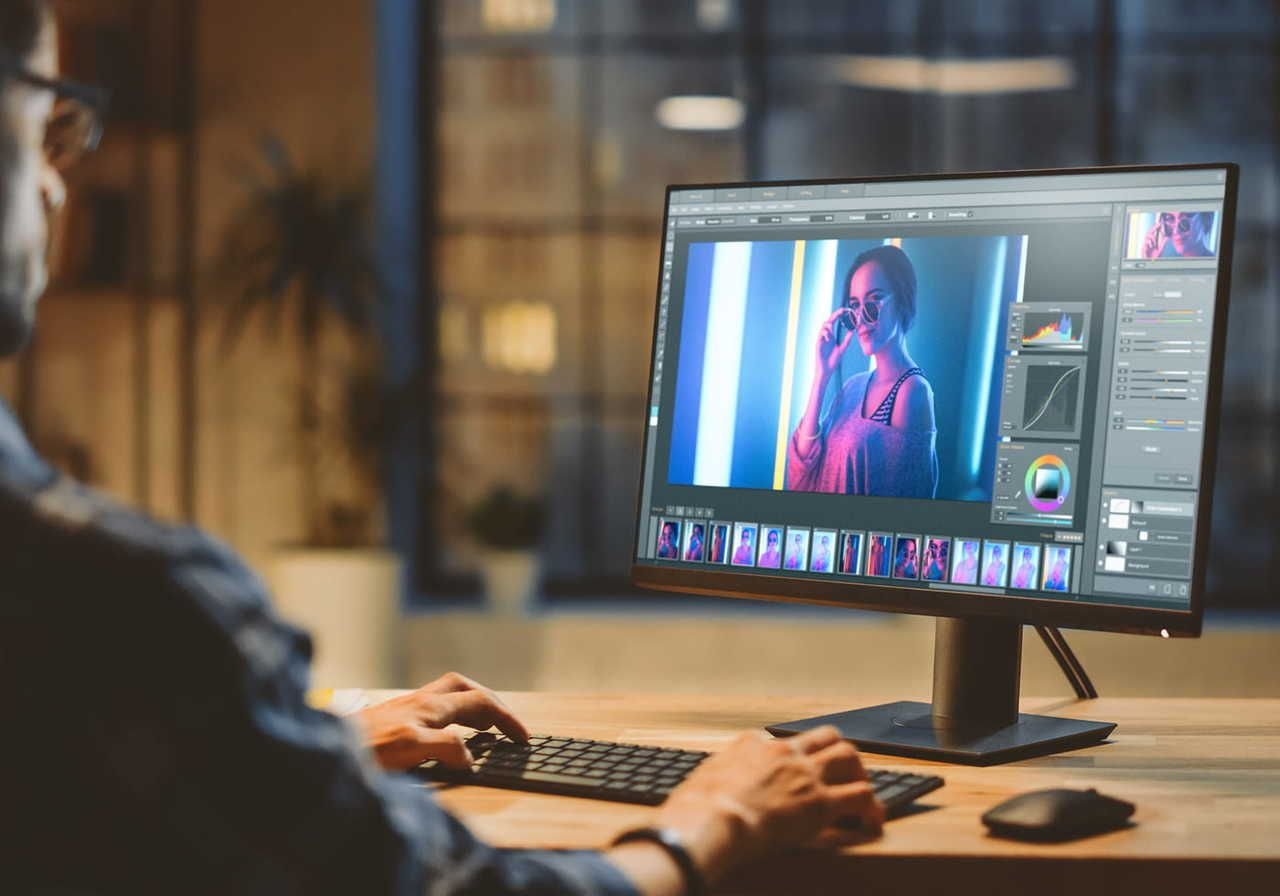
Color accuracy, cleanup, and a consistent process across the whole shoot matter most once the camera work is done.
Color correction and consistency
Matching color across a full product line keeps garments looking accurate and cohesive on the product page. A shirt photographed on Monday should show the same shade as the same shirt photographed the following week, which means locking white balance and exposure settings across every session.
Background cleanup and retouching
Editing removes dust, wrinkles, and background inconsistencies that survived the shoot. The goal is a clean, accurate image, not a heavily altered one.
Over-editing to the point of misrepresenting color, fit, or texture creates the same trust problem as a poorly shot photo: what arrives won’t match what customers saw.
Batch editing for a consistent store-wide look
Applying the same edit preset across an entire shoot saves time and produces high-quality images with a consistent look from one product page to the next. Batch editing also protects against the drift that happens when photos edited individually, days apart, end up with slightly different color casts or crops.
AI tools for clothing photography
AI product photography tools can now handle background generation, background removal, and on-model image creation from a single flat lay or garment photo.
Tools built specifically for fashion can place a garment onto a generated model and render fabric drape, stretch, and texture with varying degrees of accuracy to use in product listings.
The honest framing matters here: computer-generated images can supplement real photography for large catalogs, but they’re not a full replacement because they may not deliver the same trustworthy impression as a photograph of the garment itself.
For sellers managing hundreds of SKUs, AI-generated lifestyle backdrops and virtual model shots fill a real gap between full photo shoots. For a core set of hero images and any listing where fit and drape decide the sale, real photography built around the equipment and techniques in this guide still plays an important role in the images that matter most.
Tip
AI tools are only one part of a bigger shift in how stores present products. See what else is changing in product photography trends to keep a full catalog looking current.
Common clothing photography mistakes to avoid
-
Inconsistent lighting between shots is one of the most common mistakes, and it shows up on a product page where five images look like they were taken in five different rooms.
-
Wrinkled or poorly steamed garments are another common issue: no amount of post-production fixes can convincingly hide a visible crease.
-
Inconsistent angles across a collection (one product shot straight-on, the next at a three-quarter turn) can break the cohesive look a store needs.
-
Over-editing rounds out the list: pushing saturation, contrast, or retouching far enough that the photo no longer represents the actual color or fit invites the exact return problem good photography is meant to prevent.
FAQ
Clothing photography goes by several names depending on context: apparel photography, garment photography, and clothing product photography can all describe this type of work.
Apparel and fashion brands tend to use apparel photography, manufacturers favor garment photography, and eCommerce sellers most often call it clothing product photography or simply product photography.
Photographing clothes starts with prepping the garment (steaming or ironing it), setting consistent camera angles and settings, and choosing a style: flat lay, ghost mannequin, or on-model.
Use a shot list to keep every product and angle consistent, then edit with the same preset across the full collection for a cohesive store-wide look.
No single AI tool works best for every seller; the right choice depends on factors such as catalog size, workflow, and budget. Tools built for fashion specifically handle virtual try-on and on-model generation from a flat lay, while general product photography platforms handle background removal and staging.
Treat any AI tool as a supplement to real photography rather than a full replacement for it.
The median annual pay for photographers in the United States is $42,520, or about $20.44 an hour, according to the U.S. Bureau of Labor Statistics. Photographers who specialize in eCommerce or fashion work, particularly freelancers with an established portfolio, often earn above this median, since day rates for a full clothing photography shoot scale with the size of the collection and the complexity of the styling involved.
Conclusion
Consistent, well-lit, and accurately colored clothing photography reduces returns caused by garments looking different in person. That benefit compounds as a catalog scales, and it can matter more than any single technique in this guide.
Whether sellers shoot flat-lay, ghost mannequin, or full lifestyle photos, consistently repeating the same setup, angles, and edits across every product in the catalog drives the result.
For sellers not yet running a full photo shoot, mockup generators offer a practical bridge: they let brands preview designs on garments before committing budget to a full shoot.

Published author, scholar, and musician, Andris draws on over 11 years of experience in and outside academia to make complex topics accessible – from SEO and website building to AI and monetizing art. Devoted to his family and self-confessed introvert, he loves creating things, playing musical instruments, and walking around forests.

