


Table of contents
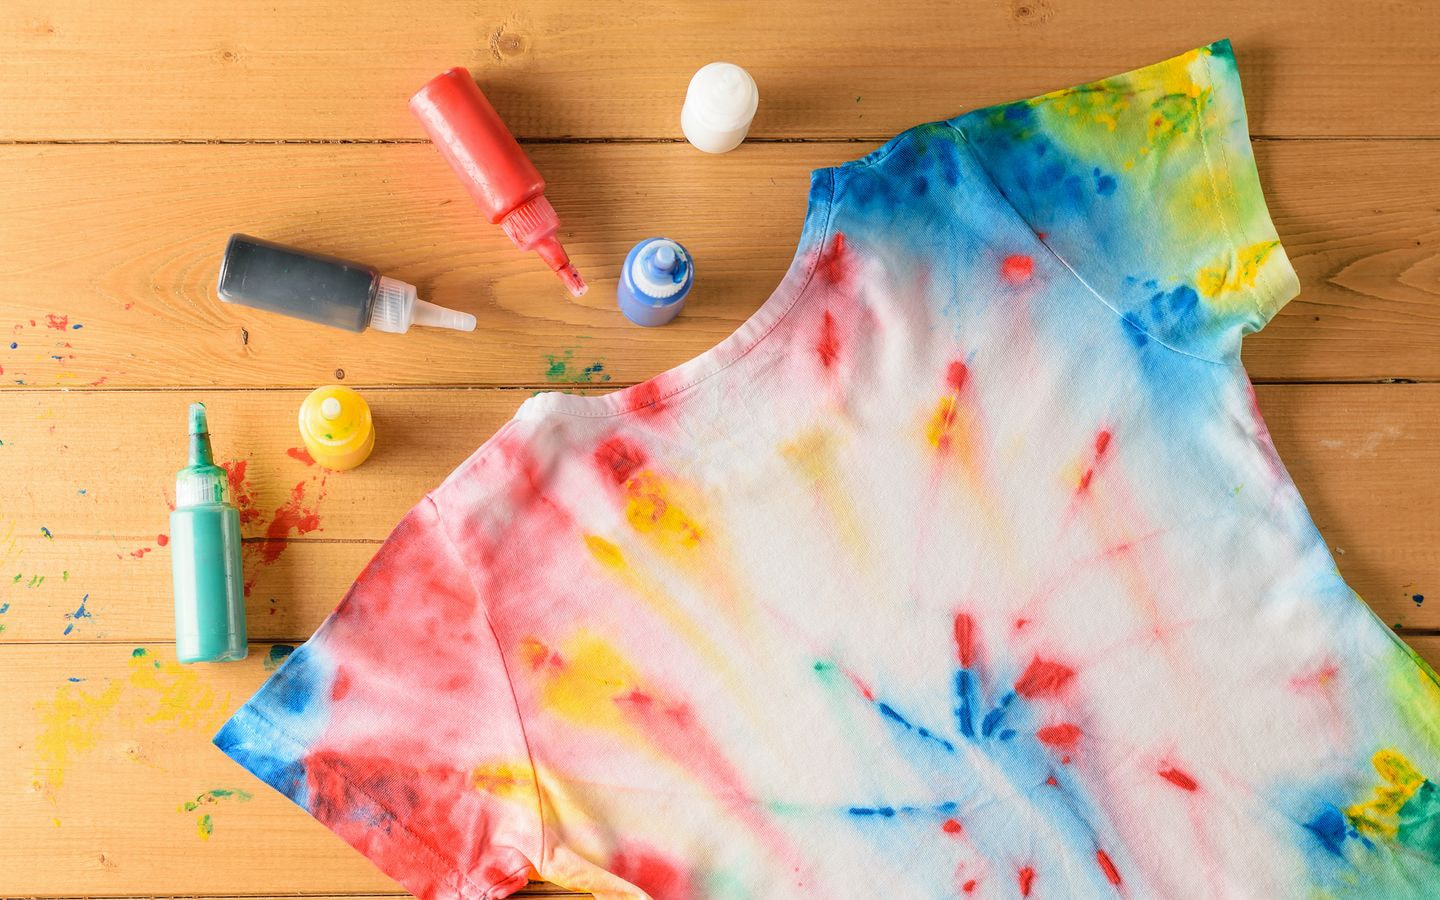
Tie-dye patterns can turn plain t-shirts into bold statement pieces using simple folding techniques and precise dye placement. From the classic rainbow spiral and clean stripes to the trippy geode pattern, each design creates a completely different vibe.
Want to create your first tie-dye t-shirt? Let’s break down the most popular tie-dye patterns and tips for getting the most vibrant results.
Why are tie-dye patterns dominating modern streetwear?
Despite changing fashion trends, tie-dye patterns keep showing up in streetwear because:
-
They turn basic pieces into something people notice instantly. Add a tie-dye pattern to a blank t-shirt or hoodie, and it becomes the focal point of the outfit.
-
Tie-dye carries a sense of nostalgia, but brands keep it relevant with sharper folding techniques and more balanced color combinations that fit modern wardrobes.
-
A simple blank t-shirt also becomes easier to position as limited or exclusive once a unique tie-dye design is added, helping justify higher pricing and boost sales.
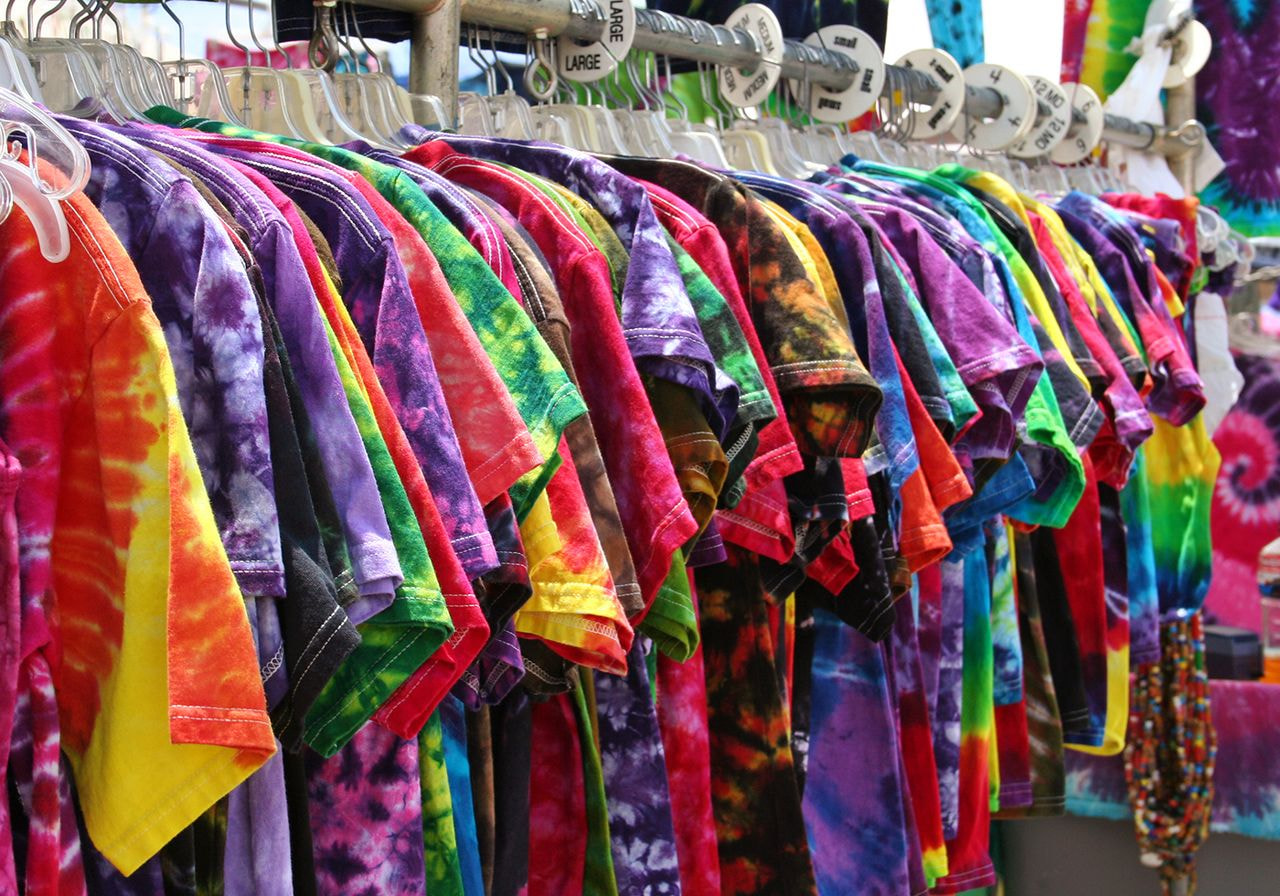
Do people buy tie-dye shirts?
Absolutely – custom tie-dye shirts continue to sell because they simplify styling while still drawing attention. A single piece can anchor an outfit, so buyers don’t need to layer or overthink their combinations.
Each item also comes out slightly different during tie-dyeing, giving it a more personal feel compared to uniform prints.
Social media plays a major role, too. High-contrast dye colors stand out in product images and short-form video, helping listings get noticed and boosting engagement as shoppers scroll.
Tie-dye shirts also work well for events, festivals, and group merch, where bold visuals need to stay noticeable from a distance.
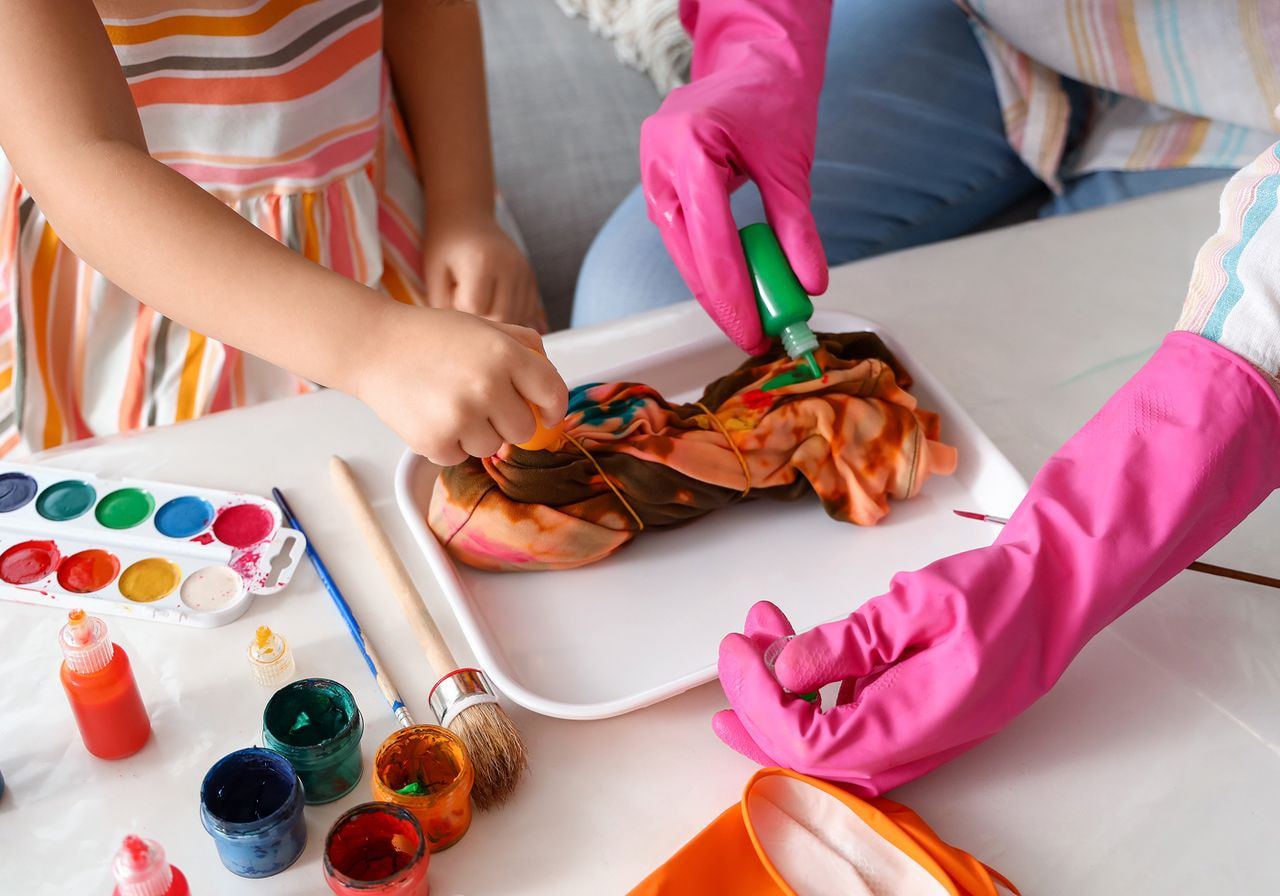
So, grab your rubber gloves and explore the tie-dye patterns you can start experimenting with.
Easy tie-dye patterns for beginners
These simple tie-dye patterns are a fun way to get started without an overly complicated process.
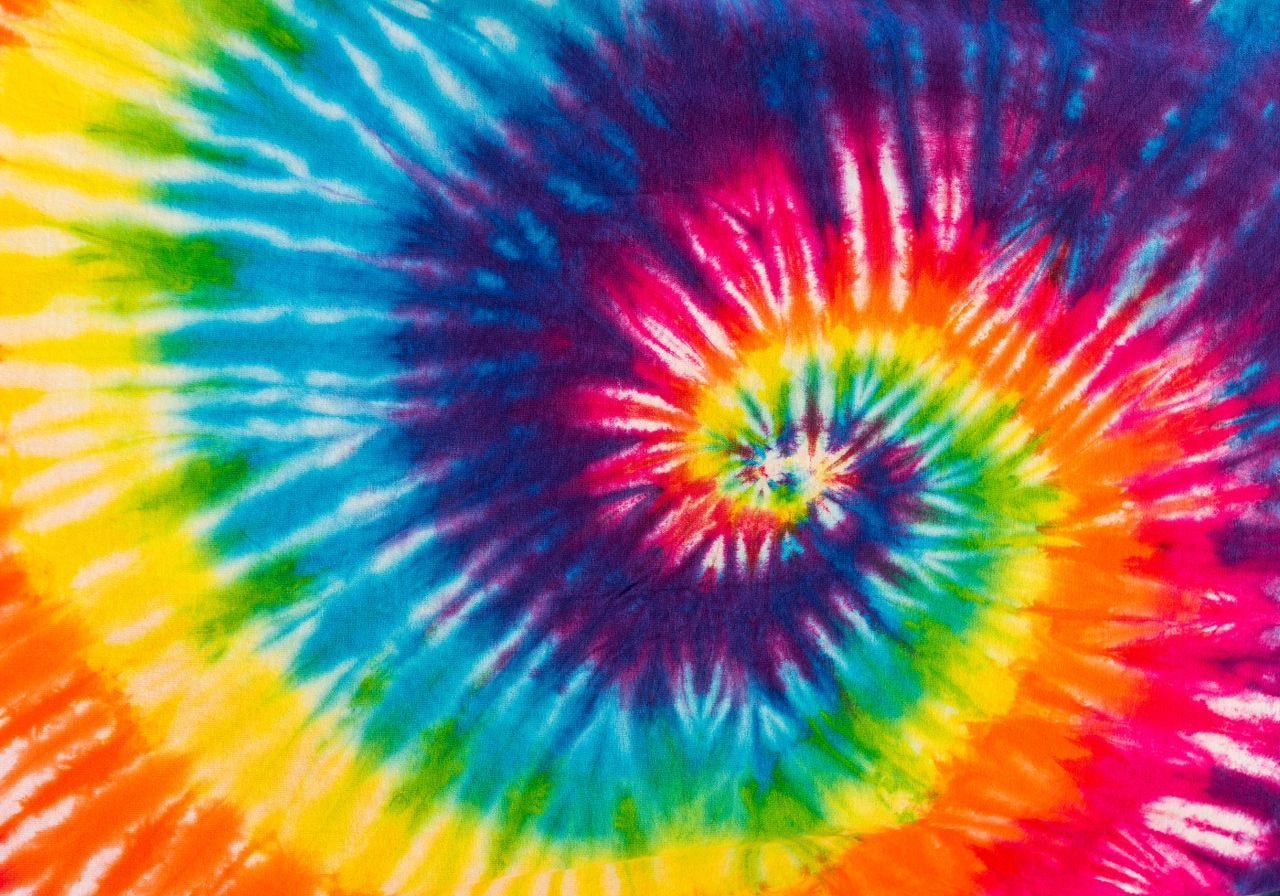
1. Classic spiral
This crowd-favorite tie-dye pattern creates a circular swirl that spreads from the center, with clean sections that keep each color distinct.
How to create this tie-dye pattern:
-
Lay the shirt flat on your work surface.
-
For a more balanced spiral, lightly mark the center with a washable marker.
-
Pinch the center and twist until it forms a tight disc.
-
Secure with three to four rubber bands in a crisscross pattern. Tighter bands create more white space and sharper sections, while looser ties produce softer transitions.
-
Apply liquid dye to each wedge using a squirt bottle.
-
Flip and repeat to ensure even coverage.
-
Let the dye sit for at least six to eight hours, or up to 24 hours for deeper color.
Best for: Festival outfits or summer collections.
Tips: Use a rainbow tie-dye palette for a classic look, or combine black dye with two bright tones for a more wearable design.
2. Crumple tie-dye technique
The crumple technique creates a random, cloud-like texture with no clear direction, making it one of the easiest tie-dye patterns to try.
How to create this tie-dye pattern:
-
Start with the shirt laid flat on your work surface.
-
Scrunch the fabric randomly into a loose bundle.
-
Hold the shape in place with several rubber bands.
-
Apply dye across the surface, focusing on the raised areas.
-
Rotate the bundle and apply dye to any remaining areas.
-
Allow the dye to develop for several hours.
Best for: Casual everyday t-shirts or loungewear.
Tips: For a more minimal look, stick to a single color and let the white space create contrast and depth.
3. Horizontal and vertical stripes
This tie-dye pattern creates vertical or horizontal stripes across the fabric – ideal for a sharper, more defined look.
How to create this tie-dye pattern:
-
Lay the shirt flat and smooth out any wrinkles.
-
Fold the fabric into even accordion folds: top to bottom for horizontal stripes, side to side for vertical stripes, or at an angle for diagonal stripes.
-
Secure the folded fabric with evenly spaced elastic bands, about one to two inches apart.
-
Apply dye to each section, alternating colors for contrast.
-
Turn the folded fabric and repeat.
-
Let the dye absorb for several hours, or overnight for a more intense result.
Best for: Everyday wear or minimalist designs.
Tips: For a softer look, create an ombré effect using the same color in different shades, moving from light to dark.
Read more: Most popular t-shirt colors to sell
Best tie-dye patterns that stand out on apparel
These tie-dye shirt patterns create bold visuals that translate well across different products.
4. Bullseye tie-dye pattern
Unlike a spiral, the bullseye design stays focused on one point, making the rings more defined.
How to create this tie-dye pattern:
-
Lay the shirt flat on your work surface.
-
Pinch a small section where you want the center and pull it upward.
-
Wrap rubber bands around the fabric every one to two inches to create evenly spaced rings.
-
Apply dye to each section using different colors.
-
Rotate and continue applying dye until all sections are covered.
-
Let the dye set for several hours or overnight.
Best for: Festival drops or retro-inspired collections.
Tips: Use two to four colors for a cleaner look, or up to five for a more vibrant result.
5. Sunburst
This unique tie-dye pattern creates multiple small bursts across the fabric, giving it a playful, energetic feel.
How to create this tie-dye pattern:
-
Begin with the fabric laid flat.
-
Pinch small sections of fabric and pull each point upward.
-
Secure each section with rubber bands to form individual bursts.
-
Apply dye to the raised tips and let it spread outward.
-
Turn the shirt and cover any remaining areas.
-
Let the dye absorb for several hours or overnight.
Best for: Kidswear or brands with a handmade aesthetic.
Tips: Space the bursts far enough apart so they don’t merge visually.
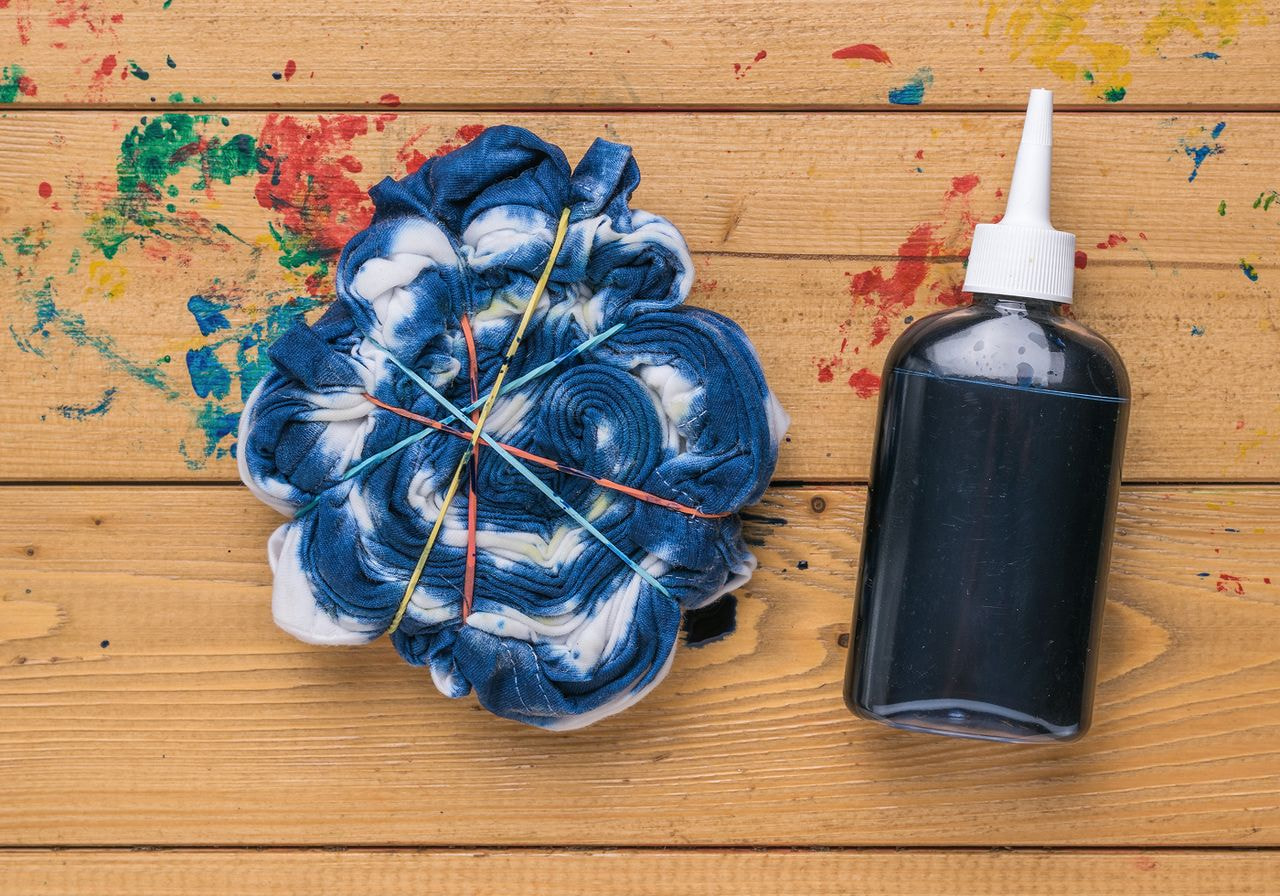
6. Shibori-inspired folding technique
This shibori-inspired tie-dye technique uses precise folding and binding to create clean, repeating shapes.
How to create this tie-dye pattern:
-
Lay the shirt flat on your work surface.
-
Fold the fabric into a structured shape using accordion folds, pleats, or twists.
-
Secure tightly with rubber bands or string to hold the shape.
-
Apply dye only to the exposed sections.
-
Let it sit, then rinse and unfold to reveal the pattern.
Best for: Elevated basics or premium aesthetic brands.
Tips: For the cleanest result, use one color and let the folded areas create contrast.
Trippy cool tie-dye patterns for high-impact designs
Want to level up your designs? These DIY tie-dye patterns create one-of-a-kind results with stronger contrast and detail.
7. Geode tie-dye technique
The geode tie-dye technique creates stone-like rings that resemble a sliced mineral. This unique design feels more artsy and dramatic, with darker outlines and lighter inner sections.
How to create this tie-dye pattern:
-
Lay the garment flat.
-
Pinch and gather small sections of fabric where you want the geode shapes.
-
Wrap them tightly with sinew, string, or rubber bands to form ringed sections.
-
Apply dye in layers, using darker tones near the edges and lighter tones toward the center.
-
Let the dye sit, then rinse and unfold to reveal the pattern.
Best for: Boutique-style apparel or nature-inspired collections.
Tips: Tight binding is key – loose ties can blur the ring effect.
8. Ice tie-dye technique
The ice technique creates soft, watercolor-like effects as dye moves through the fabric while the ice melts. This results in a more organic-looking tie-dyed garment.
How to create this tie-dye pattern:
-
Place the fabric on a rack or tray over a container.
-
Scrunch or fold the material depending on your desired layout.
-
Evenly cover the fabric with ice cubes.
-
Sprinkle powdered dye over the ice, letting the melting process distribute the color.
-
Let the ice melt completely, then allow the dye to set for several hours or overnight.
Best for: Bohemian collections or artistic apparel.
Tips: Use a maximum of two to four colors – ice dye can become muddy when overloaded.
Read more: '70s fashion trends: Iconic styles inspiring modern brands
9. Kaleidoscope ice tie-dye technique
This tie-dye pattern creates mirrored shapes that resemble a kaleidoscope. The result feels bold, layered, and more like wearable art than a standard tie-dye design.
How to create this tie-dye pattern:
-
Lay the shirt flat on your work surface, then fold it into a symmetrical shape using accordion folds or a mandala pattern.
-
Secure the folded fabric tightly with rubber bands to hold the shape.
-
Place the fabric on a rack or protected surface.
-
Cover it evenly with ice cubes.
-
Sprinkle dye powder across the ice, focusing on different sections for variation.
-
Let the ice melt completely, then allow the dye to set overnight for full color development.
Best for: Statement t-shirts or bold streetwear brands.
Tips: To prevent muddiness, sprinkle small amounts of dye in separate spots, leaving space between them. This keeps the pattern more defined rather than blended.
Tips to make cool tie-dye patterns that last
If you want your custom tie-dye apparel to stay bright after multiple washes, focus on choosing the right fabric and handling the dye properly from start to finish.
What t-shirts are best for tie-dye?
The best t-shirts for tie-dye projects are made of natural fibers, especially 100% cotton. This fabric absorbs dye deeply, resulting in stronger contrast and longer-lasting color.
Standard cotton t-shirts work well because they fold easily and hold their shape during tying. Blended materials can still work, but expect softer, less saturated results. Polyester-heavy fabrics resist dye, so colors often look faded or uneven.
How to get the most vibrant tie-dye designs
Follow these tips to keep colors bold and long-lasting:
-
Pre-soak the garment in a soda ash solution to help the dye bond to the fibers.
-
After applying color, wrap the garment in plastic wrap to keep it damp while it develops.
-
When cleaning the garment, start by rinsing it under cold running water to remove loose dye. Then switch to warm water to remove excess dye trapped in the folds. Avoid hot water, as it can cause colors to bleed and lose definition.
-
Always keep the item separate from other clothing to prevent color transfer.
-
For long-term care, wash tie-dyed garments in cold water and avoid fabric softener, as it can coat the fibers and dull the design.
-
Air drying or using low heat helps maintain vibrant tie-dye results over time.
How to plan your tie-dye workspace
Whether you’re using a tie-dye kit or setting everything up from scratch, a clear workspace helps you move through each step without mess or delays.
-
Cover your work surface with a plastic tablecloth or similar barrier to prevent stains and protect the area.
-
Set up separate areas for folding, applying dye, and letting pieces sit so wet fabric doesn’t touch clean areas.
-
Keep all materials within reach so you can apply dye, adjust rubber bands, or switch colors without stopping mid-process.
-
Print a few tie-dye pattern guides and place them nearby so you can follow the steps without checking your phone or computer.
How to sell tie-dye shirts online and grow your brand
Want to grow your tie-dye t-shirt business without handling every step yourself? Start by simplifying production, then focus on getting your designs in front of the right audience.
Use Printful to sell print-on-demand tie-dye shirts
With Printful’s print-on-demand model, you can sell custom tie-dye shirts without managing inventory, production, or supplies.
Printful offers multiple 100% cotton base options, including spiral and crumple tie-dye patterns in colorways like rainbow, black-and-white, and navy blends. Each shirt varies slightly, giving customers a one-of-a-kind feel.
All you need to do is:
-
Sign up for free and connect your online store with Printful.
-
Find our custom tie-dye shirt in the Catalog.
-
Choose your preferred tie-dye color and decoration method. You can either add an embroidered design or a DTFlex print.
-
Upload your artwork or use the built-in graphics in the Design Maker.
-
Publish the product and start selling tie-dye online.
Promote your tie-dye collection on social media
Here’s how to get traction for your tie-dye products on social media:
-
Post clear lifestyle photos showing pattern placement and how the shirt looks when worn.
-
Share behind-the-scenes clips from your tie-dye projects if you create pieces yourself.
-
Upload short videos of folding techniques, dye application, or final reveals.
-
Add simple styling ideas so customers can see how to wear each piece.
-
Encourage buyers to share photos and repost their content to build social proof.
-
Partner with micro-influencers whose audiences align with your brand.
Read more: How to market a clothing brand online without breaking the bank
Frequently asked questions
The best tie-dye patterns for beginners include spiral, crumple, and horizontal or vertical stripes because they require simple folding techniques and minimal setup.
To make tie-dye colors long-lasting, use a soda ash solution before applying the dye, and let the fabric sit for six to 24 hours. Rinse with cold running water, then wash once in warm water with a mild detergent to remove excess dye.
After that, wash in cold water for future cycles to maintain color.
You can tie-dye non-cotton fabrics, but results vary. Synthetic materials like polyester don’t absorb dyes well, leading to faded or uneven dye patterns.
To care for tie-dye clothing, wash it separately from other garments to avoid color transfer. Use cold water, avoid fabric softener, and air dry when possible to prevent fading over time.
Yes, you can create tie-dye pattern printables for digital use by designing them in tools like Photoshop or Canva. Apply effects such as blur, liquify, or distortion to mimic real dye movement, then export high-resolution files to create all-over-print cotton apparel.
Conclusion
Tie-dye patterns give you a practical way to create t-shirts that sell and stand out.
No matter which tie-dye technique you start with, make sure to use t-shirts made of natural fibers, choose dye colors that don’t clash when they blend, prep your workspace properly, and give the fabric enough time to set.
Want to sell tie-dye t-shirts without dealing with production and inventory? Sign up for free with Printful and turn your designs into ready-to-sell products in minutes.

Maisha is a content writer with 6+ years of experience in turning complex topics into clear, search-optimized content. She believes readability always wins, no matter how SEO trends shift. Outside of writing, she’s usually trying new recipes (but never following them), watching niche YouTube videos, or planning food-fueled adventures.