


Table of contents
Learning how to create embroidery designs can be a super fun way to express yourself artistically. This guide covers the process of finding an idea, choosing tools, simplifying artwork for thread, preparing files for digitizing, and turning a rough concept into a stitched product that you’ll be proud to wear and others will happily buy.

1. Find your embroidery design idea
The best embroidery designs start with a clear idea. Before opening Canva, Adobe Illustrator, or any embroidery software, decide who the design is for and why they would want it.
If you’re designing embroidery patterns for yourself, pull from personal interests:
-
Pets
-
Hobbies
-
Places
-
Initials
-
Inside jokes
-
Favorite objects
-
Phrases
If you’re creating embroidery designs for a store, start with the buyers’ interests.
-
Gift shoppers want names, dates, and emotion.
-
Creators need niche references.
-
Brands want clean logos.
-
Hobbyists want patterns that feel doable, not intimidating.
To learn how to design embroidery patterns that work commercially, build an idea bank. Use Pinterest, Etsy, Instagram, TikTok, Google Trends, Reddit, customer reviews, and competitor product pages for inspiration. Treat these as research, not a copy-paste menu.
A mushroom motif, tennis phrase, or celestial symbol can inspire your own patterns, but another creator’s finished artwork belongs to them.
Simplify the idea before choosing a tool
Embroidery thread does not behave like ink, so complicated references need editing before they become patterns.
A pet picture might become a line drawing. A travel photo might become a simple mountain shape, sun, and two waves. A quote might become three readable words instead of a full paragraph.
Use this quick filter:
-
Meaning – Does the design connect with a person, niche, or occasion?
-
Clarity – Will the idea still read from a few feet away?
-
Simplicity – Can the main shape work without tiny detail?
-
Placement – Will it fit the product’s hoop size or embroidery area?
-
Thread logic – Does the color palette work when stitched?
Use handwork references without copying them blindly
Cross-stitch and hand-embroidery patterns offer useful ideas for shape, rhythm, borders, and texture. Look at how those techniques break images into simplified stitches. A cross-stitch flower, for example, shows how much detail disappears while the idea stays clear.
However, keep in mind that cross-stitch patterns don’t translate directly to machine embroidery. Cross stitch uses a grid system, while machine embroidery uses stitch paths, density, underlay, and thread direction.
2. Choose a tool to create your custom embroidery design
Different tools solve different problems. Some help you brainstorm. Some help you draw. Some help you prepare vector files. And then there are those that help control actual stitches.
If you’re a total beginner learning how to create your own embroidery designs, start simple. Use beginner-friendly online tools for concept work, design software for cleaner artwork, and dedicated embroidery software only when you need control over stitch files.
Printful’s Design Maker
Our Design Maker works best when you want to create embroidered products directly and sell them using Print on Demand.
Use it to upload artwork, add text, browse clipart, test placement, preview mockups, and create products for your store. It’s especially useful for hats, hoodies, shirts, bags, and other custom apparel because you don’t need an embroidery machine, sewing setup, or separate digitizing software.
How to use it: Choose an embroidery product in the Printful Catalog and click Start designing. Upload a pre-made design or add text and clip art, adjust placement, and preview the product.
The Design Maker helps with:
-
Product setup – Choose the item, color, size options, and placement.
-
Text designs – Add names, initials, slogans, or short phrases.
-
Quick Designs and clipart – Start with built-in elements if you don’t want to draw from scratch.
-
Mockups – Create product visuals for your store and marketing.
-
Store publishing – Save templates and publish products to a connected store.
Use the Design Maker when the goal is a finished product, not an exported stitch file. Printful handles digitization for custom embroidery orders.
Canva
Canva works well for quick layouts, mood boards, text designs, and simple embroidery patterns. It isn’t an embroidery-specific platform, but it helps you test composition fast.
Use Canva for monograms, simple icons, quote layouts, badges, and small motifs. Its templates, fonts, graphics, and shape tools help you combine elements without drawing everything manually.
How to use it: Create a custom-size canvas, build the layout, then export a high-resolution PNG with a transparent background when needed.
Canva helps with:
-
Concepting – Build several design directions quickly.
-
Typography – Test initials, names, phrases, and font pairings.
-
Color planning – Try thread-inspired palettes before production.
-
Simple graphics – Combine icons, borders, lines, and shapes.
-
Early drafts – Create a clean first version before handing off to a designer or POD partner.
Canva does not create machine embroidery designs on its own. It helps with visual artwork, not stitch paths. Use it for the design stage, then move to Printful, a digitizer, or embroidery software.
Adobe Illustrator
Adobe Illustrator gives you more control over curves, spacing, outlines, and scalable vector files. It’s a better fit when your design needs precision.
Use Illustrator to create a vector image, redraw a sketch, simplify a logo, or build clean badge-style artwork. It works well for line drawing, monograms, mascots, icons, and designs with repeated geometric shapes.
How to use it: Import a sketch or image, then use the Pen tool, shape tools, Pathfinder, layers, and guides to clean the artwork. Keep simple designs in one layer or separate colors into labeled layers when that helps review.
Illustrator helps with:
-
Vector artwork – Create scalable files that stay clean at different sizes.
-
Line control – Keep each curve, corner, and straight line intentional.
-
Shape cleanup – Turn rough drawing into embroidery-friendly art.
-
Color reduction – Limit the color palette before production.
-
Professional handoff – Prepare clean files for Printful or a digitizer.
Illustrator has a steeper learning curve than Canva. That’s the tradeoff. Use it when the design needs polish, symmetry, and clean source files.
Dedicated embroidery software
Embroidery software controls how artwork is converted into stitches. This matters if you plan to run your own machine embroidery setup or sell downloadable stitch files.
Popular options include Wilcom, Hatch, Embrilliance, Chroma, Brother PE-Design, SewArt, and Ink/Stitch. Many platforms offer free trials, demo versions, or limited access tiers, so test the interface before paying for a full subscription.
Use dedicated software when you need to control:
-
Stitch type – Satin stitch, fill stitch, running stitch, or specialty effects.
-
Stitch direction – How the thread moves across each part of the design.
-
Density – How close the stitches sit together.
-
Underlay – Foundation stitches that support the top layer.
-
Pull compensation – Adjustments that prevent fabric distortion.
-
Thread changes – Color order and machine instructions.
This route gives the most control but a steeper learning curve. Use tutorials, online classes, or a structured course if you want to learn properly. Random guessing inside advanced embroidery software burns time fast.
Comparison table
|
Tool |
Cost |
Skill level required |
Key limitation |
Best for |
|
Printful Design Maker |
Free with a Printful account |
Beginner |
Built for Printful products, not exporting standalone stitch files |
Product-ready custom embroidery designs, mockups, and listings |
|
Canva |
Free plan available, paid plans vary |
Beginner |
Not built for stitch logic or digitizing |
Simple layouts, quote art, icons, and your own embroidery patterns |
|
Adobe Illustrator |
Paid subscription, often with free trials |
Intermediate |
More technical setup and a steeper learning curve |
Vector image work, logos, line drawing, and clean source files |
|
Embroidery software |
Free, paid, or subscription options |
Intermediate to advanced |
Requires stitch knowledge and testing |
Machine embroidery designs, stitch files, and production control |
If you’re learning how to make custom embroidery designs to sell on products, use the stack smartly. Start with Canva or paper for the idea, refine in Illustrator if the artwork needs cleaner lines, then use Printful’s Design Maker to create the product.
3. Pick your colors and thread approach
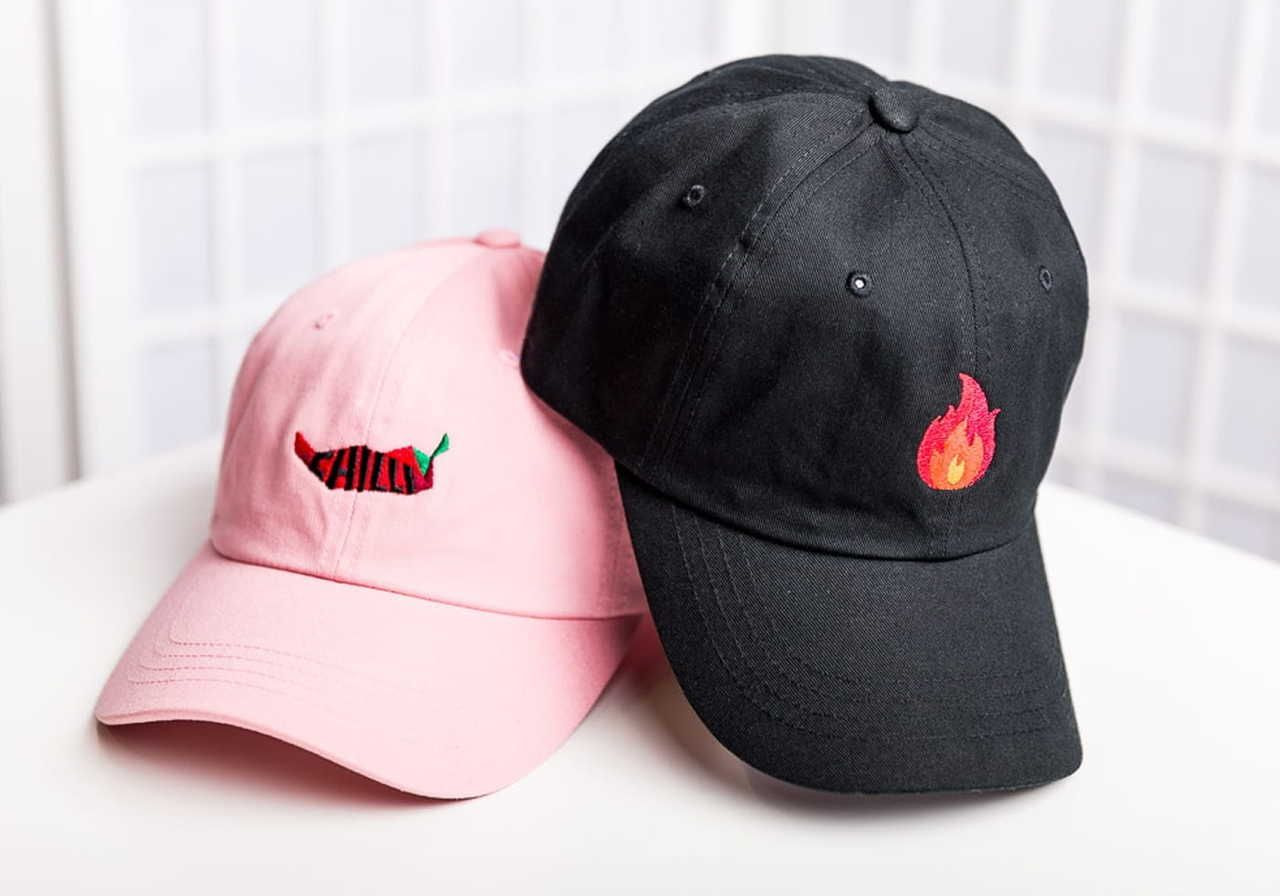
Color changes how embroidery designs feel. Black thread looks clean and premium. Pink, orange, and teal feel playful. Neither wins automatically. Choose colors based on product, audience, placement, and technique.
When designing embroidery patterns, keep gradients and your embroidery method in mind. Standard machine embroidery works best with solid colors. Pick a small color palette and check the contrast against the product fabric.
For artwork that needs gradients, shadows, or many color transitions, try Printful’s unlimited color embroidery. It gives access to thousands of colors and supports light-and-shadow effects in embroidery color gradients, while still keeping the design simple enough to stitch cleanly.
Hand embroidery is a whole different game
Hand embroidery has different freedom and different limits. The maker manually selects the thread, needle, and stitch type. That opens the door to satin stitch, chain stitch, backstitch, seed stitch, and French knots. It also takes longer and depends on skill.
Use this color checklist:
-
Contrast – Make text and icons easy to read.
-
Fabric color – Avoid thread colors that disappear into the base.
-
Distance – Check whether the design reads from a few feet away.
-
Mood – Use soft tones for gifts and bolder colors for merch.
-
Samples – Order one product before launch when customer satisfaction matters.
A restrained palette often gives custom embroidery a more expensive feel. Use color for emphasis, not chaos.
4. Design for embroidery, not for print
Thread and ink look and behave completely differently, so they require separate design processes.
A DTG print design can include grain, shadows, distressed effects, photographic detail, and tiny type. Embroidery needs a cleaner structure. If you want to learn how to create embroidery patterns, design for stitched material from the beginning.
Watch these constraints:
-
Small text – Keep lettering large enough to read after stitching.
-
Thin lines – Lines need enough width to hold thread.
-
Negative space – Tiny gaps may close when stitched.
-
Distressed textures – Rough effects often turn messy in thread.
-
Photographic images – Photos need to be simplified into outlines, blocks, or symbols.
-
Neon and metallic effects – Digital effects may not translate exactly to thread.
This doesn’t mean dull. A tiny heart, clean wordmark, bold mascot, or simple patch shape often looks better than a crowded illustration.
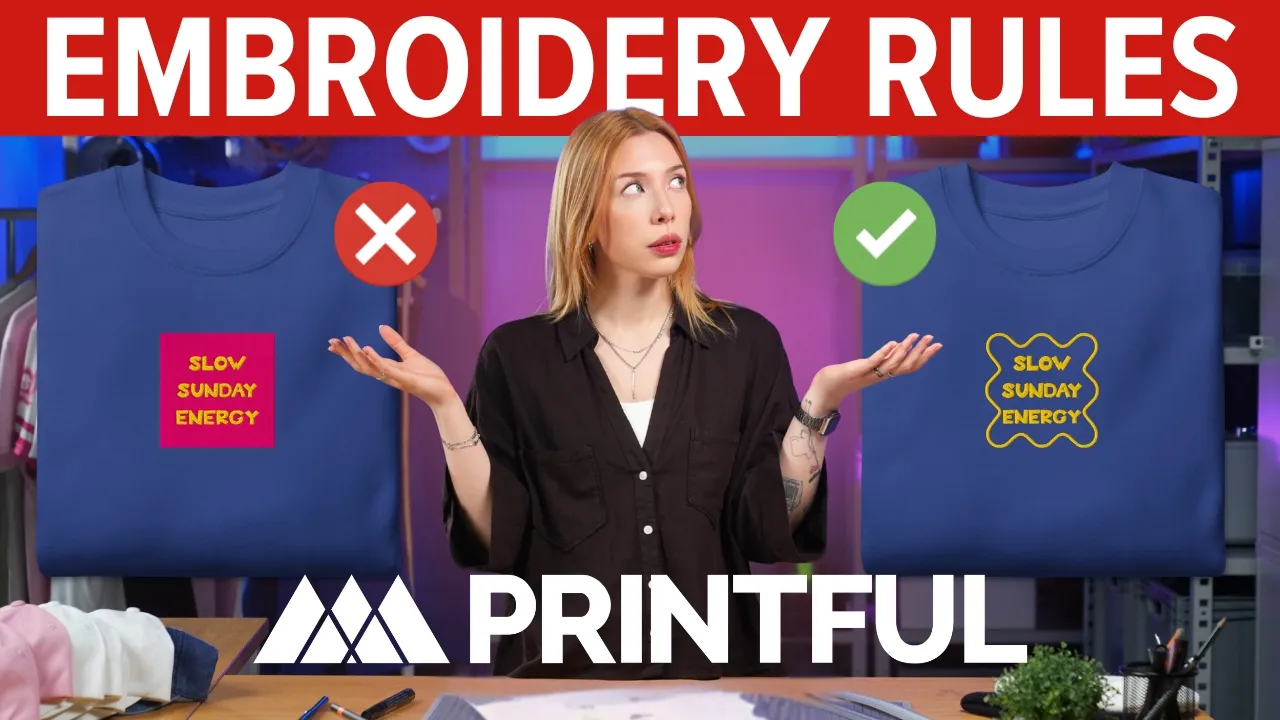
If you already have artwork made for print, make an embroidery-ready version. Remove tiny highlights. Increase line weight. Turn a busy illustration into one strong icon.
For exact measurements and file rules, use our embroidery file guide. It’s a great resource when you need technical specs instead of general tips.
5. Build your embroidery design step by step

In this section, our goal is to move from rough ideas to production-ready artwork without losing the original spark.
Start with a rough sketch
Use a notebook, tablet, Canva, Procreate, Illustrator, or tracing paper. Sketch the idea fast. Don’t judge the first version. Get the main shape, text, symbol, or composition out of your head.
Example: A “coffee club” design might start as a mug, steam lines, and a short phrase. At this stage, you only need the structure.
Simplify the main shape
Choose the strongest part of the design. That might be the mug silhouette, the words “coffee club,” or the steam line. Keep what matters and cut the rest.
If the first sketch has six visual ideas, combine the best two. Embroidery designs need room to breathe.
Turn it into clean artwork
Move the sketch into Canva, Illustrator, or another design tool. Build shapes, readable text, and a balanced layout. If you’re working in Illustrator, create a vector image. If you’re working in Canva, export a high-resolution PNG.
Use a light background while editing dark thread colors and a dark background while editing pale thread colors. That helps you catch weak contrast early.
Convert print artwork into embroidery artwork
If you already have a DTG or poster design, don’t upload it directly. Make an embroidery version. Or upload your custom design to Printful, and we’ll digitize it for you.
Example:
-
Original print design – A tiger illustration with shadows, fur texture, and small leaves.
-
Embroidery version – A bold tiger head outline with two accent colors and simplified leaves.
That preserves the design’s emotion without asking the thread to behave like ink.
Check placement and size
Open the product in Design Maker and test the design directly on the actual product. Placement affects readability. A design that works on a hoodie chest may not work on a cap. A design that looks strong as a left-chest mark may look empty across a full back.
Check:
-
Product type – Hat, hoodie, shirt, bag, or patch.
-
Placement – Chest, sleeve, front cap, side cap, or bag panel.
-
Size – Does the artwork fit the permitted embroidery area?
-
Readability – Does the text still read at the final size?
-
Balance – Does the design look centered and intentional?
Prepare the final file
Save the best version. Keep the background transparent when needed. Name files clearly, like coffee-club-left-chest-v1.png.
If working with a designer, ask for editable source files, too. AI, SVG, PDF, or other editable vector files make future changes easier.
6. Digitize your design
Digitizing converts artwork into a stitch file that an embroidery machine can read. It tells the machine where to place stitches, which direction the thread should move, how dense the design should be, and which stitch type to use in each area.
This is where embroidery software becomes important. Programs like Wilcom, Hatch, Embrilliance, Chroma, Ink/Stitch, and Brother PE-Design help digitizers control stitch paths, density, underlay, pull compensation, and thread changes. These tools give full control, but they take practice.
If you use Printful, the workflow is simpler. Upload a high-quality file, and Printful digitizes it for eligible embroidery products. A high-resolution PNG or vector image provides the digitizer with more useful information than a blurry screenshot.
Important Printful notes:
-
Printful digitizes files in-house to match its embroidery machine requirements.
-
Pre-digitized files from other providers aren’t accepted for Printful production.
-
Each new design needs to be digitized before it can be stitched.
-
A one-time fee applies to new embroidery files.
-
Digitized files can be reused for future Printful orders with the same embroidery type and product type.
-
Adjustments may apply when moving designs between product types, like hats and apparel.
Digitizing is not “saving as another file” – it translates artwork into thread behavior. Think clean art, contrast, and simple patterns. But the digitized file decides how the finished stitching forms on the final product.
7. Order a sample before you commit
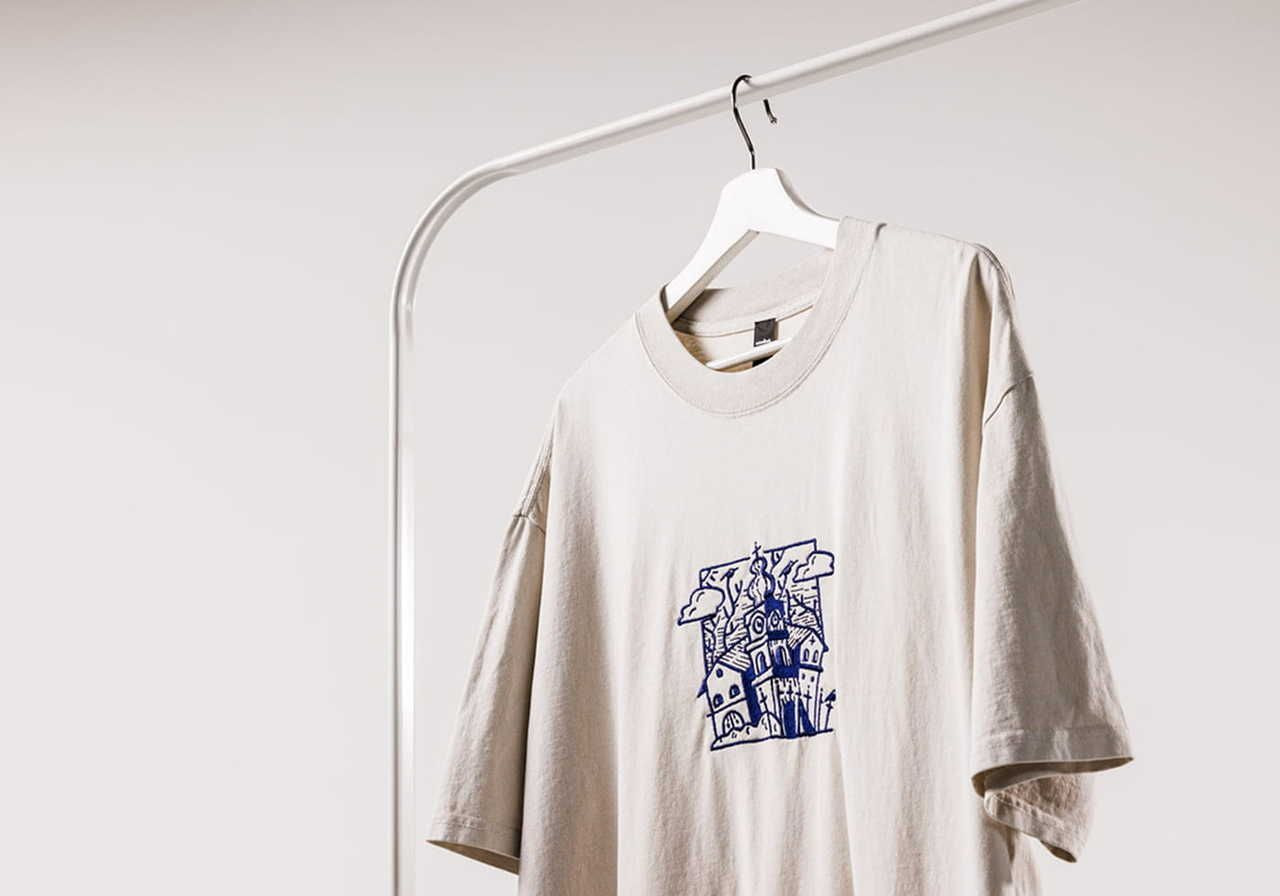
Order a sample before launching a full product line, running ads, or sending a large batch to customers. This is an important part of the process, as it checks the actual fabric, thread color, element placement, size, texture, and finish. It also shows whether the product feels like the price you want to charge.
Testing should be a top priority for this technique because the thread adds texture and weight to fabric. A design may look perfect on screen, then feel too small, too dense, too high on the chest, or too low on a hat panel.
Check these details:
-
Placement – Does the design sit where the customer expects it?
-
Thread color – Does the color match the product and brand?
-
Readability – Can people read the text at a normal distance?
-
Texture – Does the stitch density feel smooth or too heavy?
-
Fabric behavior – Did the material pucker, stretch, or pull?
-
Wash test – Does the design still look good after care instructions?
-
Product feel – Does the blank match the buyer’s expectations?
If something feels off, adjust before selling. Make the text larger. Reduce tiny details. Change the thread color. Move placement. Simplify the shape. Then order another sample when the change affects the finished product.
Printful-registered store owners qualify for sample order discounts. Check your Printful Dashboard for current sample options, limits, and pricing before ordering.
This is how to take full advantage of Print on Demand. Test the result before buying machines, holding inventory, or committing to bulk production.
How to create your own embroidery designs: Helpful resources
The fastest way to improve your own designs is to study examples and practice with structure. Don’t rely on vibes. Use resources that teach the actual process.
Try these learning routes:
-
Online classes – Use Skillshare, Domestika, Craftsy, Udemy, or YouTube to learn basic drawing, embroidery, and digitizing workflows.
-
Software tutorials – Search for beginner tutorials for Hatch, Wilcom, Ink/Stitch, Embrilliance, Canva, or Illustrator.
-
Practice projects – Create one small icon, one quote design, one badge, and one simple animal shape.
-
Reference libraries – Study cross stitch charts, vintage patches, logo marks, and simple hand embroidery patterns.
-
Community feedback – Ask designers, embroidery sellers, or niche buyers what looks readable and worth buying.
If a full course feels too much, start with one focused tutorial: “how to simplify a photo into a line drawing,” “how to make a satin stitch border,” or “how to prepare a logo for embroidery.” Use each tutorial for one small project, then move to the next.
The goal is not unlimited access to every class on the internet. The goal is to learn just what helps your next design improve.
Bring your own embroidery patterns to life with Printful

The embroidery design process looks technical from the outside, but it becomes manageable when you split it into steps. No embroidery machine, expensive digitizing software, or years of sewing experience are required when working with a print-on-demand partner.
With Printful’s custom embroidery, you get to create embroidered products while we handle digitization, stitching, packaging, and shipping. Sign up, design your product, order a sample, and build your business.
FAQ
To make your own embroidery patterns, start with an idea and a tool for building the design. Use Canva for quick layouts, Adobe Illustrator for clean vector work, or Printful’s Design Maker for product-ready designs.
For production, you’ll need digitization, embroidery-ready artwork, and a sample before selling.
You can use artwork with unlimited colors, gradients, fine details, and complex elements. Our digitization service converts your image into a Printful-ready embroidery file, carefully translating every color, gradient, texture, and detail into suitable stitch types and densities for clean, consistent results. Just remember that it won’t be an exact replica of the image, as stitching isn’t the same as printed ink.
Make your own embroidery patterns for free by sketching on paper, using Canva’s free plan, testing online tools like Inkscape or Ink/Stitch, or using Printful’s Design Maker with built-in graphics.
Free tools work best for simple patterns, text, icons, and early drafts before paid digitization or sample orders.
Use Printful’s Design Maker to create product-ready custom embroidery designs for Printful products, or Canva for simple graphics and layouts.
Use Adobe Illustrator for clean vector artwork, and a dedicated embroidery software like Wilcom, Hatch, Embrilliance, Chroma, or Ink/Stitch when you need direct control over stitch files.
ChatGPT can help brainstorm embroidery designs, write prompts, refine themes, suggest patterns, and turn a vague idea into a clearer concept. It can’t create a production-ready stitch file by itself. Use it for ideation, then build the visual artwork in Canva, Illustrator, Design Maker, or embroidery software.

Zane is a sharp-witted writer with a deep interest in eCommerce, branding, and creative entrepreneurship. With a knack for blending humor, insight, and no-nonsense advice, she crafts engaging content that helps merchants learn and businesses grow. When she’s not dissecting industry trends, she's exploring philosophy, music, and the perfect balance between solitude and connection.

