


Table of contents
This t-shirt design placement guide walks you through every option for custom t-shirts and custom apparel – from a subtle left chest logo to bold graphics that wrap the garment seam to seam.
We'll cover embroidery and print placement best practices, the right design size for shirts, and which placements work best for logos, artwork, and text-based designs.
By the end, you'll know how to pick the perfect placement for any custom shirt you create.

Front t-shirt design placements
The front of a shirt is a timeless choice, and for good reason. A custom tee with artwork front and center delivers maximum visibility, making it perfect for bold graphics, band merch, team pride, or branded designs.
Front shirt logo placement is one of the first things people notice, so it's a smart pick when you want your design to make an immediate impression. It also pairs well with layered outerwear, like an open hoodie or a loose flannel, keeping your tee in the spotlight.
Placements are a little different depending on whether you’ve chosen embroidery or traditional printing. We’ll cover both.
NB! The placements in this article are general guidelines – exact positioning will vary based on t-shirt size. Always review your mockups carefully before publishing.
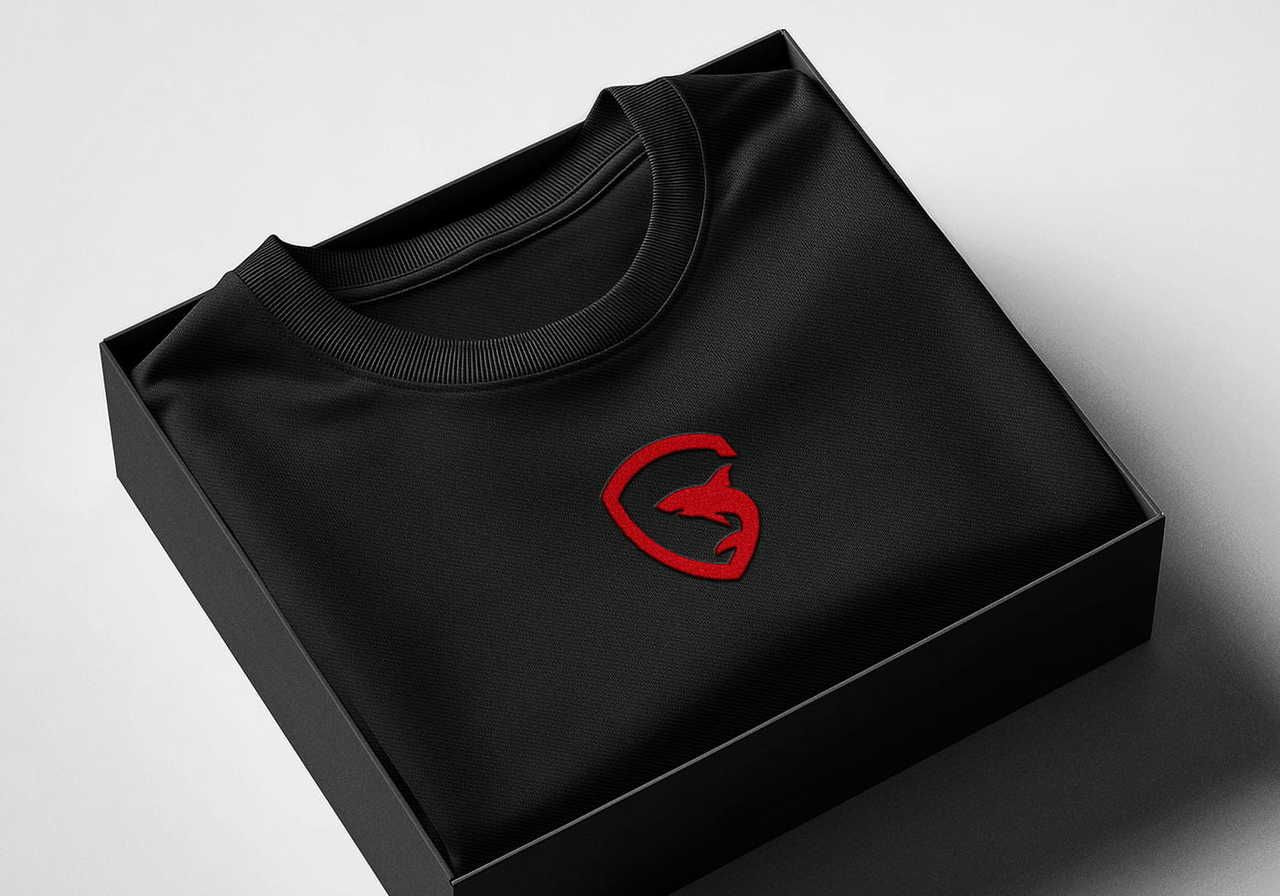
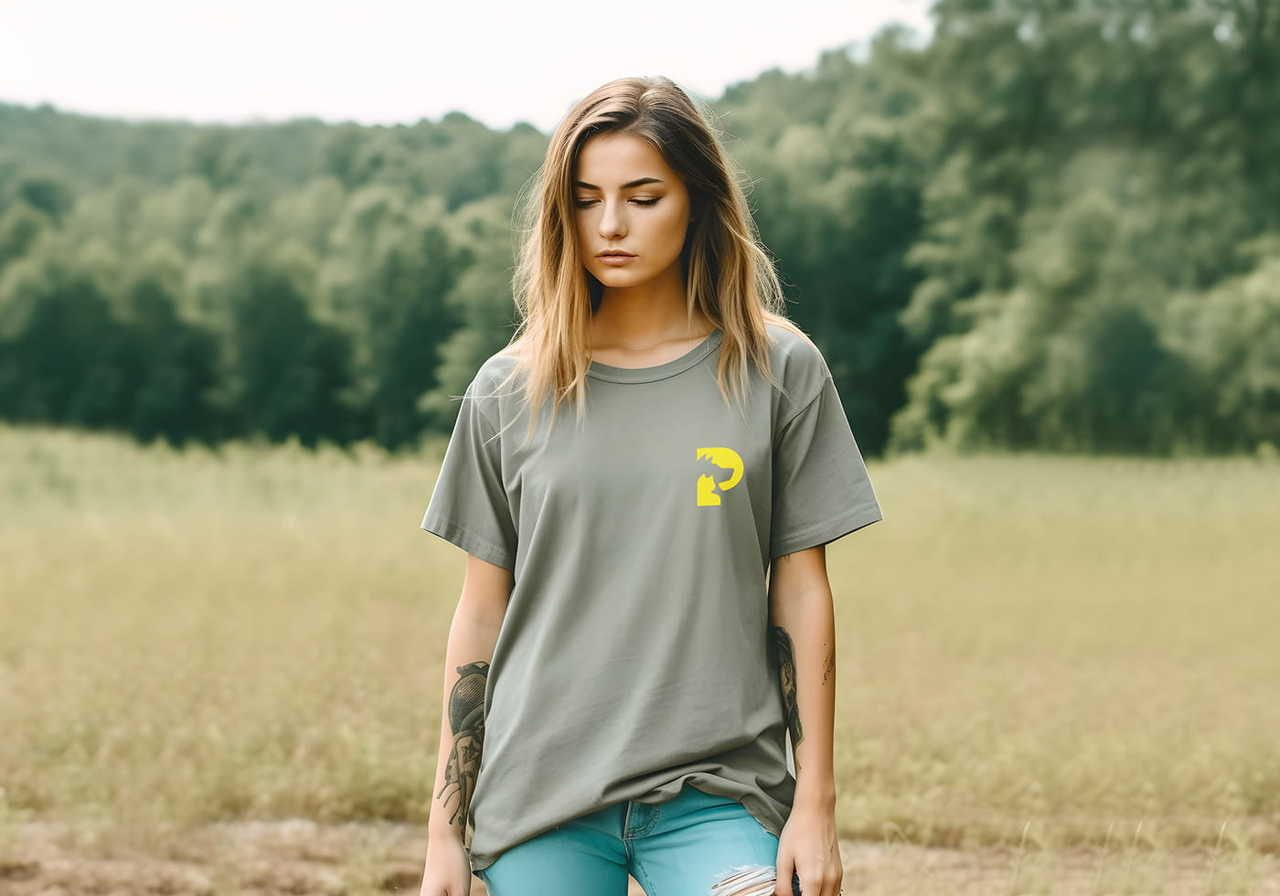
Print: Left chest print
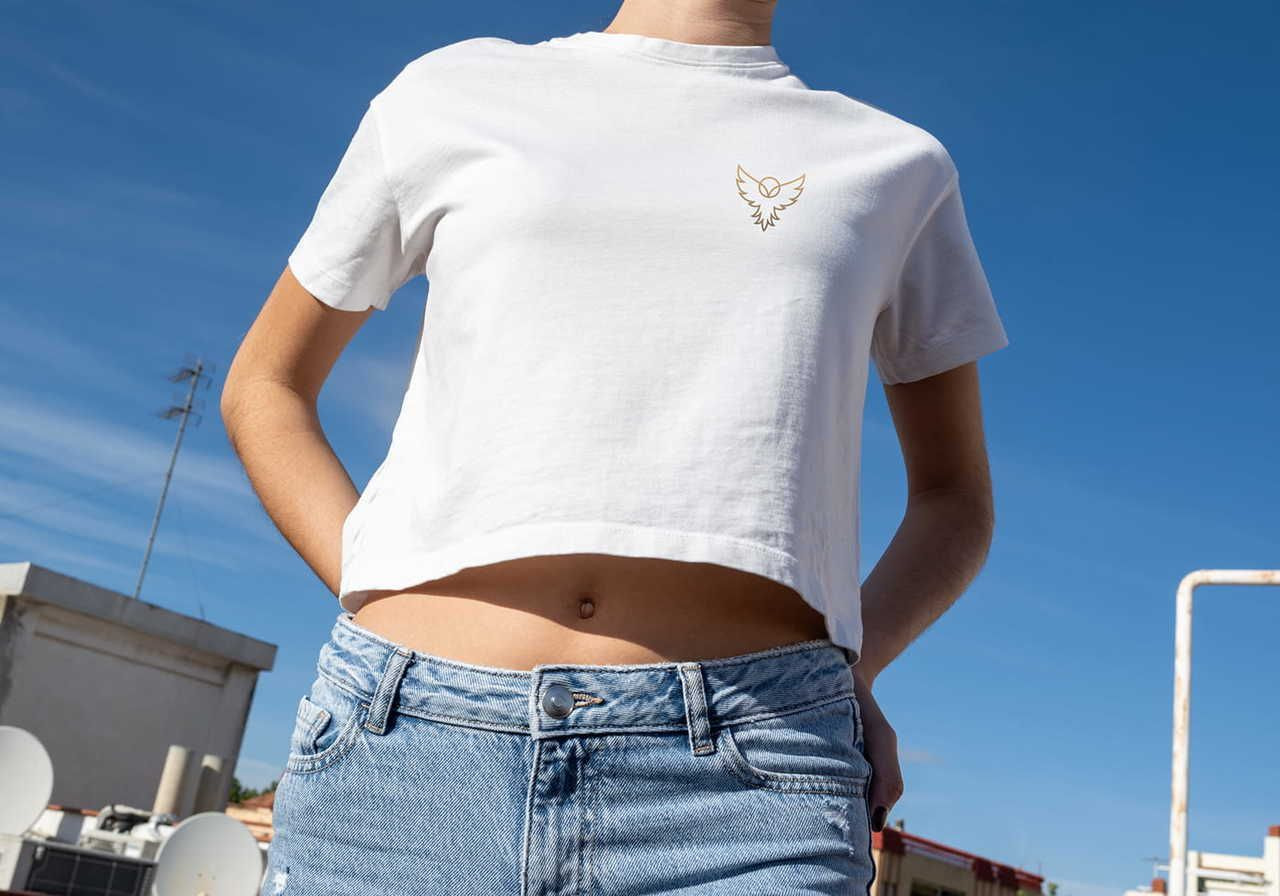
The left chest print is the go-to spot for subtle branding – most often a left chest logo or small icon. This placement isn't a separate filter in the Product Catalog (only front and back print options appear), but it's a staple for corporate logos, secondary branding, and subtle logos.
For accurate left chest logo size and placement, position the design about 3 inches below the neckline and 2 inches from the armpit. It should sit proportionally between the sleeve and collar. Keep the size between 2.5″ × 2.5″ and 5″ × 5″ for a clean look. Since this print location is small, skip overly detailed designs and intricate graphics. They won't read well at this size, and complex designs tend to lose their impact.
A clean left chest placement design is one of the most recognizable formats for corporate branding, so don’t overlook this option for staff uniforms or outfits for your next event or trade show.
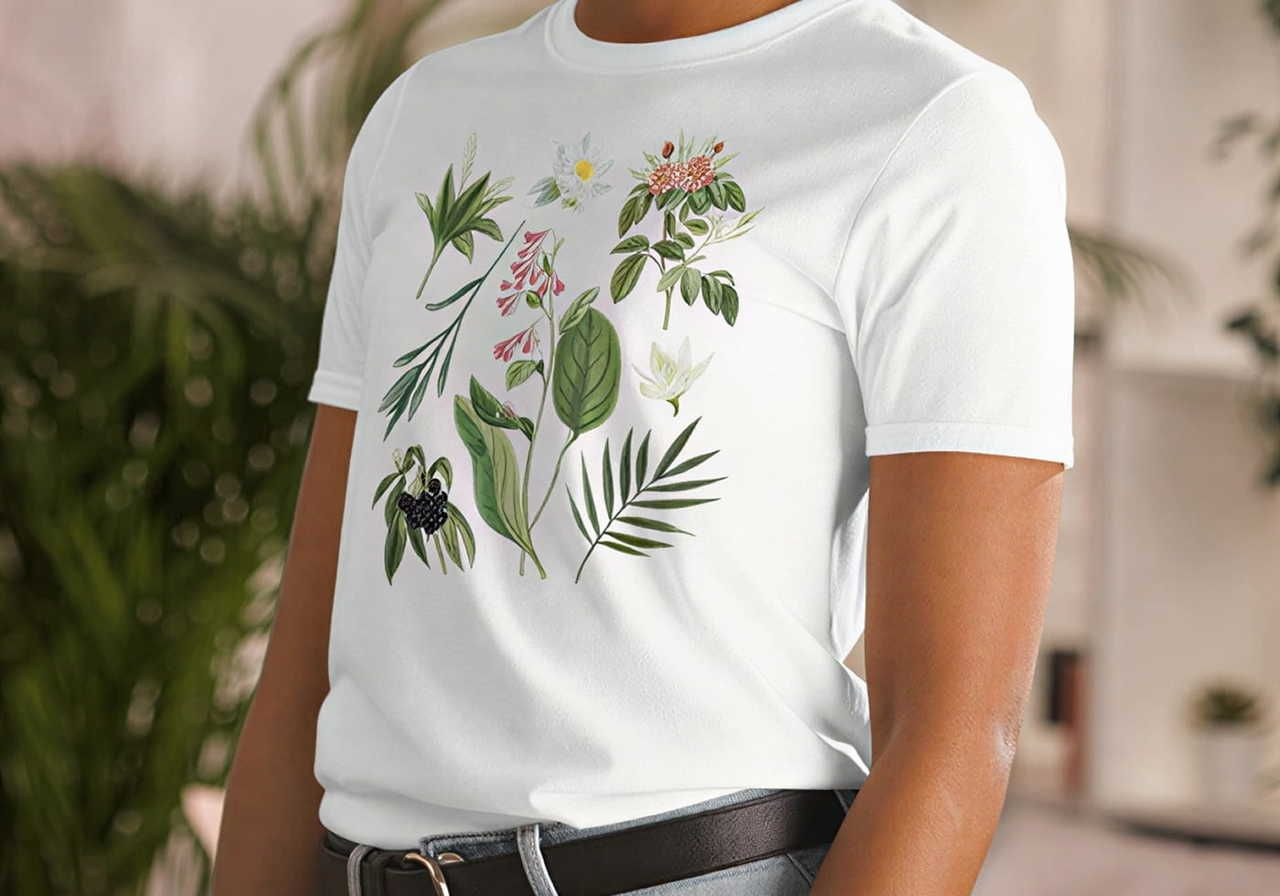
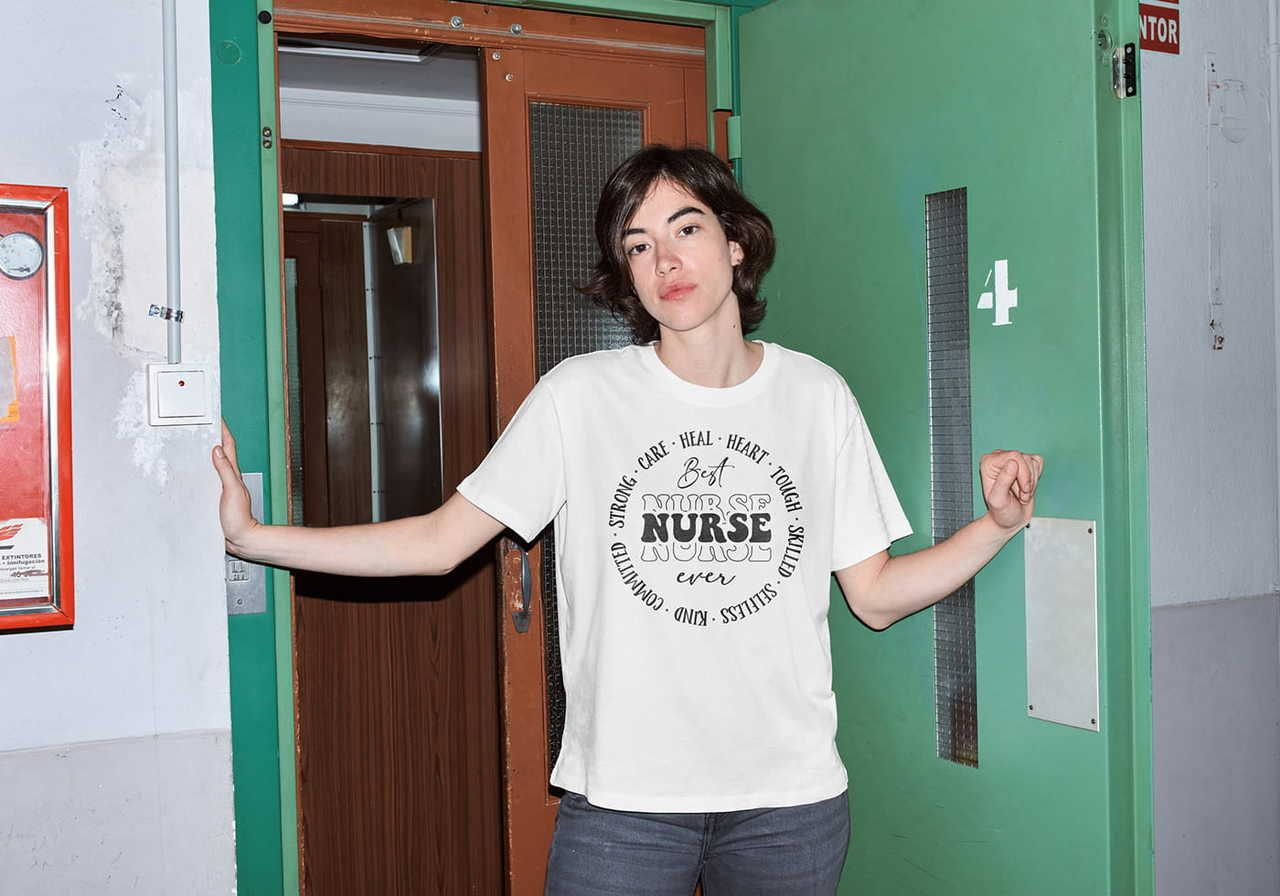
Print: Center chest design placement
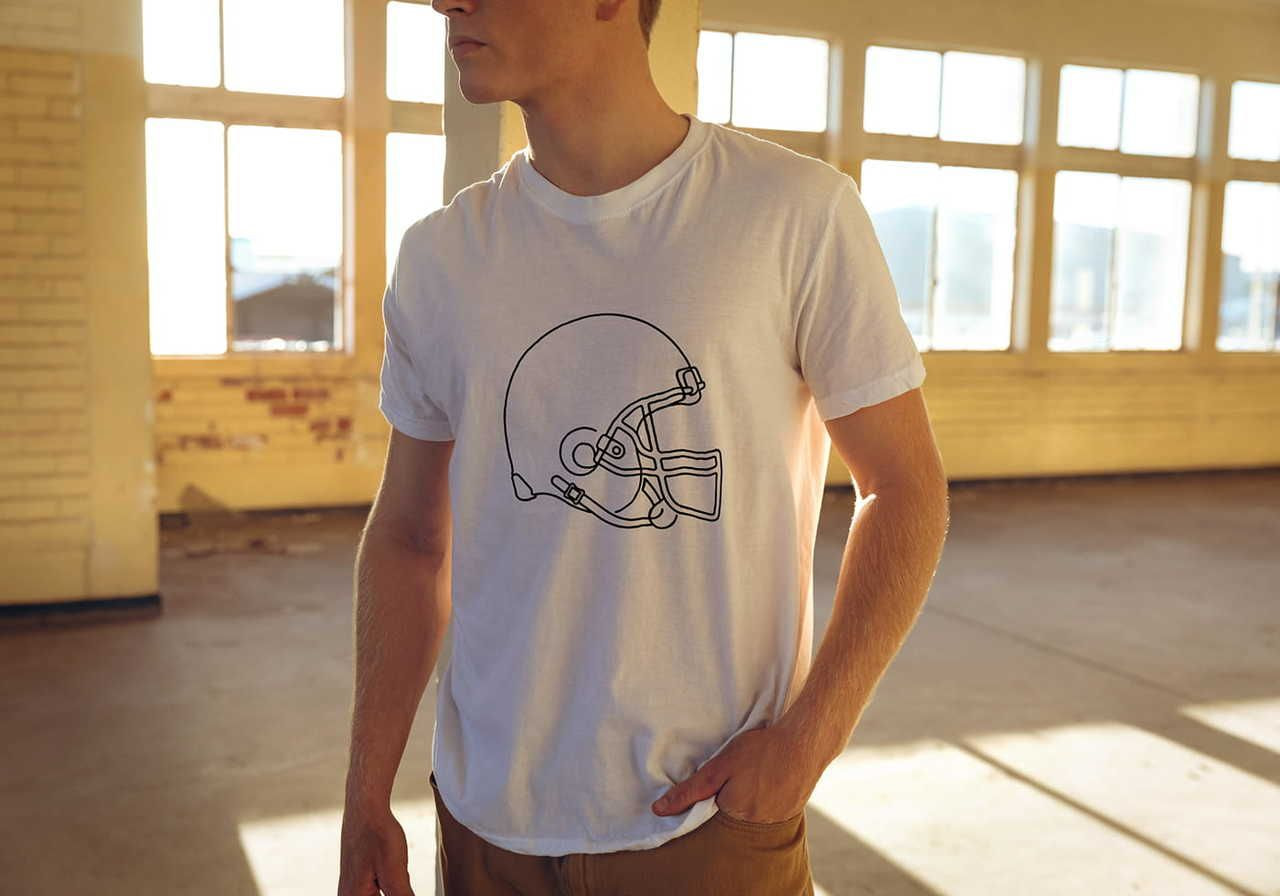
Center chest placement is ideal for more intricate or bigger logos, text-based designs, and simple artwork. Position the design 3″ to 3.5″ below the collar. A standard print size ranges from 6″ × 6″ to 10″ × 8″, with 8″ × 8″ being the most common center chest design dimension. For symmetry, properly center the artwork with the collar – exact positioning here makes or breaks the look.
This placement pairs well with subtle branding on the sleeve, giving you a layered, professional design without crowding the chest area.
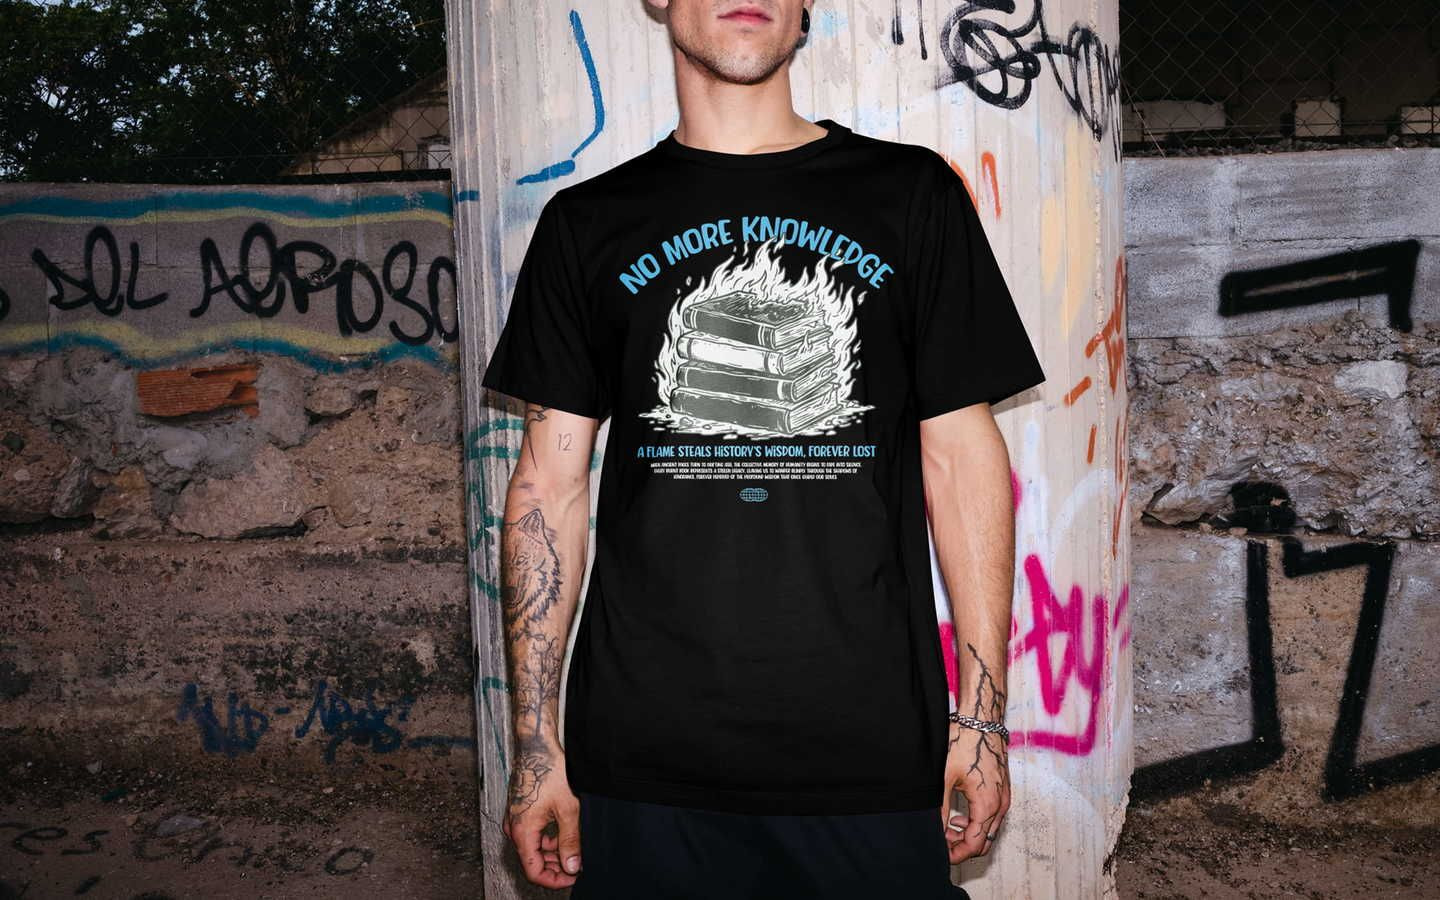
Print: Full front design placement
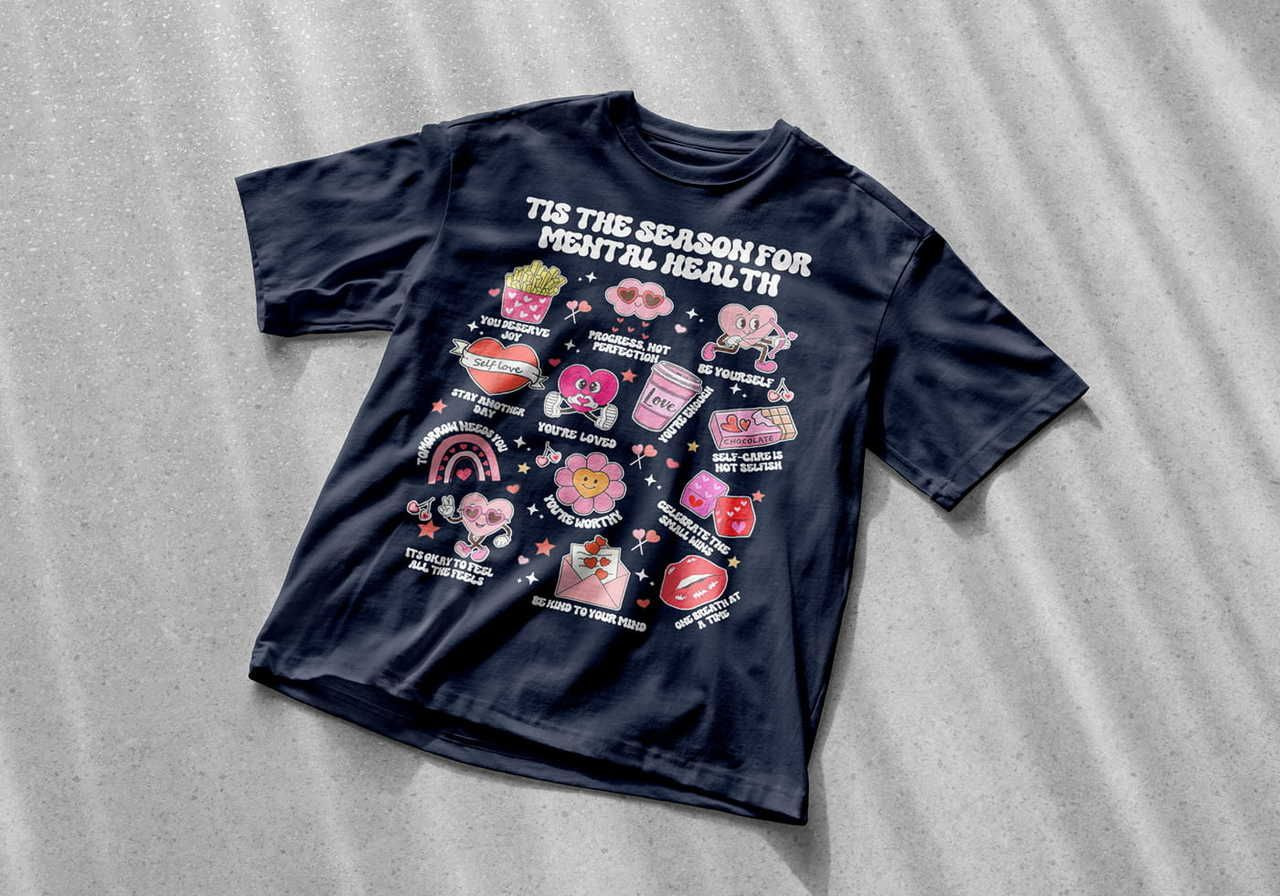
This is the spot for statement pieces and bold graphics. You've got a huge printing space to work with – 12″ × 16″ for most Printful t-shirts.
For select DTG products and sizes, Printful is upgrading the print area from 12″ × 16″ to 15″ × 18″. Larger prints are available for specific products, and the selection will keep growing.
Because the area is so generous, this is the place to show off oversized designs, detailed artwork, and large graphics with rich color. Place the print 3–4 inches below the collar, adjusting based on the t-shirt size. And remember: the bigger your print, the higher the file quality needs to be.
Read more: Everything You Need to Know to Prepare the Perfect Print File
Embroidery placements: Things to consider
All embroidery designs have to go through digitization – the process of turning your design into a file format our embroidery machines can read. It's mandatory and comes with a one-time fee per design.
Read more: What are digitization and adjustment fees?
Embroidery placements mirror the standard print options – left chest, center chest, and large front – but the design areas are a bit smaller. Not all placements work for every product. Large front embroidery, for example, isn't available on every t-shirt. Check the File guidelines tab on any product page to see what's available.
Embroidery: Left chest design placement

Same as with print, this is the spot for a left chest logo or small, simple design. The maximum print area for left chest embroidery is 4″ × 4″. If you exceed it, a disclaimer pops up in the Design Maker to let you know your design won't be fully visible.
This is also where most brand logo embroidery lives – it's where shoppers expect to see subtle branding on adult tees and adult shirts.
Embroidery: Center chest design placement
For embroidery, the center chest placement size caps at 4″ × 4″. Like the left chest, this spot suits smaller pieces – logos, text, quotes, or small artwork. Align with the collar's center for a balanced look.
Embroidery: Large front design placement
To embroider a bigger design on the front, use the large center placement. Check the product's File guidelines tab to confirm it's available.
Large center embroidery gives you a 10″ × 6″ area. Align with the middle of the collar and check the mockup view to confirm placement. If you plan to fill the whole space, build in some empty space so the embroidery doesn't weigh down or pull on the fabric. This is especially important for stretch fabrics.
Read more: Creating the perfect embroidery file
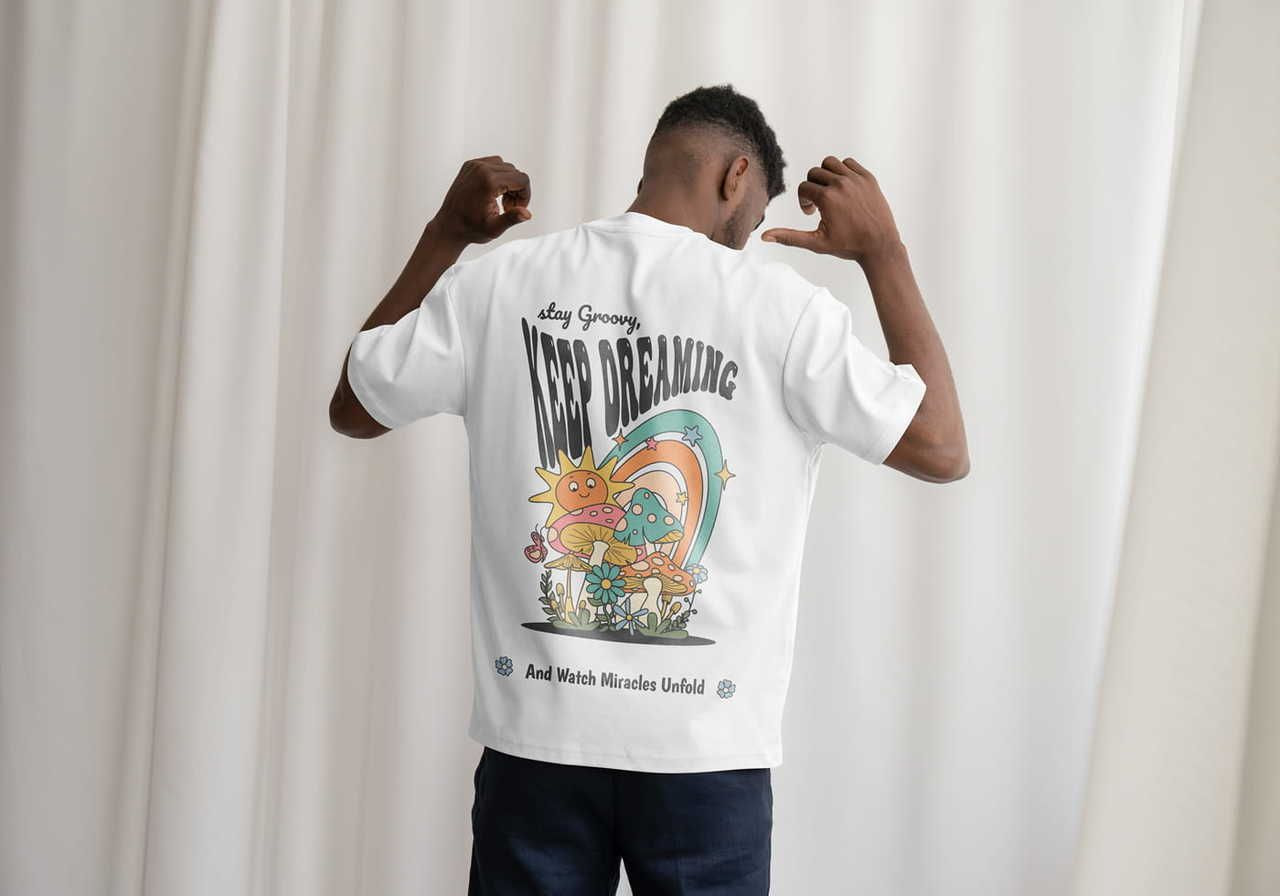
Back t-shirt design placement
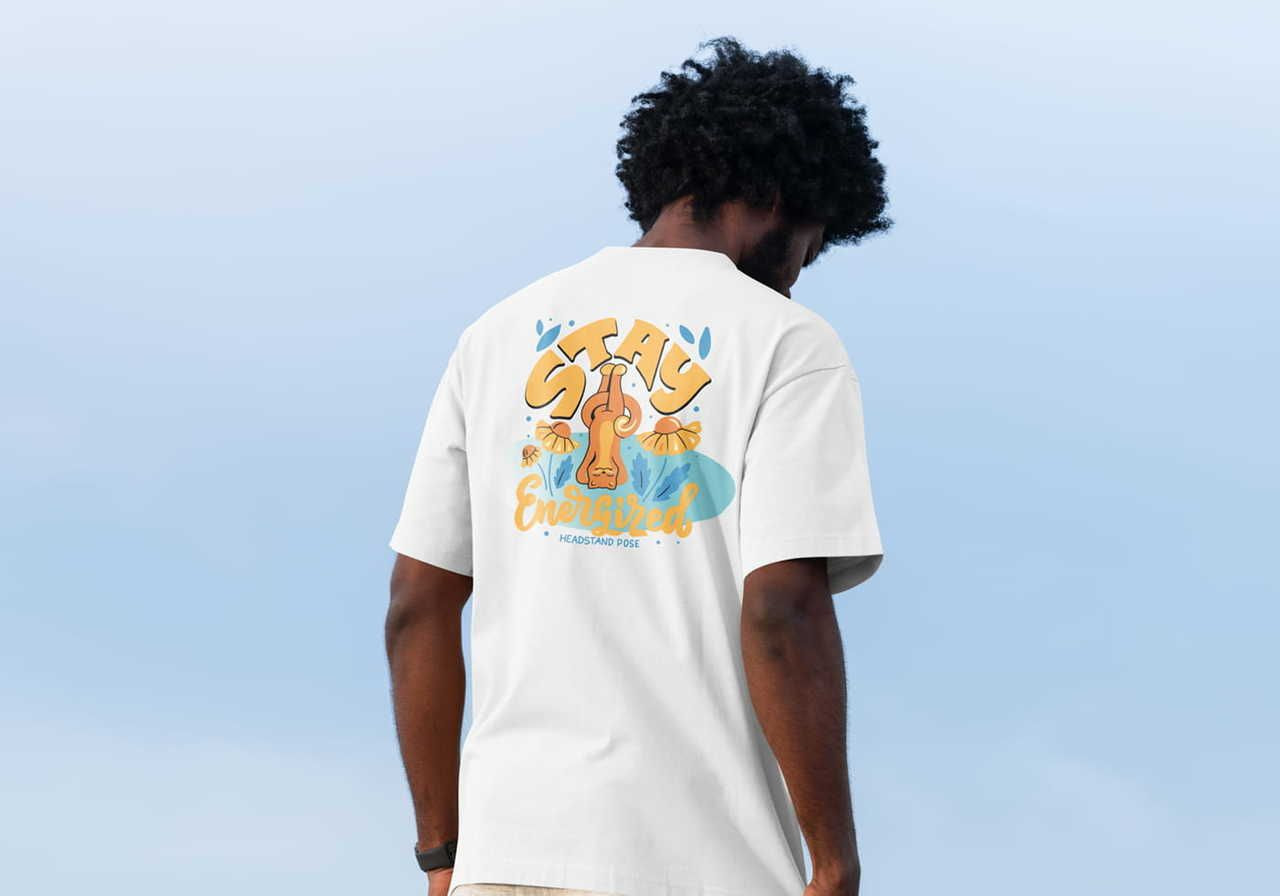
The back of shirt design placement is the most common spot for sports uniforms, large graphics, and oversized prints, mostly because of the available surface area.
It comes with other perks, too. Front artwork is more forward and can be harder to pull off. A back design lets customers tone down the vibe by layering outerwear on top. And because t-shirts lie flat against the back, your design is more likely to look the same as your mockup, with fewer chances of creasing.
A full back design or upper back placement (positioned high between the shoulder blades) is a strong spot for branding and design elements. It's a large area in a prominent location, perfect for both corporate logos and eye-catching designs.
For direct-to-garment printing, the maximum placement size is 10″ × 12″ to 12″ × 16″, depending on the product. Don't exceed it, or your design will get cut off. If you want something bigger, consider a seam-to-seam placement using all-over printing (AOP).
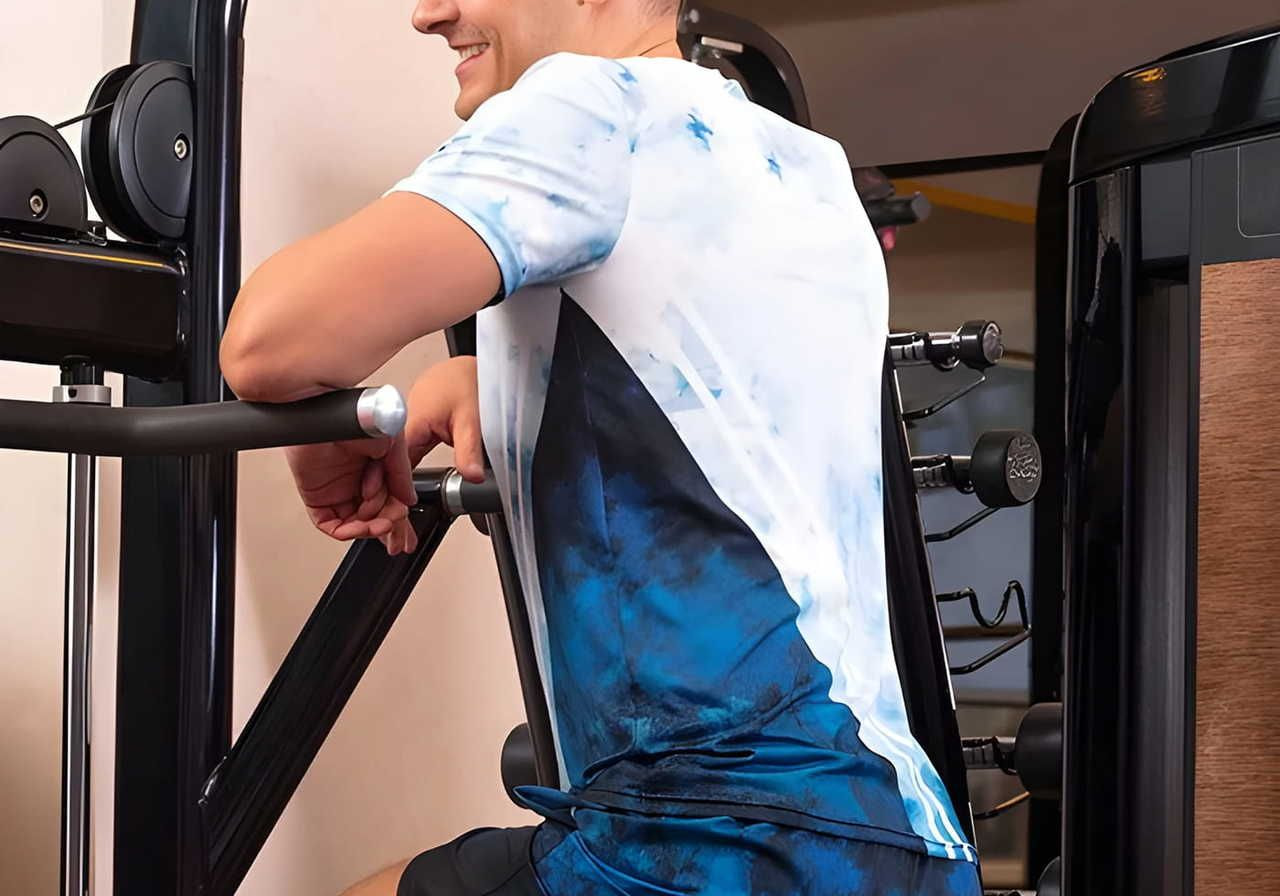
Sleeve placement
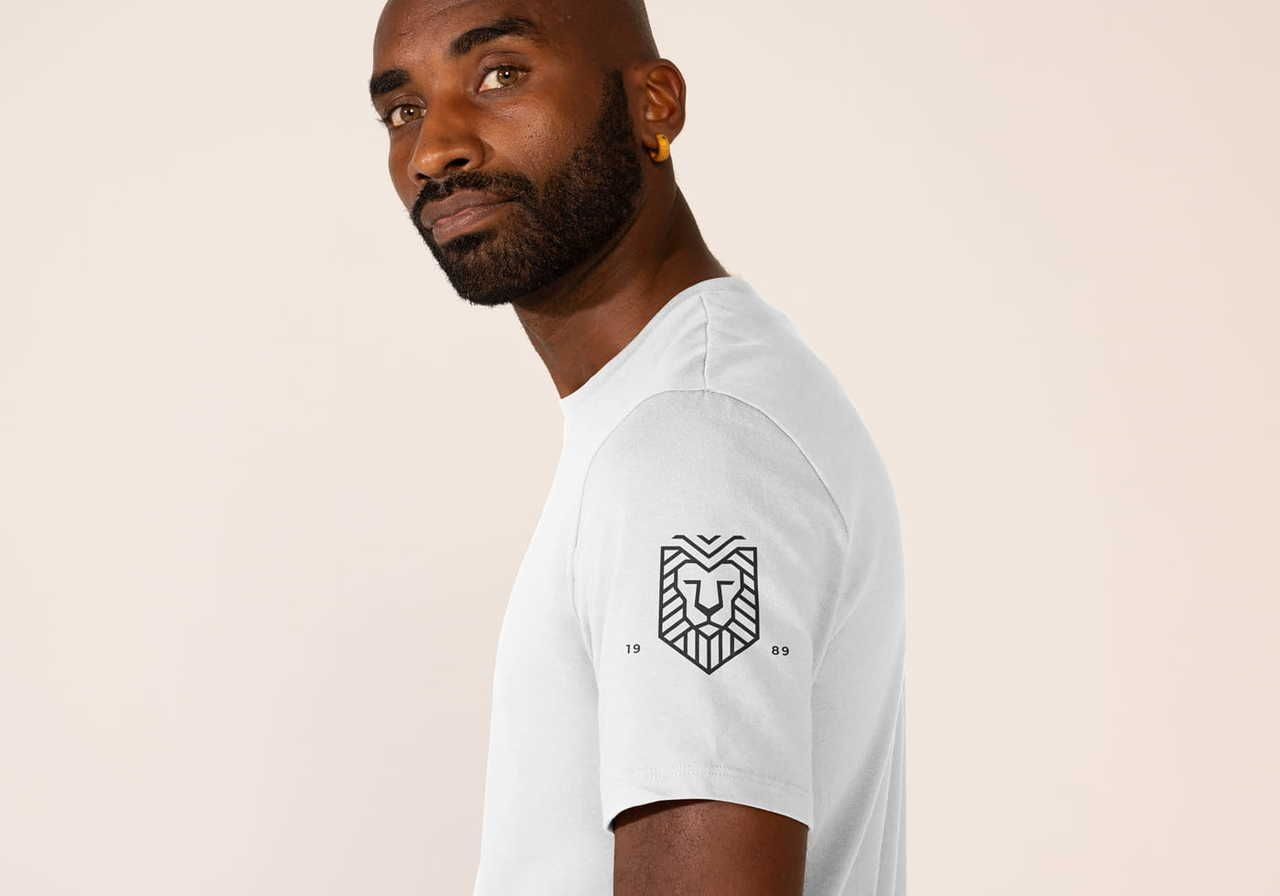
Sleeve placement has been growing in popularity over the past few years. Not every print-on-demand provider offers it, but it's an attention-grabbing spot that helps your designs stand out. Use it on its own for a minimalist look, or pair sleeve designs with other placements for a more complete feel.
For example, a center chest design combined with a coordinated sleeve print looks polished and professional. It's also a great place to drop a subtle logo, brand mark, or secondary logos.
Keep in mind: Sleeves don't offer much room for design flexibility. At Printful, the standard max sleeve placement is most often 4″ × 3.5″, though some all-over-print products go up to around 20″ × 12″ for wrap-around designs.
Sleeve sizes vary by t-shirt size and manufacturer, so before you start designing, check:
-
Whether your product offers a sleeve design placement.
-
Your product's max sleeve print size.
To find this for Printful products:
-
Open your product's listing.
-
Scroll down to File guidelines.
-
Look for Sleeve print in the table.
-
Check the Print file size column.
Still unsure? Download the Print file template for that product.
A few quick tips for sleeve designs:
-
Keep proportions consistent across sizes.
-
Avoid intricate details that won't be so visible in a small area.
-
Don't let the artwork run past the sleeve hem or shoulder seam unless it's an all-over print.
Read more: Create The Perfect T-Shirt Sleeve Design
Label placement
If you're a print-on-demand store owner serious about branding, t-shirt labels are a small detail with a big impact. They add professionalism, reinforce brand identity, and keep your name in sight long after purchase.
Read more: Inside and Outside Labels with Printful
Inside labels
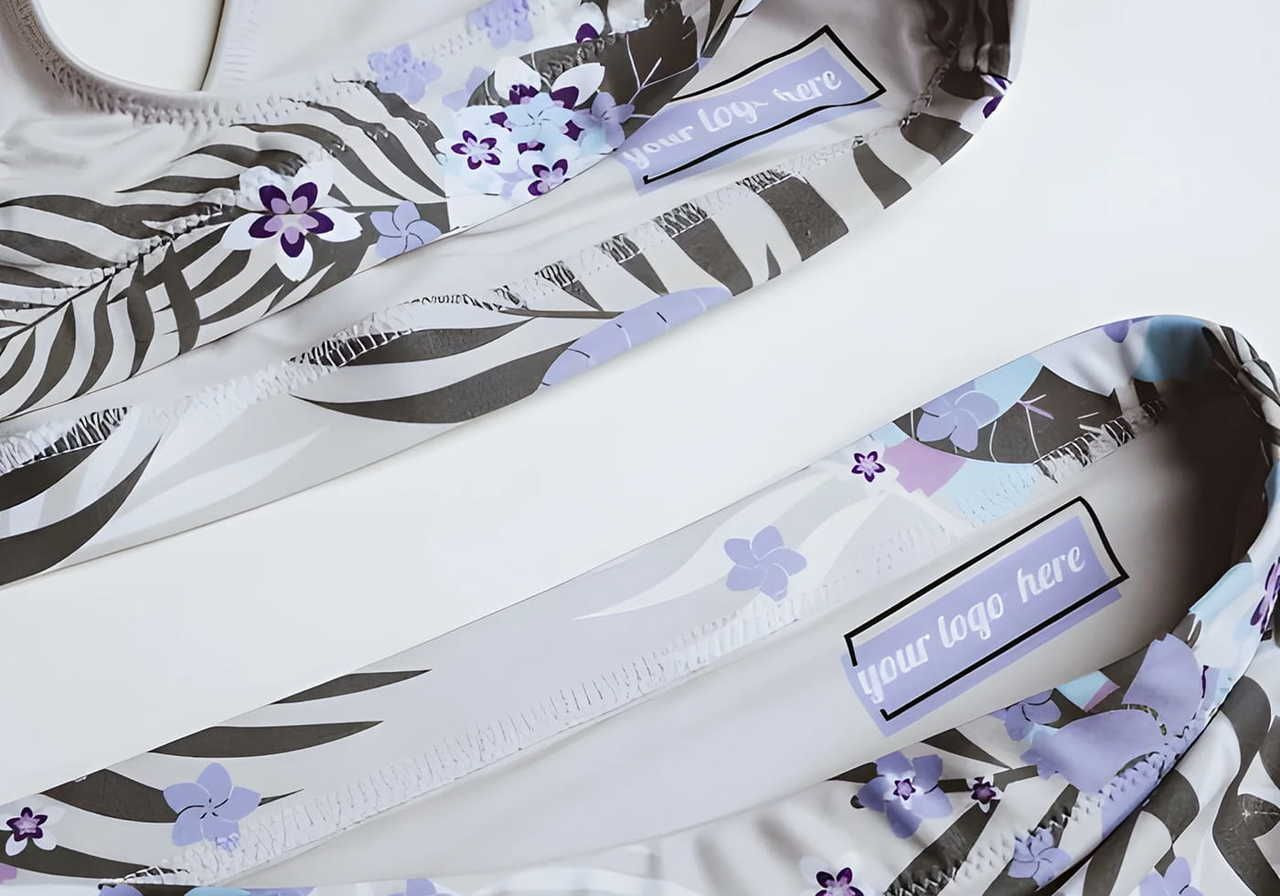
Inside labels leave a lasting impression on shoppers and help build long-term brand recognition. It's hard to forget where a product came from when the brand name is right on the collar.
To check whether a t-shirt offers inside label printing:
-
Open the product page on the Printful site.
-
Scroll to Customization options.
-
Look for the Inside label tag.
If the tag is there, you can add a custom inside label with your brand logo. We can't offer inside labels on every t-shirt because the original manufacturer's tag has to be removable.
Almost all Printful products have a max inside label placement size of 3″ × 3″. Some have 2″ × 2″ or 2.5″ × 2.5″, so always check the File guidelines tab before designing.
Your max logo placement size on the inside label is 3″ × 1.13″.
To use a premade template:
-
Open your product page and start designing.
-
Click the Design tab in the Design Maker.
-
Select Inside label from the top bar.
Pick a template on the left, then drop your logo into the area marked Drop your design here.
When designing your inside label, keep these tips in mind:
-
Don't exceed the maximum print area for the garment size.
-
Use a legible font – skip curly or hard-to-read styles.
-
Keep fonts above size 10 so the text is readable.
-
Submit graphics at actual print size in PNG format.
-
Use the sRGB color profile (sRGB IEC61966-2.1) at a minimum resolution of 150 DPI.
-
Use a transparent background on your logo.
For more, check the File guidelines tab on your chosen t-shirt’s product page.
Outside labels
Outside label specs are 3″ × 3″ for most garments. They're small, so skip intricate details and detailed artwork – simple shapes and clean type work best. Properly center your logo or design in the print area for the cleanest result.
Outside labels are available on most custom t-shirts (except racerbacks), hoodies, and sweatshirts. You can also add custom outside labels to some all-over-print items. To find compatible products, head to the Product Catalog and filter by Branding options > Outside label.
A custom outside label costs $2.49 per garment, except for all-over print products, where it's included in the price.
Seam-to-seam placement
Printful also offers all-over-print (AOP) products that let you design the entire front, back, and sleeves of a tee. AOP gives you total control over the canvas, perfect for distinctive patterns and oversized prints.
We offer two types of all-over printing: sublimation and direct-to-fabric.
Sublimation printing works on synthetic fabrics. The ink is heat transferred into the fibers, ensuring maximum durability and retaining softness.
Direct-to-fabric printing is our technique for applying all-over designs on 100% cotton garments. It uses water-based inks designed specifically for natural fibers. We print the design first, then precision-cut the fabric and sew it for seamless alignment.
There's no standard limit on max placement size. Your main design won't get cut off as long as it stays within the safe area of the Design Maker.
To avoid cut-offs outside the safe area:
-
Don't go past the seams or side seams.
-
Don't touch the collar seam.
Pro tip: Use AOP for an oversized full-front design by leaving the back and sleeves blank.
Need ideas for AOP designs? Check out this handy video.
Best t-shirt design placements
Now that you know your options, this t-shirt placement guide gets practical. Different designs – logos, artwork, and text – work best in different print locations, so let's match design type to placement.
Pro tip: Experiment with placements using Printful's free Design Maker. Try your designs on different products and pick the ones that work best.
For logos
Branding leaves your mark on every shirt design with a polished, professional look and reminds customers where they bought from. This t-shirt logo placement guide breaks down where each branding type works best.
Logos are usually placed on:
-
Left chest
-
Outside label
-
Inside label
-
Sleeves
These spots suit smaller designs, especially subtle logos.
For example, you could place your branding on the left chest and your main artwork on the back, or put a subtle logo on the sleeve or outside label, with the main design front and center. This kind of layered shirt logo placement looks intentional and helps your brand stand out without overpowering the artwork.
A left chest logo is also a strong move for corporate branding events – conferences, giveaways, and promos. Branded apparel boosts visibility wherever your team shows up.
For artwork
Art is tricky. Small line drawings or minimalist pieces work well in the logo-friendly spots above. But if you want your art to be the star, go bigger.
The best placements for artwork are usually:
-
Center chest placement
-
Full front placement
-
Full-back placement
Want a more complete look? Put the main design on the front or back and add a complementary mini-design on the sleeve. It's a small detail that signals you put thought into the whole piece.
For bolder t-shirt graphic placement, fill the full front or full back.
For text-based designs
Text-based designs – trending quotes, jokes, one-liners – are a t-shirt design staple. But where you place text affects how legible (and how much of a bold statement) it'll be.
The best spots:
-
Left chest placement
-
Center chest placement
-
Full front placement
Why mostly the front? Visibility. Other spots can disappear under outerwear. Feeling adventurous? Try text on the sleeve or outside label for something different.
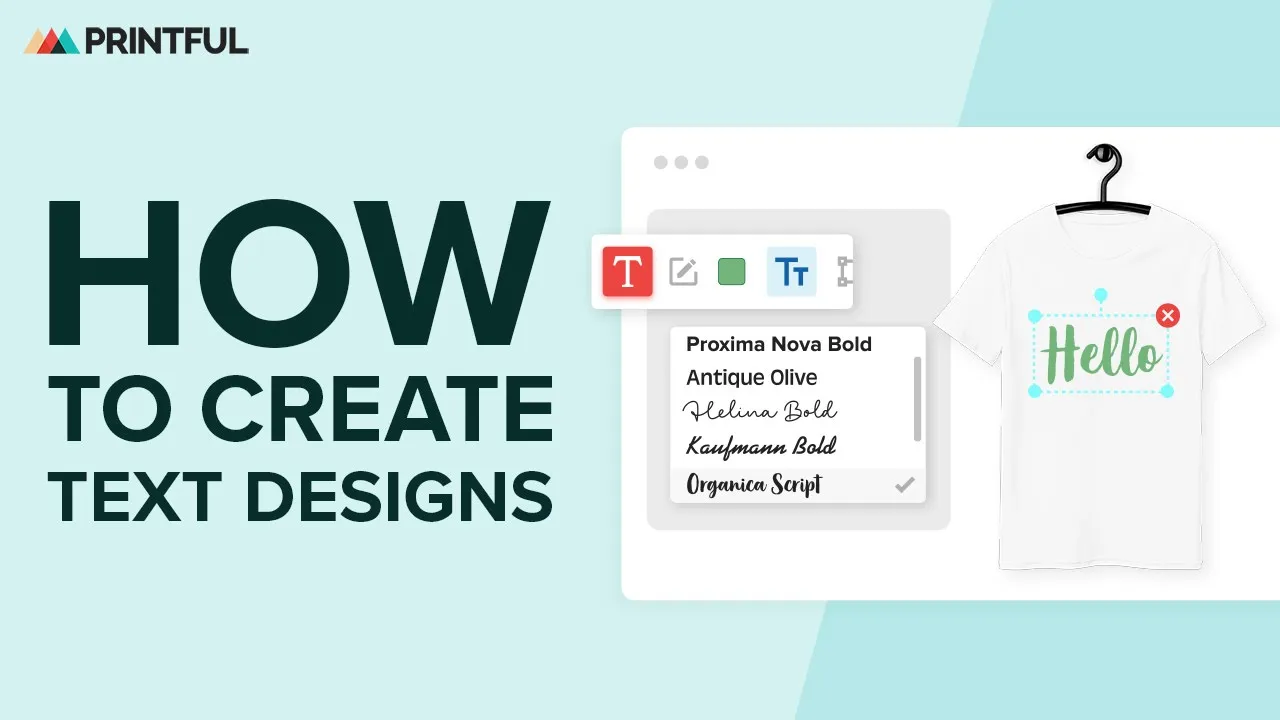
Check out this video on creating text designs:

Tee'd up to start designing?
Wrapping your head around every t-shirt design placement takes a minute, especially when you're new to the design process.
Every tee has its own size specs and printing methods, and what works for adult tees may not translate to smaller sizes.
The fastest way to learn is to experiment – try different layouts and check mockups, and you'll get the hang of proper placement quickly.
Read next:
FAQ
It depends on the placement.
For a left chest print, position the design about 3″ below the neckline and 2″ from the armpit, sized between 2.5″ × 2.5″ and 5″ × 5″.
For a center chest design, place it 3″–3.5″ below the collar and properly center it with the collar's middle.
For full front prints, sit the design 3″–4″ below the collar and adjust based on the t-shirt size.
Always look at the mockup before publishing to ensure things look right, and order samples to check the t-shirt design placement out in person.
The most frequent slip-ups when designing custom shirts are:
-
Ignoring the t-shirt size when sizing artwork.
-
Skipping mockup checks.
-
Placing complex designs in small areas, like a left-chest logo or an outside label.
-
Using low-resolution files for oversized prints.
-
Forgetting that not all placements are available for every product.
Also watch for designs that crowd the collar seam, shoulder seam, or side seams – those usually need to be pulled in.
For a center chest placement, position the design 3″ to 3.5″ below the collar.
For a full front placement, drop it 3″–4″ below the collar and adjust slightly based on the shirt size – larger sizes need a touch more spacing to keep proportions consistent.
For a left chest placement, the top of the design should sit roughly 3″ below the neckline.
PNG with a transparent background is the standard for most print and embroidery work. Submit graphics at actual print size, use the sRGB color profile (sRGB IEC61966-2.1), and keep a minimum resolution of 150 DPI – higher for oversized designs and detailed artwork. Always check the File guidelines tab on the specific product page for any extra requirements.

Chan is a copywriter, creative writer, and technical writer with 15 years of experience creating everything from training courses to compelling marketing copy. A self-confessed research nerd, she loves digging deep into a subject and bringing it to life on the page. When she’s not writing, she’s exploring forest trails or walking the beach with her dog, or in the kitchen experimenting with homemade pickles and jams.