


Table of contents
Learning how to start an embroidery business comes down to choosing between buying your own machine or using Print on Demand (hint: the latter is the simplest way!).
This guide covers both paths, from equipment and supplies to pricing and setup, whether you’re starting an embroidery business from scratch or adding it to what you already sell.
Is embroidery a business worth starting?
Yes, a machine embroidery business works when you match durable, textured products with buyers who want a more professional finish than standard prints.
The market has room for new sellers to start a successful business, but the opportunity still depends on your niche, pricing, and production quality. The global embroidery market was valued at $3.3B in 2025 and is projected to reach $8B by 2034.
A profitable embroidery business starts with knowledge – you must do focused market research. The product needs a buyer with a clear reason to pay for the stitched detail.
-
Local companies need a logo on polos, jackets, and uniforms
-
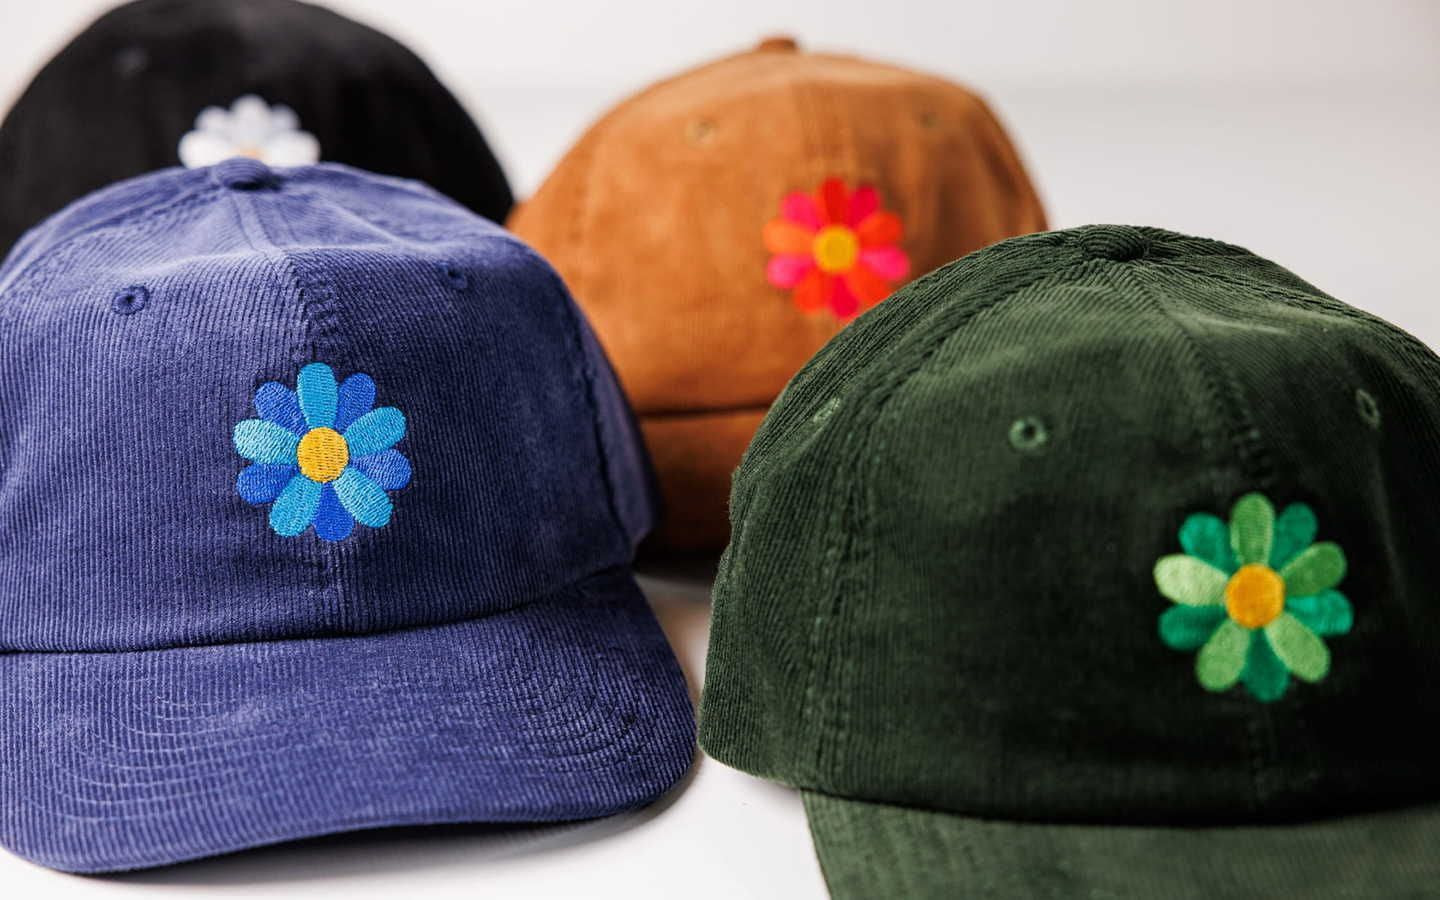
Creators need custom hats and premium merch
-
Gift shoppers want monogrammed towels, robes, baby items, and personalized keepsakes
-
Schools, clubs, restaurants, gyms, and other businesses need apparel that looks consistent across teams and different sizes
Check out the custom embroidery trends to see how embroidered products fit apparel, accessories, and branded merch.
How much does it cost to start an embroidery business?

Costs range from a basic home setup with beginner sewing machines to a higher-investment commercial machine embroidery setup with multi-head or multi-needle equipment.
Your highest cost usually comes from the machine. Entry-level sewing machines with embroidery functions help with practice, but they limit speed, hoop area, and order volume.
A commercial single-needle or multi-needle machine costs more, but reduces production time on larger orders and is specifically designed to handle more complex designs.
Plan for these core startup costs:
-
Machine – compare home sewing machines, commercial single-needle models, and multi-needle machines from Brother, Janome, Bernina, Melco, Tajima, and Ricoma
-
Software – use digitizing software like Hatch Embroidery, Wilcom, Embrilliance, Chroma, or Ink/Stitch to convert artwork into embroidery files
-
Supplies – buy embroidery needles, high-quality threads, bobbins, backing, stabilizers, scissors, hoops, and sample blanks
-
Materials – test hats, polos, hoodies, towels, bags, patches, and aprons, as well as different fabrics
-
Business tools – set up accounting in QuickBooks, Xero, or Wave; track jobs in Trello, Notion, Airtable, or Monday; collect quote requests through Typeform, Jotform, Shopify Forms, or WooCommerce forms
-
Marketing setup – budget for product photos, mockups, packaging, a domain, an online store, Google Business Profile, and local ads
Pro tip: A smart way to control money risk is to start with one product group and one buyer type. For example, create and sell left-chest logo polos to local businesses before adding caps, towels, patches, and bags.
Add more features, larger hoop sizes, and upgraded machines only after order volume supports the next purchase.
Get the right tools and machine embroidery equipment
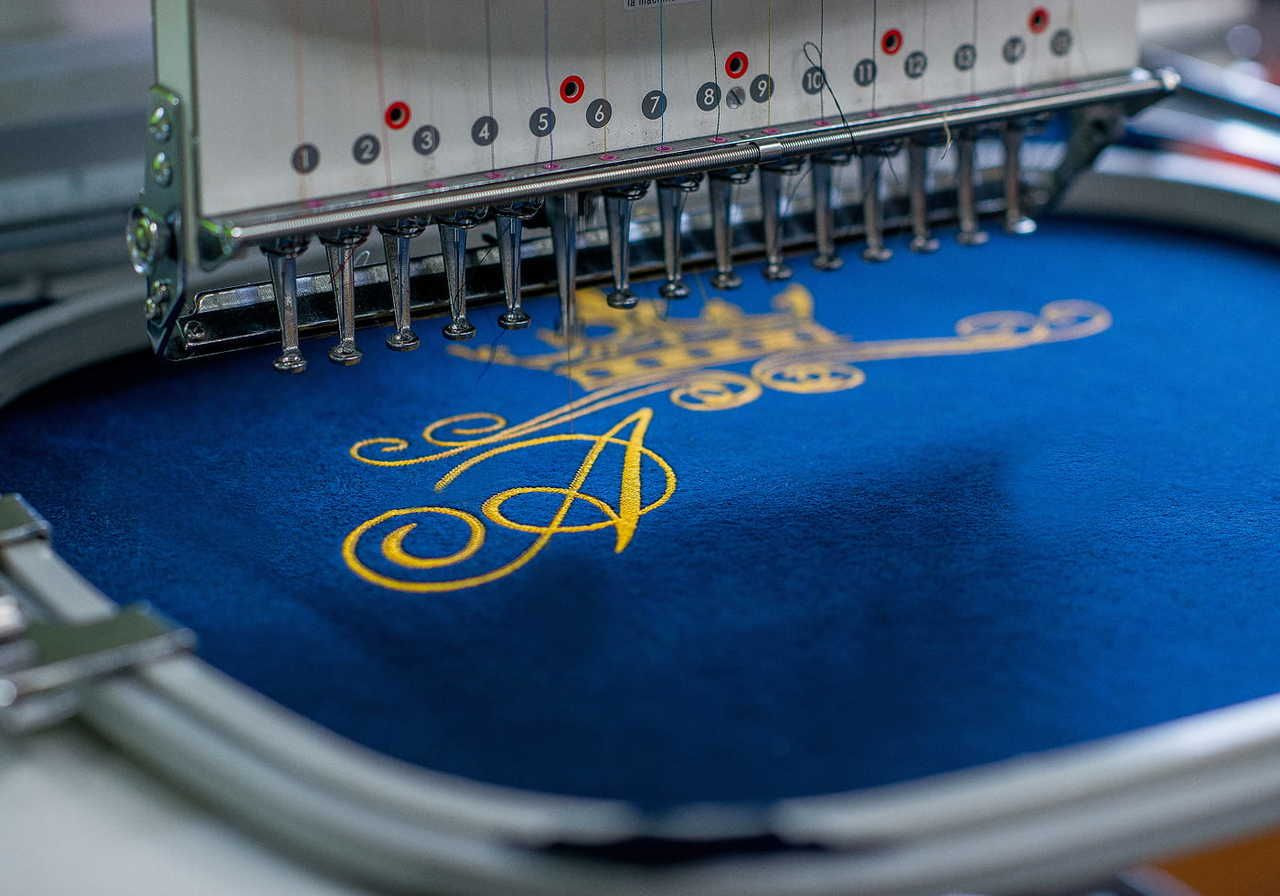
Good machine embroidery depends on the right tools. As we mentioned earlier, the embroidery machine matters, but the finished product also depends on needles, thread, stabilizer, artwork, hooping, and digitizing.
Choosing an embroidery machine
Start by choosing between a single-needle and a multi-needle machine.
A single-needle machine works for beginners, home testing, and lower-volume orders. It costs less money, takes up less room, and covers the basics without turning your workspace into a full production room.
The drawback: color changes need manual attention, so bigger orders take longer.
A multi-needle machine holds several thread colors at once. That cuts downtime on logos, uniforms, and bigger designs with multiple colors.
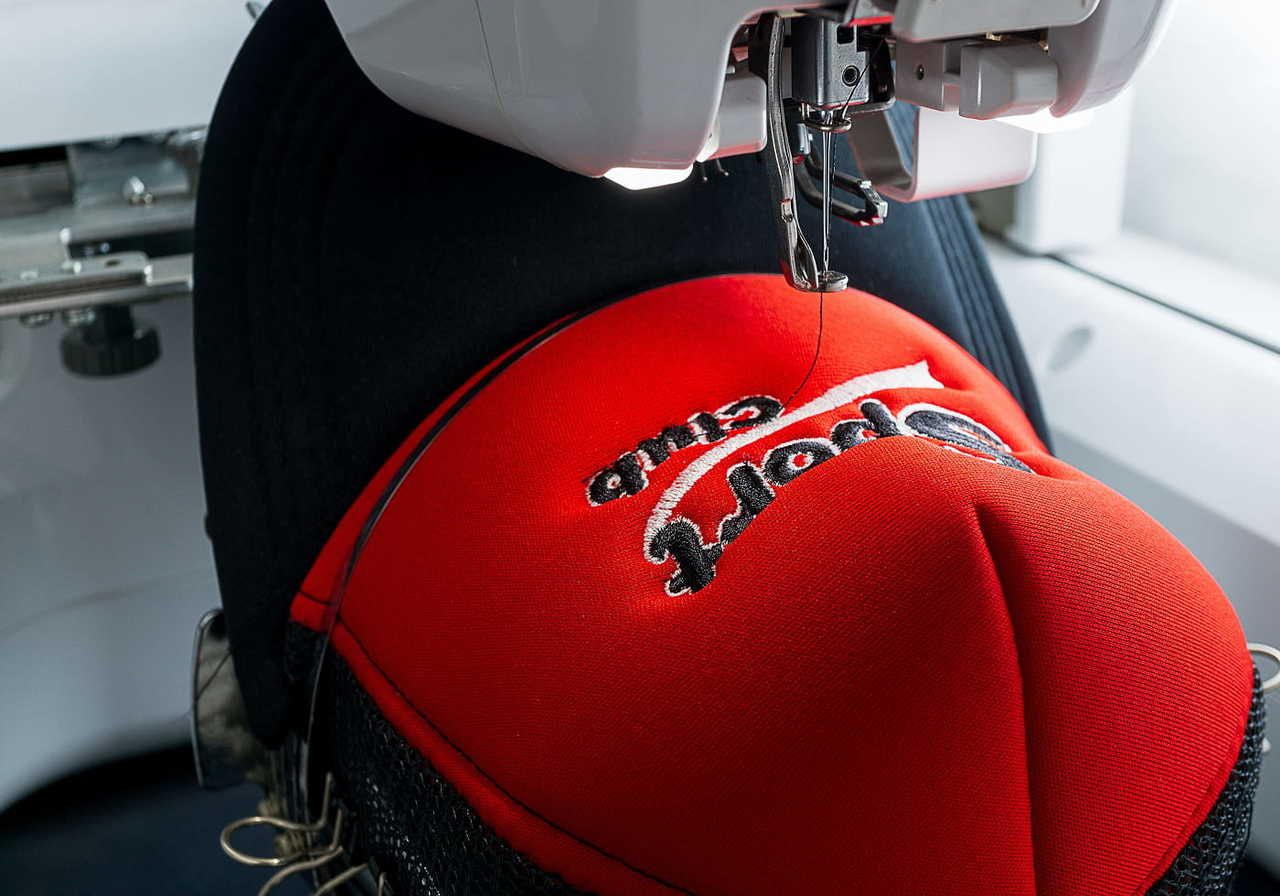
A multi-needle setup also supports cap frames and larger jobs more efficiently. A big deal, since many potential clients ask for team apparel, restaurant uniforms, or rush-event merch.
Rule of thumb for embroidery business owners: start smaller if the market still needs proof. Invest in multi-needle equipment when orders, revenue, and production time justify the upgrade.
Embroidery needles and thread
Machine embroidery needles affect how cleanly the device moves through fabric. Lightweight cotton, fleece, caps, towels, denim, and performance fabrics may need different needles.
Keep these supplies organized from day one:
-
Needles – stock sharp, ballpoint, and specialty needles for different fabrics
-
Thread – use high-quality threads from brands like Madeira, Isacord, Gunold, or Robison-Anton for richer color and greater durability in your embroidery designs
-
Bobbins – keep backup bobbins ready, so one order does not stop mid-run
-
Hoops – match the hoop to the product area and design size
-
Storage – use thread racks, labeled bins, and job folders to keep each order together
Cheap thread can break, fray, or fade – your customers won’t like that. Weak needles can damage fabric or cause uneven stitch quality. For professional results, treat these basic materials as part of the product, not background expenses.
Stabilizers: Tear-away, cut-away, and wash-away
Our next tool is the stabilizer. It supports the fabric while the machine creates each stitch. Pick the wrong stabilizer, and the design can pucker, shift, or lose shape after washing.
There are three types:
-
Tear-away – works for stable woven fabrics and simple designs. Remove the excess backing by tearing it away after stitching.
-
Cut-away – works for stretchy fabrics, knits, polos, and garments that need long-term support. Trim the excess backing after stitching.
-
Wash-away – works for towels, lace-style work, and fabrics where visible backing would look messy. Rinse the stabilizer out after stitching.
This basic, technical step separates beginners from reliable sellers. A clean design file still fails if the stabilizer doesn’t match the fabric.
Test each product, document the backing used, and save those notes in Airtable, Notion, Google Sheets, or your order-management system.
Learn how to use digitizing software and stitch complex designs

Digitizing converts artwork into embroidery files that the machine can read. The file tells the machine where to place each stitch, which direction the thread should move, how dense the design should be, and where underlay stitches support the top layer.
Why is it important? Because machine embroidery doesn’t behave like ink. Thin lines, tiny text, gradients, shadows, and complex designs often need simplification. A detailed logo might look good on screen, but fail on fabric if the stitch count, spacing, or underlay doesn’t match the material.
If you run your own embroidery business, use digitizing software like Wilcom, Hatch, Embrilliance, Chroma, or Ink/Stitch to create and edit files. Then run stitch-outs on scrap fabric before accepting paid work. Save approved settings by fabric type, stabilizer, needles, thread, and placement.
Should you do this all yourself?
Not if you use Printful – we handle digitization for a small one-time fee per design ($3.95-$6.50, depending on the design). Once digitized, reuse the file for future Printful orders with the same embroidery and product type.
We also offer unlimited color embroidery, which means stunning gradients, designs in different sizes, and endless creativity for you!
If you switch between hats, apparel, or bags, the file may need an adjustment because stitch direction and density differ by product.
This is where the learning curve gets real. Whether you digitize files yourself or use Printful, the final result still depends on clean artwork, realistic detail, correct placement, and the right match between product and design.


Set up your embroidery business
Once the technical side makes sense, build the embroidery business around a narrow market, clear pricing, and repeatable workflows.
Research your market and ideal customer
Do market research before you invest in more equipment. Look for potential clients who already buy decorated products or need repeat orders.
Strong buyer groups include:
-
Local companies – uniforms, polos, jackets, and caps with a logo
-
Creators – custom hats, hoodies, patches, and premium merch
-
Gift shoppers – monogrammed towels, robes, baby items, and wedding gifts
-
Schools and clubs – team apparel, bags, patches, and event merch
-
Hospitality businesses – aprons, workwear, caps, and branded uniforms
-
Agencies and printers – overflow embroidery services for other businesses that already sell branded products
Talk to real customers. Ask what they order, how often they reorder, what they dislike about current suppliers, what deadlines they face, and what would make them switch. Use Google Forms, Typeform, Instagram polls, LinkedIn outreach, local Facebook groups, Reddit threads, and competitor reviews to gather those answers.
Then choose one offer. “I embroider anything” sounds flexible, but it makes marketing harder. “Logo polos and hats for cafés, salons, and small offices” gives the business a sharper message.
Price your embroidery services
Pricing should cover materials, labor, production time, design setup, digitizing, overhead, and profit. Do not price only by blank cost.
Use these pricing basics:
-
Blank cost – shirt, hat, towel, patch, bag, hoodie, or jacket
-
Stitch count – larger or denser designs take longer
-
Design complexity – small text, many colors, and tricky placements require more setup
-
Digitizing – charge for turning artwork into a stitch-ready file
-
Order size – only lower your per-item price on bulk orders once volume covers the setup cost
-
Rush order – charge extra when a deadline disrupts your schedule
-
Proofing – include one approval round, then charge for extra revisions
Build a pricing calculator in Google Sheets, Airtable, or Notion. Add blank cost, thread cost, labor minutes, machine time, digitizing fee, packaging, payment fees, and desired margin. This keeps quotes consistent when new customers ask for different products or quantities.
If a product features a simple left-chest logo, it shouldn’t cost the same as a large back design with dense stitching. Price by the work the order creates, not by what feels easy to explain.
Valuable read: How to price your print-on-demand products
Set up your new business – Open an online store

A great-looking online store helps an embroidery business reach new customers beyond local referrals. Use Shopify, WooCommerce, Wix, Squarespace, Etsy, or TikTok Shop, or Amazon Handmade, depending on your market.
Use your store to show:
-
Product options – hats, polos, sweatshirts, towels, bags, patches, and uniforms
-
Design examples – finished work, close-ups, and sample stitch-outs
-
Order rules – minimums, turnaround times, artwork requirements, and revision limits
-
Quote forms – let clients upload artwork and request quantities through Typeform, Jotform, Shopify apps, or WooCommerce forms
-
Proofing process – explain when customers approve the design before production
Add a Google Business Profile if you serve local customers. Upload photos of finished work, collect reviews after pickup or delivery, and post updates about seasonal offers like school uniforms, holiday towels, or corporate gifts.
As your business grows, document each step. Create templates for quotes, approvals, invoices, file naming, artwork checks, sample approvals, and customer updates. Use Trello, ClickUp, Notion, Airtable, or Monday to track each order from inquiry to delivery.
Pro tip: Printful integrates with all the biggest eCommerce platforms and marketplaces, making it easy to get your embroidery business up and running fast.
Don’t want to buy a machine? Try embroidery with Print on Demand
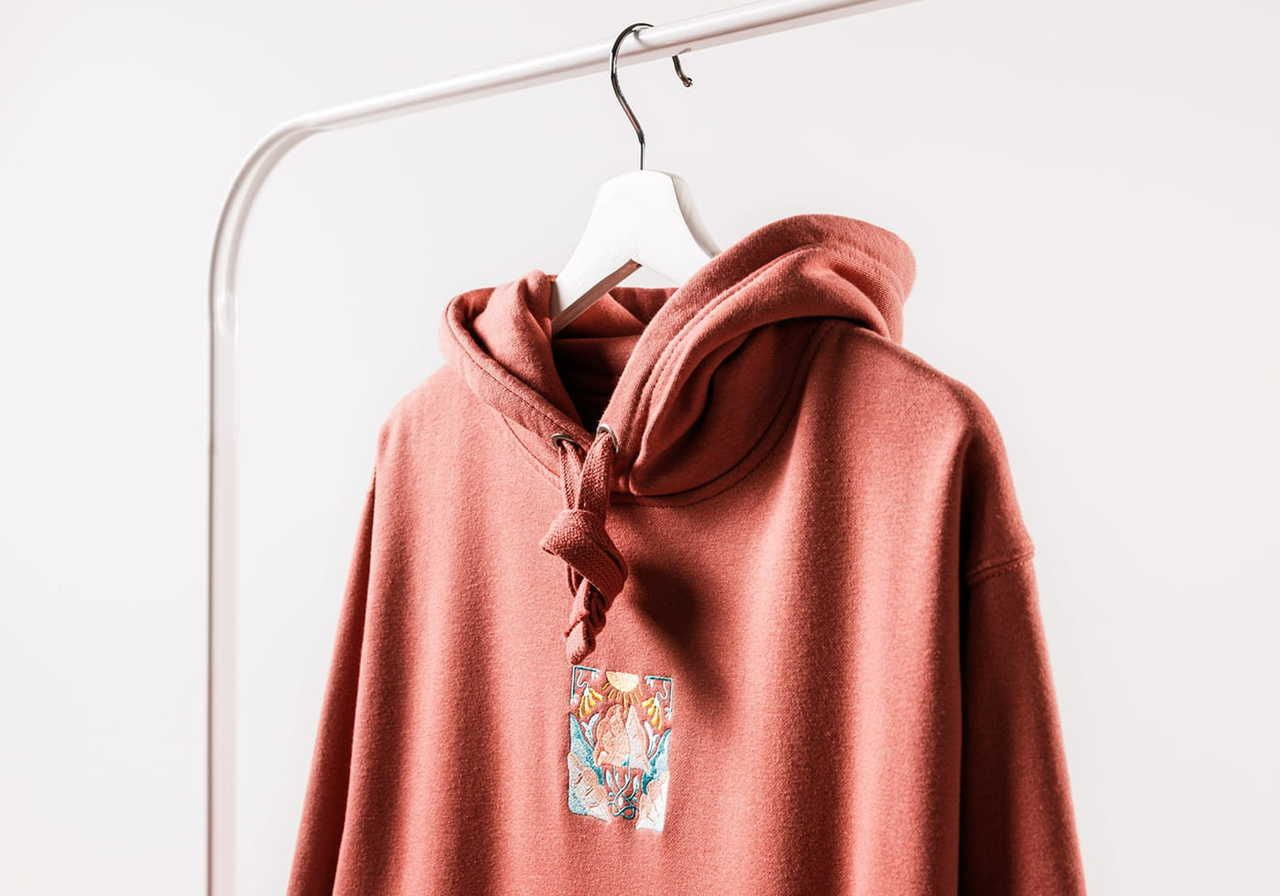
Buying sewing machines isn’t the only way to start an embroidery business. For sellers who want embroidered products without buying equipment, stocking supplies, or learning digitizing software, Print on Demand is a lower-risk path.
With Printful’s custom embroidery, create embroidered apparel and accessories, then sell them through your store. Printful handles the machine embroidery process, digitization, fulfillment, and shipping.
This route suits creators, marketers, and founders who want to validate demand before investing in a commercial machine. It’s also a great way of how to start an embroidery business from home. You only manage product ideas, storefront, and marketing, while Printful manages production.
Here are the exact steps to start an embroidery business with Printful:
-
Sign up for free – starting with us means you get all the tools and features you need without breaking the bank
-
Choose embroidered products – browse our Catalog for custom embroidery options like hats, hoodies, polos, sweatshirts, jackets, and bags
-
Create your design – use Printful’s Design Maker to upload a logo, add text, or build embroidery designs
-
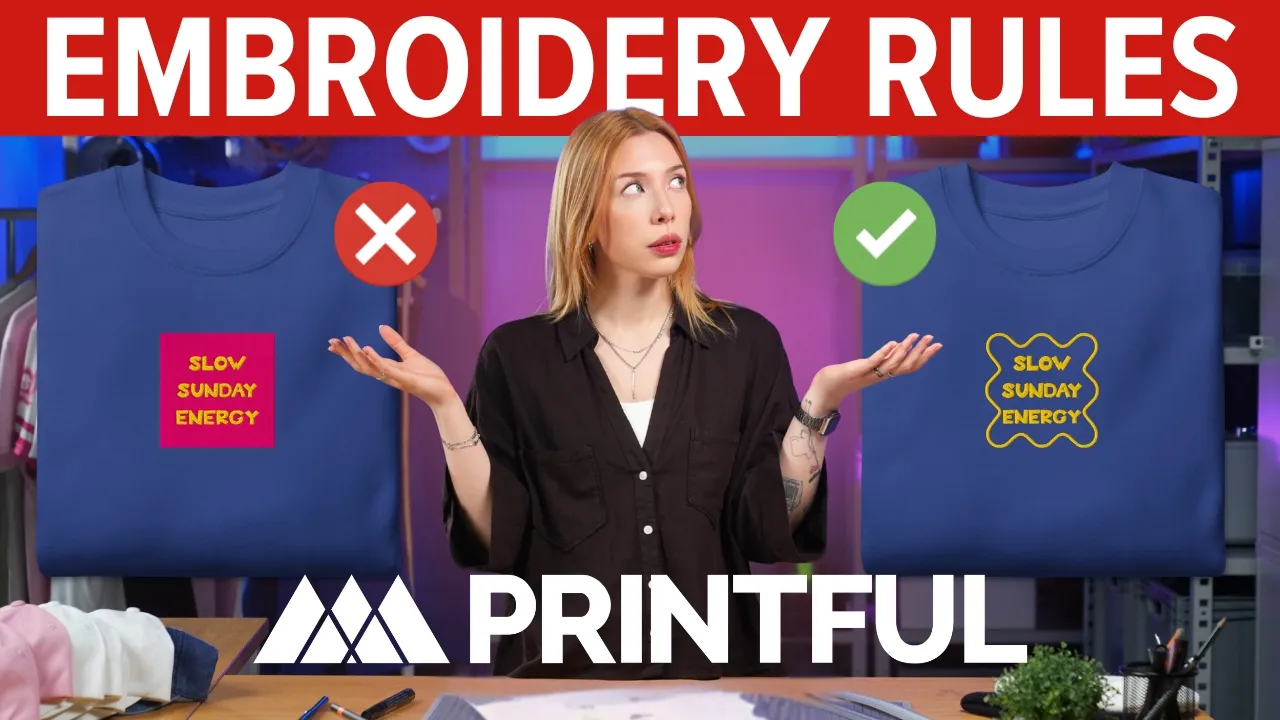
Check the file rules – keep small text, fine lines, gradients, and dense details within embroidery guidelines before publishing
-
Preview the product – review placement, colors, and mockups in Design Maker
-
Connect your store – link Printful with Shopify, Etsy, TikTok Shop, Wix, Squarespace, Amazon, or another channel of your choice
-
Order samples – to guarantee professional results, check every product before listing
-
Start selling – when customers order, Printful handles fulfillment and shipping
This path offers a new business a practical way to test hats, hoodies, and embroidered apparel before committing to machinery, rent, and staff.
Valuable read: How to start a print-on-demand business

FAQ
Yes, embroidery is a profitable business when pricing covers blanks, thread, stabilizer, labor, digitizing, production time, and overhead. Most embroidery shops aim for a 30%-60% profit margin, though your actual margin depends on your niche, order size, and how well your pricing covers expenses.
The best margins usually come from repeat clients, niche products, and orders where setup time spreads across multiple items. A profitable embroidery business depends on demand, quality, and pricing discipline.
Popular embroidery items include custom hats, polos, hoodies, sweatshirts, jackets, tote bags, patches, aprons, baby clothes, robes, and monogrammed towels.
Business-logo apparel works well for B2B clients, while gifts and personalized items work well for direct-to-consumer stores. Printful’s own research on best-selling embroidery items on Etsy found socks, tote bags, and wedding or bridesmaid sets also perform well, alongside dad hats and monogrammed home goods like towels and blankets.
The cost can range from a few hundred dollars for basic home sewing machines to thousands for commercial multi-needle machines.
A home-based setup costs less than a full commercial operation. The difference typically comes down to whether you need one entry-level machine or several industrial multi-head machines, plus how much space and staff you’re supporting. If you’d rather skip equipment entirely, Print on Demand lets you start selling embroidered products for close to nothing beyond store setup.
Budget for embroidery supplies, needles, thread, stabilizers, blanks, software, packaging, marketing, and store setup. Start small if demand still needs proof.
Yes, home-based small business embroidery works when there’s space for a machine, blanks, packing, and clean order flow. Set realistic order limits, turnaround times, and product rules.
Use Print on Demand if selling embroidered products matters more than handling production yourself.
Start a profitable embroidery business with Printful
Now that you know how to start an embroidery business, you see that the entire process depends on whether you want hands-on embroidery production or a lower-risk print-on-demand model. Machine-based setups give full control but require equipment, skills, and upfront investment.
Printful’s print-on-demand services let you create stunning embroidery products without buying machines and other tools. Use our tools and features to start a business with minimal investments but maximal results.

Zane is a sharp-witted writer with a deep interest in eCommerce, branding, and creative entrepreneurship. With a knack for blending humor, insight, and no-nonsense advice, she crafts engaging content that helps merchants learn and businesses grow. When she’s not dissecting industry trends, she's exploring philosophy, music, and the perfect balance between solitude and connection.

